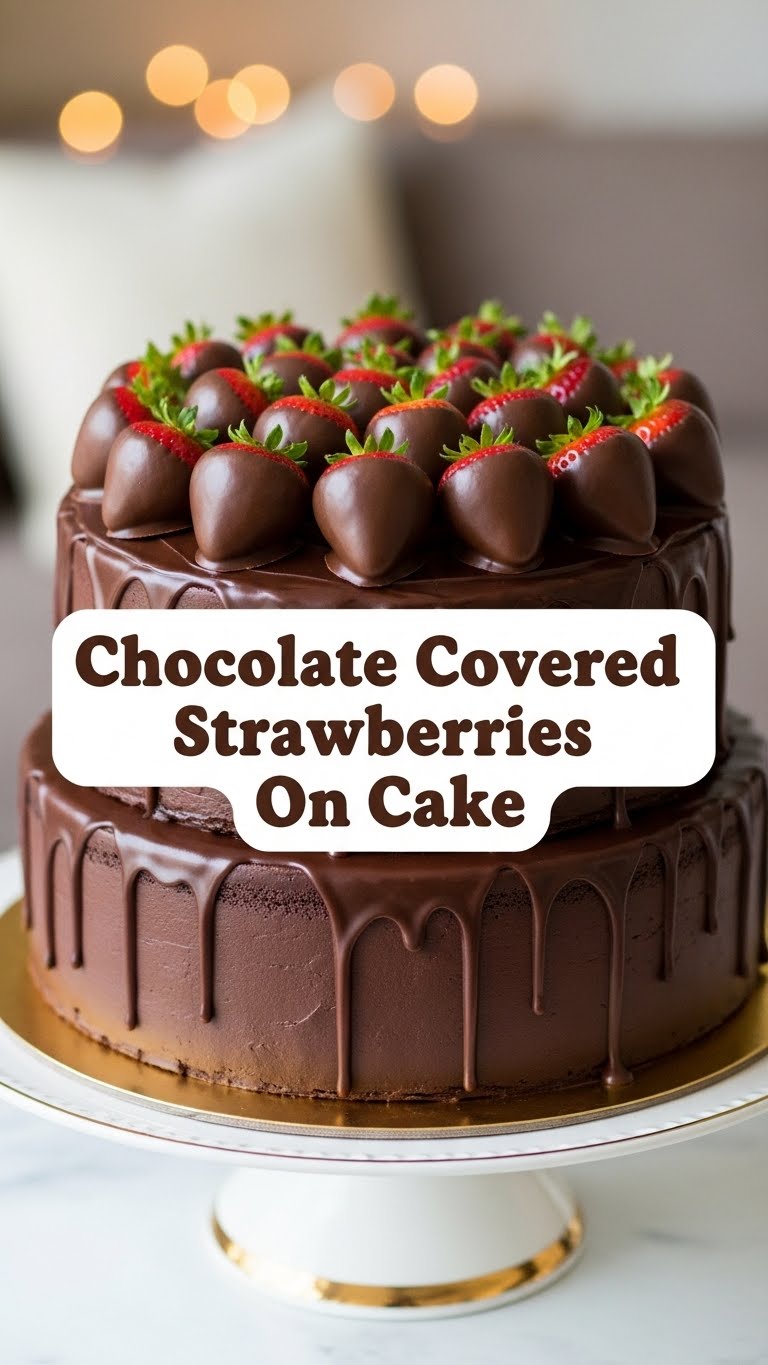
So you’re craving something tasty but too lazy to spend forever in the kitchen, huh? Same. What if I told you there’s a dessert that screams “I tried really hard” but actually just whispered “I threw some delicious things together”? Enter the glorious world of Chocolate Covered Strawberries… on a CAKE. Mind blown yet?
Why This Recipe is Awesome
Okay, let’s be real. This isn’t just a dessert; it’s a culinary hack. You get the best of both worlds: the decadent elegance of chocolate-covered strawberries AND the comforting hug of a delicious cake. It’s a two-in-one special, folks! Not only does it look incredibly impressive (hello, Instagram!), but it’s also ridiculously easy. Seriously, people will think you hired a pastry chef, but you barely broke a sweat. It’s **idiot-proof**, even *I* didn’t mess it up, and my usual baking adventures involve setting off the smoke detector. Plus, it’s perfect for any occasion – birthdays, Tuesday nights, or just because you survived another Monday.
Ingredients You’ll Need
Gather ’round, my fellow semi-lazy gourmet! Here’s your hit list:
- Your Favorite Pre-made Cake: Or one you actually baked, if you’re feeling ambitious and have extra time (weirdo). I’m talking store-bought sheet cake, round cake, cupcakes – whatever floats your sweet tooth. No judgment here.
- Fresh Strawberries: The undisputed star of this show. Pick the plumpest, reddest ones, like they’re about to walk a red carpet.
- Chocolate Chips or Melting Wafers: Dark, milk, white – pick your poison! **Quality matters here**, people. Don’t skimp unless you *want* sad, grainy chocolate.
- Coconut Oil (Optional, but Recommended): Just a tiny bit, like half a teaspoon. It helps make the chocolate super smooth and glossy for dipping. Trust me on this.
- Sprinkles/Extra Chocolate Drizzle (Optional): For when you want to get *extra* fancy and really make ’em say “Ooh la la!”
Step-by-Step Instructions
- Prep Your Berries: Gently wash your strawberries and, this is crucial, **thoroughly dry them**. Water and melted chocolate are NOT friends. Like, arch-enemies. Pat them completely dry with a paper towel.
- Melt That Chocolate: Grab a microwave-safe bowl. Toss in your chocolate chips and that tiny bit of coconut oil (if you’re using it). Microwave in 30-second intervals, stirring vigorously after each, until smooth and fully melted. **DO NOT OVERHEAT!** Burnt chocolate is a tragedy, and a smell that lingers.
- Dip ‘Em Good: Hold each strawberry by its stem (or the leaves, if you left them on for flair). Dip it into the melted chocolate, twisting to coat most of the berry. Let any excess chocolate drip off back into the bowl.
- Cool Down: Place your beautiful dipped strawberries on a parchment-lined baking sheet. Pop them into the fridge for about 10-15 minutes to set the chocolate.
- Assemble Your Masterpiece: Once the chocolate on the berries is firm, artfully arrange them on top of your cake. Get creative! Cluster them, line them up, make a heart shape – you do you. If you’re feeling extra, drizzle with more melted chocolate or shower with sprinkles.
- Serve & Devour: Slice, serve, and accept all the compliments graciously. You earned them (mostly). Then, dig in!
Common Mistakes to Avoid
Listen up, buttercup, these little slip-ups can turn your masterpiece into a “meh-sterpiece”:
- Wet Strawberries: I’m saying it again because it’s THAT important. Water is the nemesis of melted chocolate. It’ll make your chocolate seize and become a chunky, un-dippable mess. **Always dry those berries!**
- Overheating Chocolate: Patience, young padawan! Microwaving chocolate too long turns it grainy, dull, and just plain sad. Low and slow, stirring often, is the way to go.
- Trying to Dip Cold Strawberries: If your berries are straight from the fridge, they’ll “sweat” as they warm up, potentially ruining your glorious chocolate coating. Let them come to room temperature first, *then* chill after dipping.
- Skipping the Parchment Paper: Unless you enjoy chiseling chocolate off your counter or baking sheet, just use parchment paper. It’s a lifesaver.
- Eating All the Chocolate Before You Dip: Happens to the best of us, but try to resist! You need it for the berries.
Alternatives & Substitutions
Feeling rebellious? Here are some ways to shake things up:
- The Cake: Any cake works! Brownies, cupcakes, even a giant cookie if you’re feeling extra cheeky. Box mix? Totally acceptable. This isn’t about snobbery; it’s about deliciousness.
- The Chocolate: White chocolate looks gorgeous, dark chocolate is sophisticated. You could even use colored candy melts for a super fun, vibrant look.
- Add-ins: Before the chocolate sets, sprinkle your dipped strawberries with chopped nuts, shredded coconut, mini chocolate chips, or edible glitter. **IMO**, a little sea salt on dark chocolate strawberries is divine.
- For the *ULTRA* Lazy: Buy pre-made chocolate-covered strawberries and just stick them on your cake. Zero shame in that game! We’re all about convenience here.
FAQ (Frequently Asked Questions)
- Can I use chocolate syrup instead of melting real chocolate? Uh, no. Just… no. It won’t set properly, and you’ll end up with a sticky, drippy, disappointing mess. Don’t do it to yourself.
- My chocolate seized! What now? Don’t panic (yet). Sometimes you can rescue it by adding a tiny, *tiny* bit of hot (not boiling) water or vegetable oil, one drop at a time, and stirring vigorously. It’s a gamble, though. Sometimes you just cry and start over.
- How far in advance can I make these? Ideally, dip the strawberries a few hours before serving and assemble them on the cake closer to showtime. They’re best when the berries are fresh and the chocolate is perfectly set.
- Do I have to use fresh strawberries? Yes, **FYI**, frozen strawberries will release too much water when thawed, ruining your chocolate. Fresh is key!
- What kind of cake pairs best? Honestly, anything from classic vanilla bean to rich red velvet. Chocolate cake is a classic for a reason, though. You do you!
- Can I just eat the chocolate-covered strawberries by themselves? Absolutely. No one’s stopping you. This recipe is more of a suggestion, really.
Final Thoughts
See? Told you it was easy. Now you’ve got a dessert that looks like it took hours of painstaking effort but really only demanded a tiny bit of your precious time. Go ahead, bask in the glory, accept the compliments, and maybe even share a slice (or don’t, I won’t tell). You’re basically a dessert wizard now. Go forth and conquer your sweet tooth, and impress someone—or yourself—with your new culinary skills. You’ve earned it!


