So you’re craving something ridiculously tasty but too lazy to spend forever in the kitchen, huh? Same. High five! We’ve all been there: that sudden, intense, chocolate-shaped hole in your soul that *demands* immediate attention. But who has time for fussy recipes with a million steps and obscure ingredients? Not us, my friend, not us.
That’s where the **Chocolate Spoonful Cake** swoops in like a superhero in a cape, ready to save your taste buds and your precious couch-lounging time. This isn’t just any cake; it’s the cake you’ll be making when you need a hug in dessert form, when you want to impress without really trying, or when you just want a damn good piece of chocolate cake without the drama. Get ready to have your mind (and your spoon) blown.
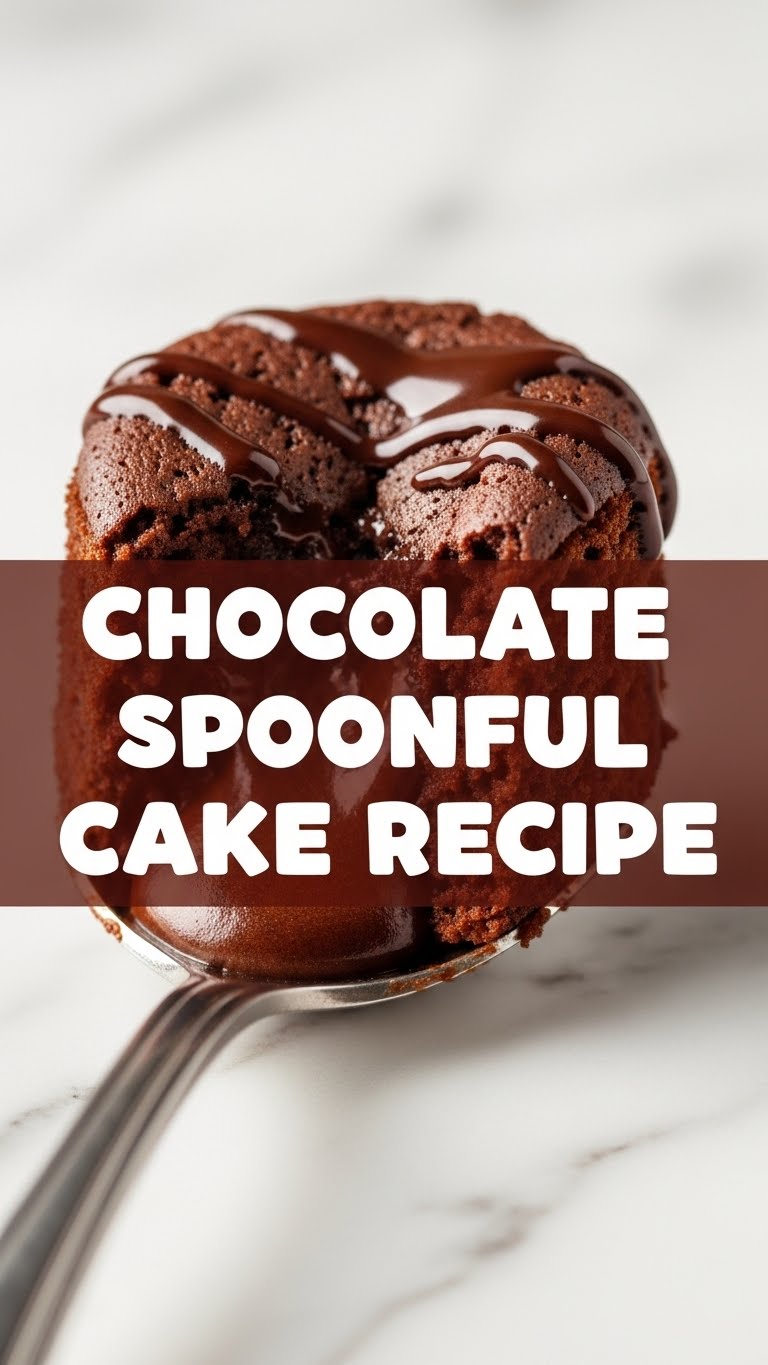
Why This Recipe is Awesome
Okay, let’s be real. This recipe is awesome for several reasons, and none of them involve rocket science or an advanced culinary degree. First off, it’s pretty much **idiot-proof**. And I say that with love, knowing full well I’ve burnt toast trying to make a grilled cheese. If *I* can make this without a major kitchen disaster, you absolutely can too.
Secondly, it uses super common pantry staples. No fancy-pants ingredients you have to trek to a specialty store for, unless your pantry is just… empty. (In which case, maybe start with groceries first?) Thirdly, the “spoonful” part isn’t just a cute name; it refers to the fact that you might just eat this straight from the pan with a spoon. Don’t judge. It’s that good. **It’s moist, rich, and ridiculously chocolatey, all without a ton of effort.** Plus, it’s got a secret ingredient that makes it super tender. Intrigued? You should be!
Ingredients You’ll Need
Gather your troops! Most of these should be chilling in your pantry already, ready for their moment of glory. Seriously, check your cupboards before you run out in your PJs.
- 1 ½ cups All-Purpose Flour: The backbone of our cake. No fancy gluten-free stuff unless you absolutely *have* to.
- 1 ½ cups Granulated Sugar: Sweetness! Don’t skimp, this is a cake, not a health food.
- ¾ cup Unsweetened Cocoa Powder: The star of the show! Dark cocoa makes it extra rich, IMO.
- 1 ½ teaspoons Baking Soda: Our fluffy-maker. Don’t confuse it with baking powder!
- 1 teaspoon Salt: Balances everything out. Crucial, don’t skip it!
- ¾ cup Vegetable Oil: Or any neutral oil. This keeps it moist and lovely.
- 1 cup Milk: Whole milk is best, but whatever you have will probably work.
- 1 Egg: Just one! This cake is efficient.
- 1 teaspoon Vanilla Extract: The flavor fairy dust.
- 1 cup Boiling Water (or Hot Coffee): The secret weapon for ultimate moistness and deep chocolate flavor. Coffee really amplifies the chocolate, FYI.
Step-by-Step Instructions
Ready? Set? Bake! These steps are so easy, you could probably do them in your sleep. (But please don’t. Hot water and sleep don’t mix.)
- Preheat & Prep: First things first, preheat your oven to **350°F (175°C)**. Then, grab a 9×13 inch baking pan and give it a good spray with non-stick cooking spray, or butter and flour it. Don’t be lazy here; nobody likes cake stuck to the pan.
- Whisk the Dry Stuff: In a large mixing bowl, whisk together your flour, sugar, cocoa powder, baking soda, and salt. Make sure there are no lumpy bits of cocoa. We’re going for smooth sailing here.
- Combine the Wet Stuff (Mostly): Add the oil, milk, egg, and vanilla extract to the dry ingredients. Stir them all together with a whisk or a rubber spatula until *just* combined. Don’t overmix! A few lumps are okay; overmixing makes tough cakes.
- Add the Hot Stuff: Now for the magic! Carefully pour the boiling water (or hot coffee) into the batter. The batter will be very thin—don’t panic, that’s normal. Stir until everything is incorporated. It will look almost liquidy, and that’s precisely what we want for ultimate moistness.
- Bake It Up: Pour the thin batter into your prepared 9×13 inch pan. Pop it into your preheated oven and bake for **30-35 minutes**.
- Check for Doneness: The cake is done when a toothpick inserted into the center comes out clean or with just a few moist crumbs. Don’t overbake, or you’ll lose that glorious moist texture!
- Cool & Enjoy: Let the cake cool in the pan on a wire rack. If you’re patient (which I am rarely), let it cool completely before frosting. If not, grab a spoon and dig in warm. No judgment here.
Common Mistakes to Avoid
Listen, we all make mistakes. It’s how we learn. But here are a few common blunders you can totally skip to ensure your cake is a masterpiece:
- **Thinking you don’t need to preheat the oven:** Rookie mistake! An oven that’s not up to temp can lead to uneven baking or a dense, sad cake.
- **Overmixing the batter:** This is a biggie! Once you add the wet ingredients, mix *just* until combined. Overmixing develops the gluten in the flour, making your cake tough and chewy instead of tender.
- **Forgetting the salt:** I know, it seems weird in a sweet cake, but salt is essential for balancing flavor and making the chocolate taste even more chocolatey. Skipping it makes the cake taste flat.
- **Opening the oven door constantly:** Resist the urge! Every time you open the door, the temperature drops, which can cause your cake to sink in the middle. Give it at least 25 minutes before peeking.
Alternatives & Substitutions
Feeling adventurous? Or just missing an ingredient? Here are a few ways to tweak this glorious cake:
- Dairy-Free? Swap the milk for a plain non-dairy milk like almond, soy, or oat. Easy peasy!
- Gluten-Free? You can usually substitute an equal amount of your favorite 1:1 gluten-free baking flour blend for the all-purpose flour. Just make sure it contains xanthan gum.
- Coffee vs. Water: Seriously, if you’re a coffee drinker, use hot brewed coffee instead of boiling water. It deepens the chocolate flavor without making the cake taste like coffee. Trust me on this one.
- Add-ins: Want more oomph? Stir in a cup of chocolate chips, a handful of chopped nuts, or even a dash of espresso powder (if not using coffee) into the batter before baking.
- Frosting Fun: This cake is amazing on its own, but it’s also a blank canvas for frosting! A simple chocolate buttercream, cream cheese frosting, or even a dusting of powdered sugar would be divine.
FAQ (Frequently Asked Questions)
Got questions? I’ve got (casual, friendly) answers!
- **Can I use margarine instead of butter?** Well, technically yes, but why hurt your soul like that? Stick to oil for this recipe, it’s what makes it so moist! Margarine might change the texture.
- **How long does this cake last?** Covered tightly at room temperature, it’s usually good for 3-4 days. But let’s be honest, it probably won’t last that long.
- **My cake sunk in the middle! What happened?** Usually, this means one of two things: either your oven temperature was too low (or you opened the door too much), or you overmixed the batter, causing it to rise too quickly and then collapse. Better luck next time, chef!
- **Can I bake this in a different size pan?** You can! For two 8 or 9-inch round pans, reduce baking time to about 25-30 minutes. For cupcakes, fill liners about two-thirds full and bake for 18-22 minutes. Adjust accordingly, just keep an eye on it!
- **Do I *have* to use boiling water? Can’t I just use warm?** Boiling water is key! It helps to “bloom” the cocoa powder, releasing more chocolate flavor, and also helps activate the baking soda for a lovely light texture. Don’t skip this step!
- **Can I freeze this cake?** Absolutely! Once completely cooled, wrap it tightly in plastic wrap and then foil. It’ll keep in the freezer for up to 3 months. Thaw at room temperature.
Final Thoughts
So there you have it, folks: your new go-to recipe for when that chocolate craving hits like a freight train. This Chocolate Spoonful Cake is a testament to the fact that you don’t need to be a Michelin-star chef to whip up something truly incredible. It’s forgiving, it’s delicious, and it’s practically begging to be made.
Now go impress someone—or yourself—with your new culinary skills. You’ve earned it! Grab that spoon, maybe a glass of milk, and enjoy every single rich, chocolatey bite. You’re welcome. 😉


