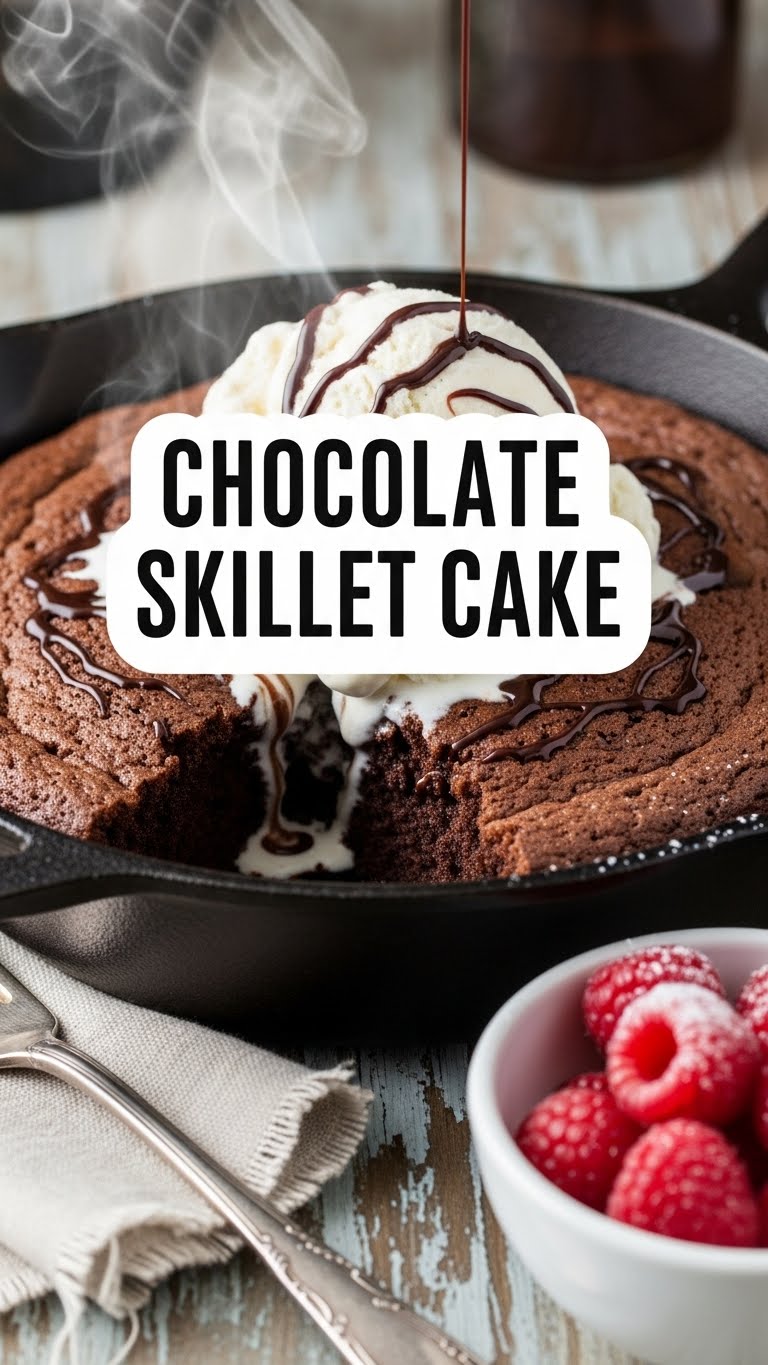
So you’re craving something warm, gooey, chocolatey, and you want it, like, yesterday? But also, you can’t be bothered with a gazillion bowls and a baking marathon? Honey, I hear you loud and clear. Welcome to your new obsession: the Chocolate Skillet Cake.
Why This Recipe is Awesome
First off, it’s ridiculously easy. We’re talking one-pan, minimal cleanup, and takes less time than deciding what to binge-watch on a Friday night. It’s essentially a “dump and stir” kind of deal, which is my kind of cooking. Seriously, **even I can’t mess this up**, and my kitchen sometimes looks like a culinary crime scene.
It looks fancy AF when it emerges from the oven, bubbling and perfect, but it’s literally the laziest cake you’ll ever make. Plus, serving cake straight from the skillet just screams “cool, effortless baker,” right?
Ingredients You’ll Need
- 1 ½ cups all-purpose flour: The unsung hero, keeping it all together. No special flours needed here!
- 1 cup granulated sugar: Because life’s sweet, and so should your cake be.
- ½ cup unsweetened cocoa powder: The darker the chocolate, the better, IMO. No wimpy stuff!
- 1 teaspoon baking soda: Our magical leavener. Don’t skip this, unless you like sad, flat cakes.
- ½ teaspoon salt: Balances everything out and makes the chocolate sing.
- 1 cup milk: Any kind works, but whole milk makes it extra luscious.
- ½ cup melted butter: Fat equals flavor, my friend. Don’t fight it.
- 1 teaspoon vanilla extract: A warm hug for your taste buds.
- ½ cup chocolate chips (optional, but highly recommended): For when you *really* want to lean into the chocolate fantasy.
Step-by-Step Instructions
Preheat & Prep: Get your oven heated to a cozy 350°F (175°C). Grab your trusty 9 or 10-inch cast iron skillet. You don’t even need to grease it, we’re wild like that.
Dry Mix: In a medium bowl, whisk together the flour, sugar, cocoa powder, baking soda, and salt. Give it a good whisk to make sure there are no lumpy bits hiding.
Wet Mix: In another, smaller bowl (or just a measuring cup), combine the milk, melted butter, and vanilla extract. Easy peasy.
Combine Forces: Pour the wet ingredients into the dry ingredients. Mix with a spoon or spatula until **just** combined. A few lumps are totally okay; an overmixed, tough cake is not. If you’re adding those glorious chocolate chips, fold them in now.
Skillet Time: Pour that dreamy batter directly into your ungreased skillet. Give it a gentle spread to make sure it’s even.
Bake It, Baby: Pop it into your preheated oven for 20-25 minutes. You’re looking for a cake that’s set around the edges and a toothpick inserted into the center comes out with moist crumbs, not wet batter.
Cool & Devour: This is the hardest part, I know, but let it cool for 10-15 minutes right there in the skillet. This helps it set. Then scoop it out warm, ideally with a giant dollop of vanilla ice cream. You earned this!
Common Mistakes to Avoid
- Forgetting to preheat the oven: Rookie mistake! A cold oven means uneven baking and a sad, dense cake. Always preheat.
- Overmixing the batter: This is cake, not bread dough. Mixing too much develops the gluten, making your cake tough and chewy. We want tender, fluffy goodness!
- Opening the oven door constantly: Patience, grasshopper. Every time you peek, you let out precious heat and mess with the baking process. Trust the timer!
- Not letting it cool (even a little): While tempting, cutting into a molten cake often means it crumbles and looks less-than-perfect. Give it a minute to set up; your future self will thank you.
Alternatives & Substitutions
- Dairy-free? No problem! Swap regular milk for almond, soy, or oat milk. Use a plant-based butter alternative. Easy peasy lemon squeezy!
- No cocoa powder? Okay, you *really* want chocolate, but ran out? You *could* try adding melted unsweetened chocolate, but it’ll change the texture a bit, FYI. Or, you know, maybe just make a different kind of cake today.
- Want to fancy it up? A sprinkle of flaky sea salt on top before baking elevates the flavor like crazy. Or add a tablespoon of instant espresso powder to the dry ingredients for a deeper chocolate kick – it won’t taste like coffee, just more chocolatey! Trust me on this one.
- Different skillet size? A smaller skillet (like an 8-inch) will give you a thicker cake (might need a few more minutes baking), a larger one (12-inch) will be thinner (might need less time). Just keep an eye on that toothpick test!
FAQ (Frequently Asked Questions)
- “Can I use self-rising flour?” You could, but then you’d want to omit the baking soda and probably the salt. Honestly, stick to all-purpose for this one; it’s less of a headache for predictable results.
- “My cake is dry! What happened?” Likely overbaked! Ovens vary, so keep a close eye on that toothpick test. Or maybe you measured your flour incorrectly – remember to **scoop and level, don’t pack it!**
- “Can I add nuts or dried fruit?” Absolutely! Walnuts, pecans, dried cherries, whatever floats your boat. Stir them in with the chocolate chips, if you’re using them.
- “Do I really need a cast iron skillet?” It’s ideal for that crispy edge and even heat distribution, but a regular oven-safe baking dish (an 8×8 or similar) works too. You might miss some of that “skillet cake charm” though.
- “Can I make it ahead?” It’s truly best served warm and fresh. But leftovers (if there are any, LOL) are still great for a day or two, covered at room temp. Just pop a slice in the microwave for a few seconds to warm it up!
Final Thoughts
See? I told you it was easy! Now you’ve got this warm, gooey, chocolatey masterpiece just begging to be devoured. Go ahead, grab a spoon (or fork, if you’re feeling fancy) and treat yo’ self. You absolutely deserve this deliciousness.
And next time someone asks if you can bake, just give ’em a knowing wink and point to your skillet. You’re a kitchen wizard now!


