So, you’re craving something rich, chocolatey, and utterly decadent but the thought of spending an entire afternoon whisking away feels… well, frankly, *unappealing*? Yeah, me too. We’ve all been there. You want that gourmet cake experience without, you know, actually *being* a gourmet chef. And honestly? You deserve it.
Why This Recipe is Awesome
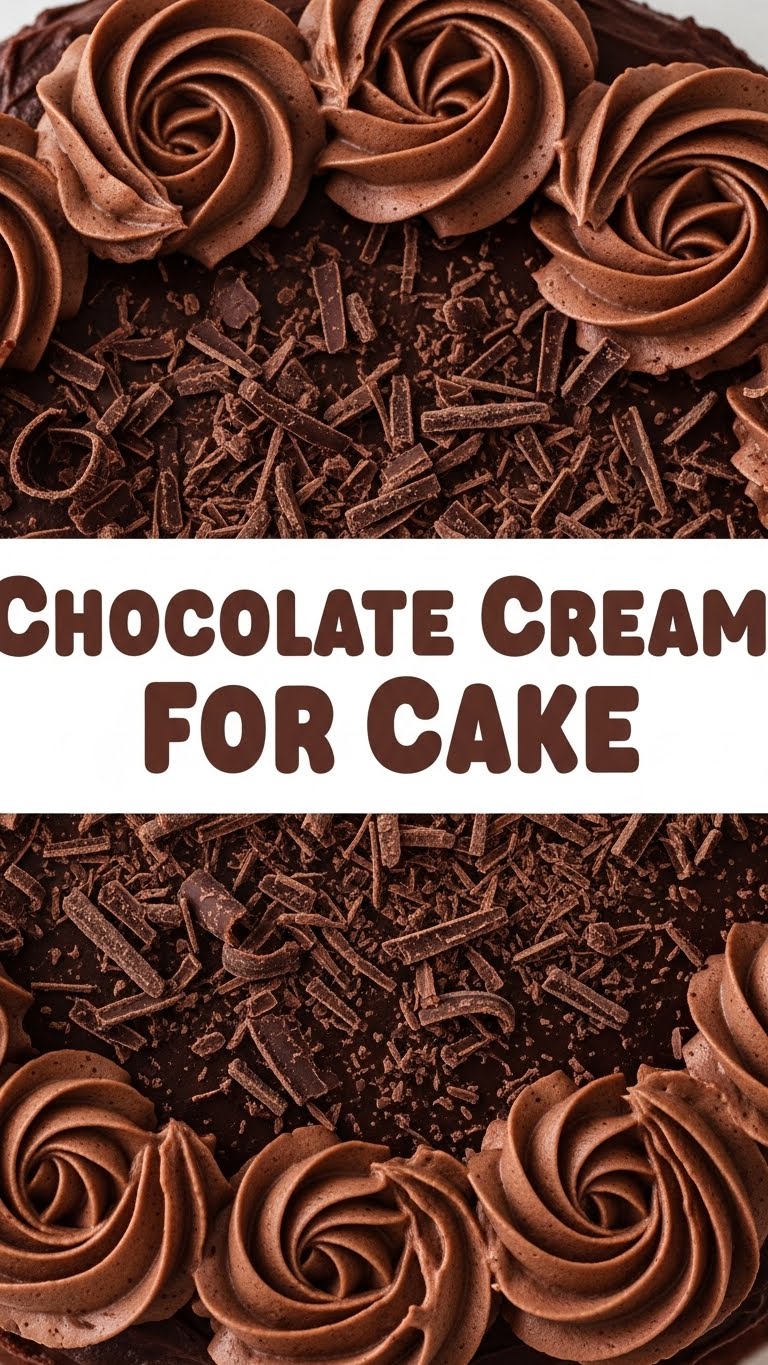
Listen, this isn’t just *a* chocolate cream. This is *the* chocolate cream. It’s so ridiculously simple, you’ll wonder if you accidentally skipped a step. (Spoiler: You didn’t.) This recipe is your new secret weapon for turning any humble cake into a showstopper. Think velvety smooth, intensely chocolatey, and so easy it practically makes itself while you binge-watch your favorite show. Seriously, it’s pretty much **idiot-proof**. Even if your usual baking adventures involve setting off the smoke alarm, you’re golden here. It’s quick, it’s delicious, and it makes you look like a culinary genius. What’s not to love?
Ingredients You’ll Need
Gather ’round, my fellow lazy gourmands! Here’s your hit list for chocolate bliss:
- 1 cup (2 sticks / 226g) Unsalted Butter, softened to room temp. The good stuff, folks, no cheap imposters!
- 3 cups (360g) Powdered Sugar, sifted. Aka icing sugar. For that silky smooth, no-lump experience. Trust me, sifting is worth the extra 30 seconds.
- ¾ cup (75g) Unsweetened Cocoa Powder, sifted. Go dark if you dare, but make sure it’s unsweetened. We’re adding our own sweetness here!
- ½ teaspoon Salt. Yes, salt! It’s like the unsung hero that makes the chocolate *pop*.
- ½ cup (120ml) Heavy Cream. The thicker, the better. This is where the “cream” in chocolate cream comes from, duh!
- 1 teaspoon Vanilla Extract. Don’t skip this. It’s like a secret handshake for amazing flavor.
Step-by-Step Instructions
Alright, apron on (or not, we’re informal here), let’s get this party started!
- First things first: Make sure your **butter is actually soft**. Like, press-your-finger-in-it-and-it-leaves-a-dent soft, not melted. Pop it in the microwave for 10-15 seconds if you’re impatient (I won’t tell).
- In a large mixing bowl (or your stand mixer if you’re fancy), beat the softened butter on medium speed until it’s light and fluffy. This usually takes about 2-3 minutes. We’re aerating it, baby!
- Now, gradually add your **sifted powdered sugar, sifted cocoa powder, and that tiny pinch of salt**. Start on low speed to avoid a delicious cocoa dust cloud erupting in your kitchen (unless that’s your vibe). Once it’s mostly combined, crank it up to medium-high and beat until everything is wonderfully incorporated, scraping down the sides of the bowl as needed.
- Pour in the **heavy cream and vanilla extract**. Beat on medium-high speed until the mixture is light, fluffy, and looks utterly irresistible. This could take another 3-5 minutes. The more you beat, the fluffier it gets!
- Give it a taste. Need more chocolate oomph? A bit more sugar? Adjust to your heart’s content! Your chocolate cream is now ready to slather on a cake, cupcakes, or just eat with a spoon. No judgment here, **IMO, spoon-eating is mandatory**.
Common Mistakes to Avoid
Even though this recipe is practically a culinary unicorn, there are a few rookie mistakes to dodge:
- Cold Butter Catastrophe: Trying to beat cold butter is like trying to reason with a toddler – messy and ultimately fruitless. **Always use softened butter!**
- The Cocoa Cloud Incident: Not sifting your powdered sugar and cocoa powder? Get ready for lumps and a potential explosion of fine chocolate dust when you crank up the mixer. **Sift, my friend, sift!**
- Overbeating Overkill: While beating adds fluff, there’s a limit. If you beat it for an excessive amount of time after adding the cream, it can sometimes become grainy or too stiff. Pay attention to the texture!
- Ignoring the Sides: Don’t forget to scrape down the sides of the bowl! Otherwise, you’ll have pockets of unmixed ingredients lurking, ready to surprise you with a bland bite.
Alternatives & Substitutions
Feeling adventurous? Or just ran out of something? Here are some quick swaps and twists:
- Dairy-Free Delight: You *can* use a good quality dairy-free butter substitute and full-fat coconut cream (chilled, scoop out the thick part only) instead of dairy. Will it be exactly the same? No, but it’ll still be pretty darn good.
- Cocoa Power-Up: Want it super dark and intense? Use Dutch-processed cocoa powder. If you’re out of unsweetened, you can use regular cocoa, but you might want to slightly reduce the powdered sugar.
- Flavor Frenzy: Swap out vanilla extract for almond extract for a nutty twist, or a splash of your favorite liqueur (like Kahlua or Grand Marnier) for an adult version. **Espresso powder** is also a fantastic addition; it doesn’t make it taste like coffee, it just amplifies the chocolate!
- Less Sweet Option: If you prefer a less sweet cream, start with 2 cups of powdered sugar and add more to taste. You’re the chef!
FAQ (Frequently Asked Questions)
Got questions? I’ve got answers! (Mostly.)
- Can I use granulated sugar instead of powdered sugar? Oh honey, no! Granulated sugar will give you a gritty, unpleasant texture. Powdered sugar is key for that silky smooth finish. Don’t do it to yourself.
- How long does this chocolate cream last? Tightly covered in the fridge, it’ll last for about 3-5 days. If it gets a bit stiff, let it come to room temp for 20-30 minutes and give it a quick whip with your mixer before using.
- My cream is too thin/thick, what did I do wrong? If it’s too thin, it might be due to warm butter, not enough powdered sugar, or not enough whipping time. Try chilling it for 15-20 minutes and re-whipping. Too thick? Add a tablespoon of cream at a time until it reaches your desired consistency.
- Can I freeze this chocolate cream? While you *can*, it’s not ideal. The texture often changes when thawed, becoming a bit grainy. It’s best enjoyed fresh!
- What kind of cake is this best for? Honestly, everything! Chocolate cakes, vanilla cakes, red velvet, even a plain ol’ yellow cake. It’s like the little black dress of cake toppings – goes with everything and always looks fabulous.
- Do I need a stand mixer for this? A stand mixer makes life easier, sure, but a good old electric hand mixer works perfectly fine! Consider it an arm workout.
Final Thoughts
You just made magic, friend! Go forth and spread that chocolaty goodness. Whether it’s for a fancy cake that will awe your guests, a quick cupcake decorating session, or just a spoonful straight from the bowl (again, no judgment!), you’ve mastered a dessert essential. Now go impress someone – or yourself – with your new culinary superpowers. You’ve earned it!


