So, you’re eyeing that fancy chocolate mousse cake at the bakery but also eyeing your wallet with a suspicious glint, huh? Or maybe you just want to impress someone (or yourself, no judgment here!) without spending your entire weekend enslaved to a hot oven? My friend, you’ve stumbled upon the perfect solution. We’re about to dive into making a Chocolate Mousse Cake that’s so ridiculously easy and delicious, you’ll wonder why you ever paid for one. Let’s get this party started!
Why This Recipe is Awesome
Okay, let’s be real. This isn’t just “awesome”; it’s legendary. Why? Because it’s practically **idiot-proof**. And if I, notorious for burning toast and once setting off a smoke alarm trying to boil water (don’t ask), can nail this, so can you. It looks super fancy, tastes like a dream, and requires surprisingly little effort. Seriously, the hardest part is waiting for it to chill without sneaking a spoonful. Plus, who doesn’t love the combo of rich, moist chocolate cake with airy, velvety mousse? It’s a match made in dessert heaven, **IMO**.
Ingredients You’ll Need
Gather your troops! Don’t worry, these aren’t exotic ingredients, just your regular pantry superheroes.
For the Cake Base:
- 1 ½ cups All-Purpose Flour: The backbone of our operation. Don’t go fancy, regular AP is perfect.
- 1 ½ cups Granulated Sugar: Because life is sweet, and so should your cake be.
- ¾ cup Unsweetened Cocoa Powder: The deeper, the better. Get the good stuff!
- 1 ½ tsp Baking Soda: Our little lift-off specialist.
- ¾ tsp Baking Powder: Baking soda’s trusty sidekick.
- 1 tsp Salt: Don’t skip it; it brings out all the chocolatey goodness.
- 2 Large Eggs: Room temp if you can remember, for better emulsification.
- ¾ cup Buttermilk: Or regular milk with a splash of vinegar/lemon juice if you’re in a pinch. Makes it moist!
- ¼ cup Vegetable Oil: Adds moisture without making it too dense.
- 1 tsp Vanilla Extract: The secret handshake of deliciousness.
- ¾ cup Hot Water or Coffee: Activates the cocoa and makes it extra fudgy. Coffee enhances chocolate, **FYI**!
For the Chocolate Mousse:
- 10 oz Good Quality Dark Chocolate: (60-70% cacao is ideal). This is where your mousse gets its soul, so don’t skimp!
- 2 Large Eggs (separated): We’ll use the yolks for richness and whites for airiness.
- ¼ cup Granulated Sugar: Just a touch to sweeten things up.
- 2 cups Heavy Cream: Cold, please! It whips up better.
- 1 tsp Vanilla Extract: Again, for that touch of magic.
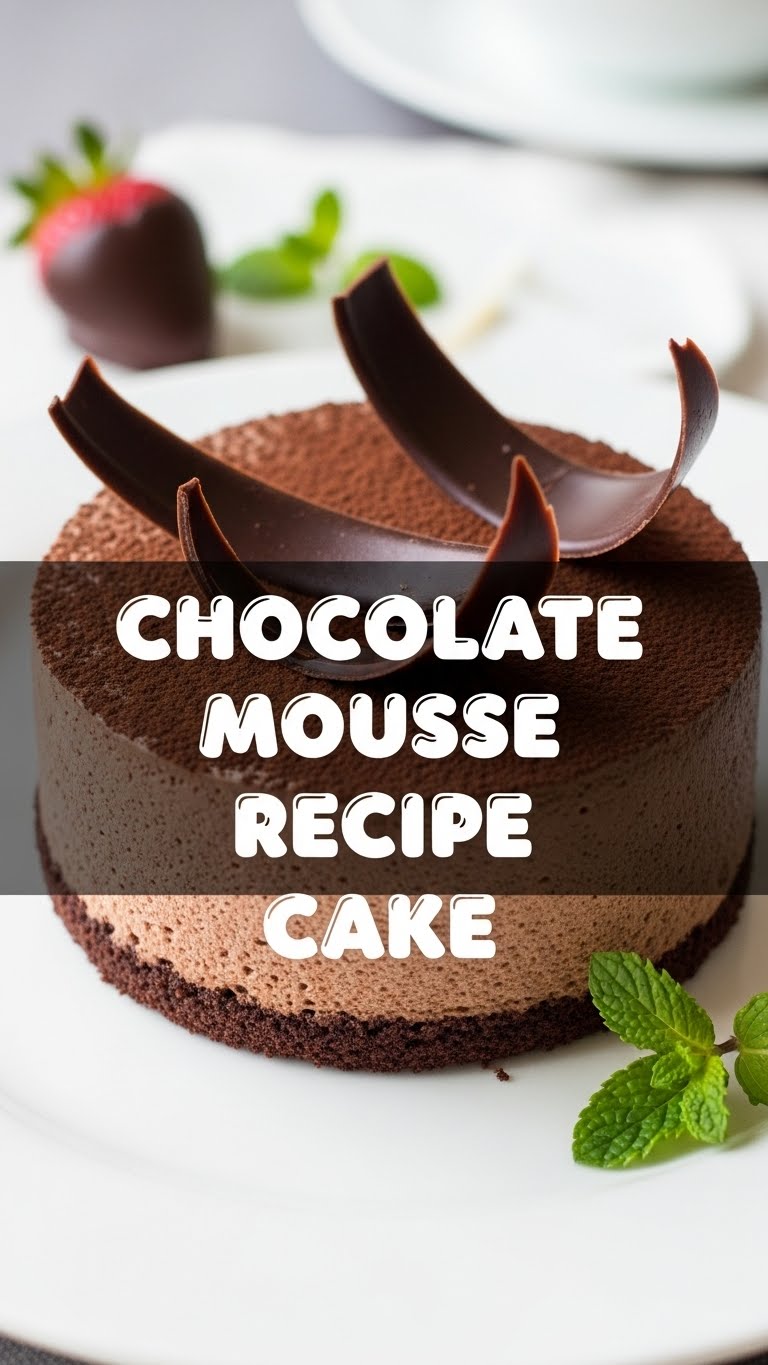
For Garnish (Optional but Recommended!):
- Chocolate Shavings or Sprinkles: For that “I’m a pro” look.
- Fresh Berries: Strawberries, raspberries – a pop of color and freshness.
Step-by-Step Instructions
Alright, apron on, “pump-up” playlist ready? Let’s bake some magic!
Part 1: The Cake Base
- Preheat your oven to **350°F (175°C)**. Grease and flour a 9-inch round cake pan. Line the bottom with parchment paper for extra insurance against sticking.
- In a large bowl, whisk together the flour, sugar, cocoa powder, baking soda, baking powder, and salt. Make sure there are no lumps.
- Add the eggs, buttermilk, oil, and vanilla extract to the dry ingredients. Beat with an electric mixer (or a whisk if you’re feeling ambitious) on medium speed for about 2 minutes, until smooth and well combined.
- Carefully pour in the hot water (or coffee). The batter will be thin, and that’s totally normal. Stir until just combined. **Do not overmix!**
- Pour the batter into your prepared cake pan. Bake for **30-35 minutes**, or until a wooden skewer inserted into the center comes out clean.
- Let the cake cool in the pan for 10-15 minutes, then invert it onto a wire rack to cool completely. **Patience, young grasshopper!**
Part 2: The Velvety Mousse
- Melt the dark chocolate. You can do this in a microwave (in 30-second bursts, stirring in between) or over a double boiler. Let it cool slightly but remain fluid.
- In a medium bowl, whisk the egg yolks with ¼ cup of sugar until pale and slightly thickened. This is called a *pâte à bombe* base, which adds richness and stability.
- Gradually whisk the slightly cooled melted chocolate into the egg yolk mixture until smooth.
- In a separate, very clean bowl, whip the heavy cream and vanilla extract until medium-stiff peaks form. Don’t go full stiff, or it’ll be too dense.
- Gently fold about a third of the whipped cream into the chocolate mixture to lighten it. Then, fold in the remaining whipped cream in two additions, being careful not to deflate it.
Part 3: Assembly & Glory
- Once your cake base is completely cool, place it on your serving plate. If you want, you can level the top for a perfectly flat surface, but it’s not strictly necessary for this casual vibe.
- Spoon the chocolate mousse over the cake base, spreading it evenly to the edges. Make it look pretty!
- Refrigerate for at least **4 hours**, or ideally overnight, to allow the mousse to set properly. This is the hardest part, I know.
- Before serving, garnish with chocolate shavings, fresh berries, or whatever makes your heart sing. Slice, serve, and accept all the compliments!
Common Mistakes to Avoid
We’ve all been there. Learn from my past kitchen catastrophes!
- Not preheating the oven: Rookies! Your cake needs consistent heat from the get-go. Otherwise, it won’t rise properly and might turn out dense.
- Overmixing the cake batter: You want just combined, not “I’m going for the world record in mixing!” Overmixing develops gluten too much, leading to a tough cake.
- Working with warm cream for the mousse: Cold cream whips up faster and holds its shape better. Keep that bowl and whisk in the fridge for a few minutes before starting, too!
- Not letting the cake cool completely: If you try to put mousse on a warm cake, it’s going to melt into a sad, chocolatey puddle. **Resist the urge!**
- Not chilling the mousse long enough: It needs time to set and firm up. If you cut it too soon, it’ll be runny and disappointingly sloppy. Patience is a virtue, especially in dessert making.
Alternatives & Substitutions
Feeling creative? Or just out of buttermilk? No worries, I got you!
- Buttermilk Substitute: Out of buttermilk? Mix ¾ cup regular milk with ¾ tablespoon white vinegar or lemon juice. Let it sit for 5-10 minutes until it curdles slightly. Voila!
- Different Chocolate: While dark chocolate gives that rich, deep flavor, you can absolutely use semi-sweet chocolate for a milder, sweeter mousse. Milk chocolate might be too sweet and not firm up as well, so proceed with caution.
- Coffee vs. Water: I highly recommend hot coffee in the cake base if you like a deeper chocolate flavor, but hot water works perfectly fine if you’re not a coffee person.
- Dairy-Free Option: For the cake, you can easily substitute plant-based milk and oil. For the mousse, use full-fat canned coconut cream (chilled overnight) instead of heavy cream, and dairy-free chocolate. The texture will be slightly different but still delicious!
- Flavor Boosters: Add a pinch of espresso powder to your cake batter for an even richer chocolate taste, or a splash of orange liqueur to your mousse for an adult twist.
FAQ (Frequently Asked Questions)
- “Can I make this cake ahead of time for a party?” Oh my goodness, yes! This cake actually tastes *better* the next day after the flavors have melded and the mousse has fully set. You can make it up to 2-3 days in advance and keep it chilled.
- “My mousse isn’t setting, what gives?” Hmm, did you use cold cream? Did you fold gently? It might just need more chilling time. If it’s truly liquid after overnight chilling, you might have overwhipped the cream or didn’t get enough air into it. Next time, try adding a tiny bit of gelatin (dissolved in hot water) to the melted chocolate if you’re worried, but usually, proper whipping and chilling do the trick.
- “Can I use store-bought cake mix for the base?” You absolutely can! If you’re really short on time or just feeling lazy (again, no judgment!), grab a good quality chocolate cake mix and follow the package directions for baking. Just make sure it cools completely before adding the mousse.
- “What kind of cocoa powder is best?” Unsweetened natural cocoa powder or Dutch-processed cocoa powder both work, but they have slightly different pH levels. For this recipe, either is fine, but Dutch-processed often gives a darker, less bitter chocolate flavor.
- “How do I store leftovers (if there are any!)?” Keep it covered loosely with plastic wrap in the fridge for up to 4-5 days. Though, honestly, it rarely lasts that long!
- “Can I add fruit to the layers?” Absolutely! Raspberries or sliced strawberries nestled between the cake and the mousse would be divine. Just arrange them after you’ve spread a thin layer of mousse, then top with the rest of the mousse.
Final Thoughts
And there you have it, folks! Your very own, incredibly delicious, ridiculously impressive Chocolate Mousse Cake. You’ve conquered the oven, mastered the mousse, and probably got some chocolate on your nose (it’s a badge of honor, embrace it). Now go impress someone—or yourself—with your new culinary skills. You’ve earned that slice, so dig in and enjoy every single decadent bite!


