Picture this: it’s a chilly afternoon, you’ve got a sweet tooth that just won’t quit, and the thought of spending hours in the kitchen makes you want to take a nap instead. Been there! What if I told you that you could whip up a warm, cinnamon-spiced apple crisp using—wait for it—cake mix? Yep, that box collecting dust in your pantry is about to become your new best friend. This Apple Crisp with Cake Mix recipe is about to save your dessert reputation while barely making you lift a finger. Win-win!
Why This Recipe is Awesome
Let me count the ways this recipe rocks. First, it’s practically impossible to mess up. Seriously, if you can open a box and chop an apple without losing a finger, you’re qualified. Second, it takes like 10 minutes of actual work. The rest is just you lounging around while delicious smells waft from your oven. Third, everyone will think you channeled your inner Martha Stewart, when really you just dumped some stuff in a pan. And finally, it tastes like fall had a baby with comfort food—absolutely divine.
Ingredients You’ll Need
- 1 box of yellow cake mix (the hero of our lazy baking story)
- 6-8 medium apples (Granny Smith if you’re fancy, whatever’s on sale if you’re like me)
- ½ cup butter, melted (diet culture can take the day off)
- ½ cup brown sugar (packed with love…and calories)
- 1 tablespoon cinnamon (more if you’re a cinnamon fiend)
- ¼ teaspoon nutmeg (optional but highly recommended for that “I actually know what I’m doing” flavor)
- 2 tablespoons lemon juice (keeps those apples from looking sad and brown)
- Vanilla ice cream for serving (because we’re not savages)
Step-by-Step Instructions
- Preheat your oven to 350°F (175°C). Yes, you actually need to preheat. No, your oven doesn’t magically reach temperature the second you turn it on.
- Prep your apple squad. Peel, core, and slice those apples into thin pieces. If they’re not uniform, who cares? We’re going for rustic here.
- Give those apples some flavor therapy. Toss them with lemon juice, half the cinnamon, and half the brown sugar in a bowl. They’ve had a rough day being chopped up—treat them right.
- Dump the seasoned apples into a greased 9×13 baking dish. Spread them out so they’re somewhat level, but don’t stress about it—this isn’t architectural school.
- Now for the fun part—the topping! In a medium bowl, mix the dry cake mix with the remaining cinnamon, brown sugar, and nutmeg if using.
- Drizzle melted butter all over the cake mix. Use a fork to gently mix until you get a crumbly texture. If some dry spots remain, that’s perfectly fine—it adds character.
- Sprinkle this magnificent crumbly mixture over your apples. Try to cover most of the apple layer, but again, we’re embracing imperfection here.
- Bake for 40-45 minutes or until the top is golden brown and the apples are bubbling around the edges like they’re gossiping about the cake mix.
- Let it cool for at least 10 minutes before serving (I know it’s hard, but your mouth will thank you for not immediately scorching it).
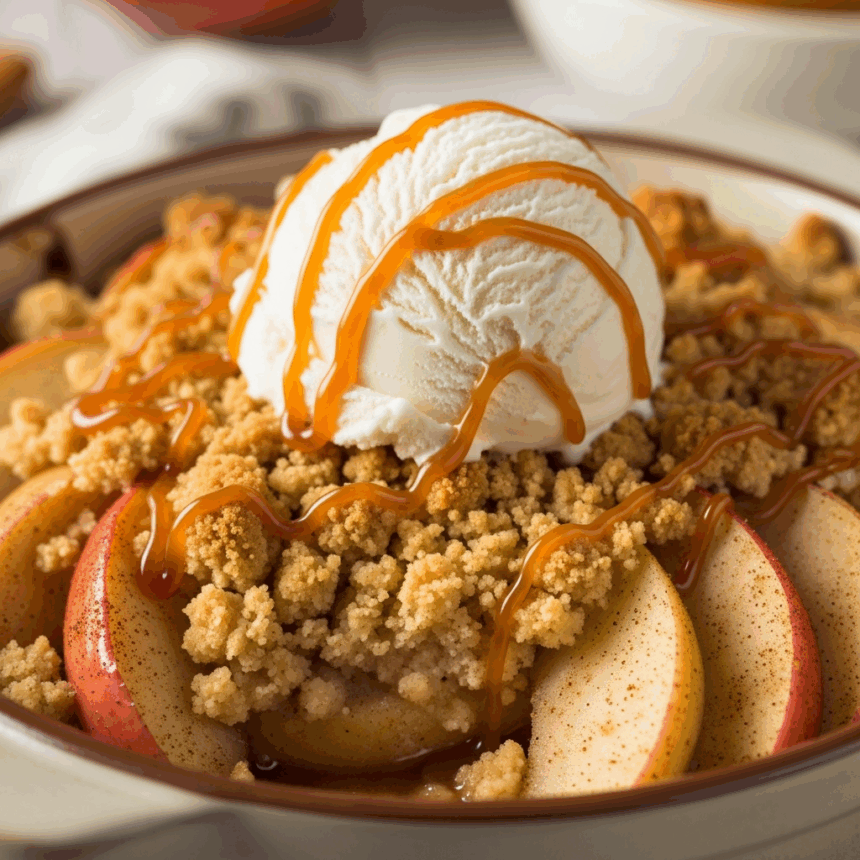
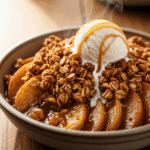
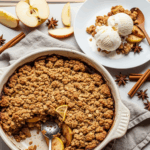
- Top with vanilla ice cream and watch it melt into all those nooks and crannies. Heaven!
Common Mistakes to Avoid
Let’s talk about how not to mess up this nearly un-messupable recipe:
- Skipping the lemon juice — Unless you enjoy brown, sad-looking apples, don’t skip this step. Plus, it adds a nice little zing.
- Using a white/vanilla cake mix instead of yellow — I mean, you can, but the yellow gives that perfect “buttery” flavor that screams homemade (even though we know better).
- Not melting the butter — Trying to mix solid butter with cake mix will give you a weird paste instead of lovely crumbles. Physics, people.
- Slicing apples too thick — Unless you enjoy crunchy, half-raw apple chunks, slice them on the thinner side.
- Getting fancy with measurements — This recipe is forgiving. No need to break out the precision scale. Eyeball it and move on with your life.
Alternatives & Substitutions
Not feeling exactly what I’ve laid out? No problem. Here’s how to make this recipe your own:
- Cake Mix Options: Yellow cake is the gold standard IMO, but spice cake mix works amazingly well too. Chocolate cake mix + apples? Weirdly good, don’t knock it.
- Fruit Swap: Not an apple fan? Try peaches, pears, or a berry mix. Just adjust your sugar if using tart berries (they need more) or super sweet peaches (they need less).
- Make it Nutty: Add ½ cup of chopped walnuts, pecans, or almonds to the topping. Adds crunch and makes you look like you put in effort.
- Spice it Up: Add a pinch of cloves, cardamom, or ginger if you’re feeling adventurous. Or don’t. I’m not the spice police.
- Healthier Version: Replace half the butter with applesauce. Does it taste exactly the same? No. Will it still be delicious? Yes. Will you feel slightly less guilty? Maybe.
FAQ (Frequently Asked Questions)
Can I make this ahead of time?
Absolutely! Assemble it, cover with plastic wrap, and refrigerate for up to 24 hours before baking. Just add an extra 5-10 minutes to the baking time since you’re starting cold.
Do I really need to peel the apples?
Are you that lazy? (No judgment, I am too.) You can leave the peels on if they’re thin-skinned apples, but be warned—some people might give you side-eye for the texture.
Can I use margarine instead of butter?
Technically yes, practically no. Butter brings flavor to this party that margarine just can’t match. But if dietary restrictions demand it, go ahead. I’ll only judge a little.
How do I store leftovers? (As if there will be any…)
Cover and refrigerate for up to 3-4 days. Reheat individual portions in the microwave for 30-45 seconds, topped with fresh ice cream because you deserve it.
Can I freeze this masterpiece?
Yes! Bake it, cool it completely, wrap it tightly, and freeze for up to 3 months. Thaw overnight in the fridge and reheat in a 350°F oven until warmed through (about 20 minutes).
My topping stayed powdery in some spots. Did I ruin it?
Nope! Those slightly powdery spots are actually charming (that’s what I tell myself). Next time, just make sure your butter is distributed more evenly, or use a smidge more butter.
Final Thoughts
Listen, we both know what just happened here. You just learned how to make a dessert that takes minimal effort, tastes like you slaved away all day, and uses ingredients you probably already have. If that doesn’t make you feel like a kitchen genius, I don’t know what will.
This apple crisp is perfect for last-minute dinner guests, “I need something sweet NOW” emergencies, or just because it’s Tuesday and you deserve something delicious. Serve it warm, serve it with ice cream, serve it for breakfast (I won’t tell). Just make it and thank me later.
Now go forth and be the dessert hero your household needs. They don’t need to know how easy it was—that’s our little secret. 😉
