Ever found yourself desperately craving apple crisp but discovered your pantry is as barren as your social calendar during tax season? No oats? No problem! This oat-free apple crisp recipe is about to become your new BFF. It’s like the regular version’s cooler, simpler cousin who shows up with better hair and fewer demands.
Why This Recipe is Awesome
Let me count the ways this no-oat apple crisp will change your dessert game forever:
First off, it’s ridiculously simple. We’re talking “I-just-woke-up-from-a-nap-and-still-managed-to-make-this” level of easy. No fancy equipment, no obscure ingredients you’ll use once and then forget about until they grow their own ecosystem in the back of your pantry.
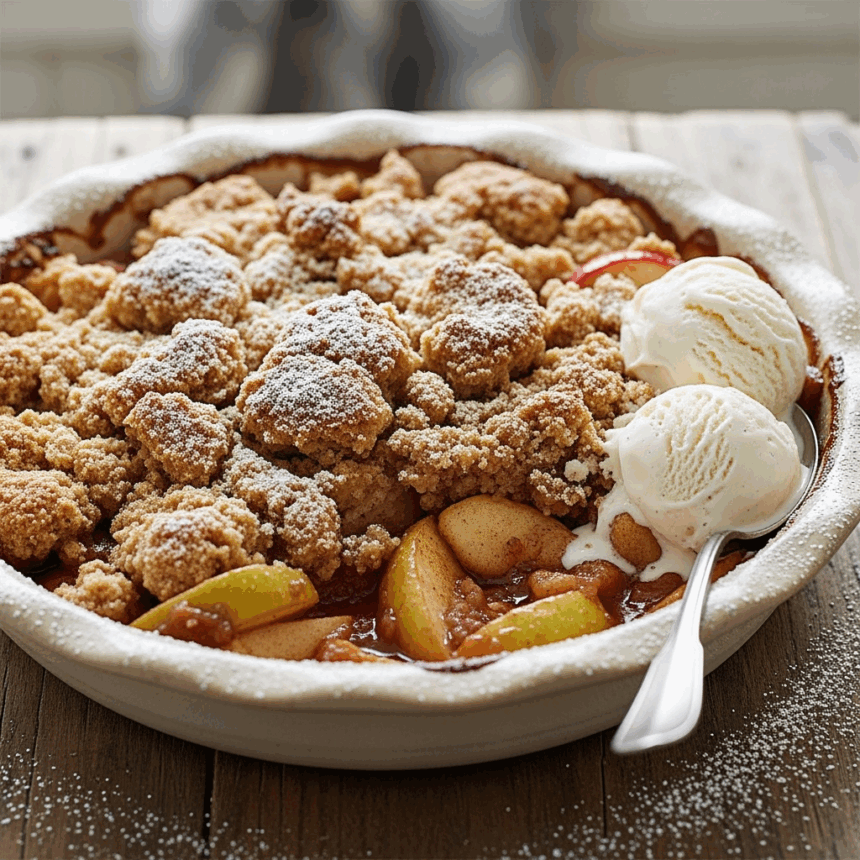
Second, the topping is basically a cookie-like crumble that gets all golden and caramelized. Who needs oats when you have buttery, cinnamon-y, sugar-kissed goodness? Not us, that’s who.
Plus, it’s customizable enough to accommodate whatever sad apples are lingering in your fruit drawer. Those slightly wrinkled Granny Smiths? Perfect. That forgotten Honeycrisp? Throw it in!
Ingredients You’ll Need
For the apple filling:
- 6 medium apples (any mix of varieties, preferably some tart ones – they have more personality)
- ¾ cup granulated sugar (or less if you’re one of those “health-conscious” types)
- 2 tablespoons all-purpose flour (to thicken things up, like Spanx for your filling)
- 1 teaspoon cinnamon (the minimum acceptable amount, IMO)
- ¼ teaspoon nutmeg (optional, but why deprive yourself?)
- 1 tablespoon lemon juice (to keep those apples from looking sad and brown)
For the oat-free crumble topping:
- 1 cup all-purpose flour (just regular flour, nothing fancy)
- 1 cup brown sugar, packed (like how you pack your emotional baggage, but tastier)
- ½ cup cold butter, cubed (the colder the better – like my ex’s heart)
- ½ teaspoon cinnamon (because there’s no such thing as too much cinnamon)
- ¼ teaspoon salt (to balance the sweetness, and your chakras)
Step-by-Step Instructions
- Preheat your oven to 375°F (190°C). Yes, you actually need to preheat – it’s not just a suggestion, Karen.
- Peel, core, and slice your apples into roughly ¼-inch slices. Uniform size is key here – we’re not savages.
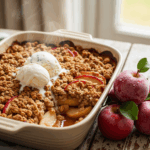
- Toss your apple slices in a bowl with sugar, flour, cinnamon, nutmeg, and lemon juice until they’re all coated and looking delicious. Transfer this mixture to a 9×9 inch baking dish.
- In another bowl, combine flour, brown sugar, salt, and cinnamon for the topping. Mix it up.
- Add the cold butter cubes to your flour mixture. Now get in there with your fingers and pinch it all together until it resembles coarse crumbs. Think “sandy but with chunks” – like the floor of your car after a beach day.
- Sprinkle (or let’s be honest, dump) the crumble topping evenly over your apples.
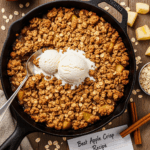
- Bake for 35-40 minutes until the top is golden brown and the apple filling is bubbling at the edges like a witch’s cauldron. Your kitchen should smell amazing right about now.
- Let it cool for at least 15 minutes before serving (I know it’s hard, but your taste buds will thank you for not immediately scorching them).
Common Mistakes to Avoid
Even a recipe this foolproof isn’t entirely idiot-proof. Here’s what not to do:
- Skipping the flour in the filling – unless you want apple soup instead of apple crisp.
- Using warm or room-temperature butter for the topping. Your crumble will become one giant, sad cookie. Cold butter = crumbly goodness.
- Under-baking it because you’re impatient. Raw flour topping tastes like disappointment and regret.
- Cutting the apples too thick – unless you enjoy the texture of slightly softened wood chunks in your dessert.
- Forgetting to put a baking sheet under your dish in the oven. Cleaning burnt sugar off the bottom of your oven is a special kind of torture.
Alternatives & Substitutions
Because we all know you’re going to ignore half the ingredient list anyway, here are some acceptable swaps:
For the topping: Out of all-purpose flour? Try cake flour (slightly less), or a gluten-free blend if you’re into that sort of thing. Crushed graham crackers or cookies can work too – I won’t tell the crisp police.
Sugar alternatives: White sugar and maple syrup work well in the filling if you’ve somehow run out of brown sugar. Just don’t use those artificial sweeteners unless you want your dessert to taste like broken promises.
Fruit swaps: Pears work beautifully here (they’re basically apples’ sophisticated cousins). You can also throw in some berries with your apples for a mixed fruit situation. Peaches in summer? Absolutely.
Spice it up: Add some cardamom, ginger, or even a tiny pinch of cloves if you’re feeling adventurous. Or keep it classic with just cinnamon – sometimes basic is beautiful.
FAQ (Frequently Asked Questions)
Can I make this ahead of time?
Absolutely! Assemble it, cover with plastic wrap, and refrigerate for up to 24 hours before baking. Just add about 5-10 minutes to your baking time if you’re starting from cold. Your future self will high-five your past self.
How do I store leftovers? (As if there will be any…)
Cover it and refrigerate for up to 3 days. It’s actually amazing cold, straight from the fridge at midnight while standing in the light of the open refrigerator. Not that I would know.
Can I freeze this masterpiece?
You can! Freeze after baking and cooling completely. Thaw overnight in the fridge and reheat in a 350°F oven until warmed through. The topping might not be quite as crisp, but it’ll still be delicious.
Do I really need to peel the apples?
Technically no, but do you really want to be the person serving apple crisp with chewy bits of peel? I didn’t think so. Take the extra five minutes.
What’s the best ice cream to serve with this?
Vanilla is the classic choice for a reason. But let’s be honest – any ice cream is the right ice cream. Except maybe mint chocolate chip. That’s just weird with apple crisp. Fight me.
Final Thoughts
So there you have it – apple crisp that doesn’t need oats to be amazing, just like you don’t need that ex who never appreciated your cooking anyway. This dessert is forgiving, adaptable, and will make your house smell like you have your life together (even if the rest of it is in shambles).
The beauty of this recipe is its simplicity. No fancy techniques, no obscure ingredients – just good old-fashioned comfort food that’s impossible to mess up. Well, almost impossible. I believe in you though.
Now go forth and bake! Whether you’re making this to impress someone special or just treating yourself after a long day of existing, you deserve this warm hug of a dessert. And remember – calories consumed while standing don’t count, so feel free to eat it directly from the baking dish. Your secret’s safe with me.
