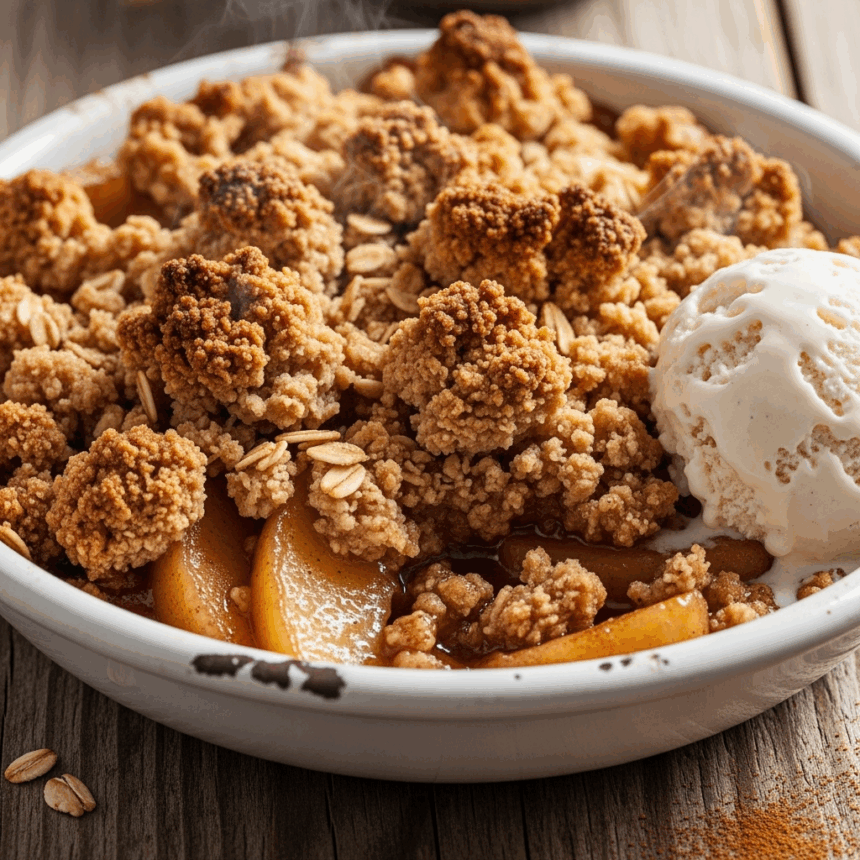
Ever bite into an apple crisp that was…not so crisp? Yeah, me too. It’s like false advertising in dessert form. But fear not, fellow dessert enthusiasts! I’ve spent way too many hours perfecting the art of the genuinely crispy apple crisp. This recipe delivers that satisfying crunch you’ve been dreaming of, without requiring a culinary degree. Think of it as the solution to all those sad, soggy apple desserts that have disappointed you in the past.
Why This Recipe is Awesome
Let me count the ways this apple crisp outshines the competition. First, it has an almost ridiculous amount of buttery, oaty topping. I’m talking a topping-to-filling ratio that would make your grandma blush. Second, we use a special baking technique that ensures the topping stays crispy even when stored overnight (though let’s be honest, leftovers are rarely an issue). And third, it’s basically foolproof – I once made this while simultaneously binge-watching an entire season of my favorite show and it still turned out amazing. If that’s not kitchen magic, I don’t know what is.
Ingredients You’ll Need
For the Apple Filling:
- 6-7 medium apples (Honeycrisp, Granny Smith, or a mix of both – the more personality in your apples, the better)
- ¾ cup granulated sugar (or less if you’re one of those “health-conscious” people)
- 1 tablespoon lemon juice (bottled is fine, no need to get fancy)
- 2 tablespoons all-purpose flour (to thicken things up)
- 1 teaspoon cinnamon (more if you’re a cinnamon fiend like me)
- ¼ teaspoon nutmeg (optional, but why wouldn’t you?)
- Pinch of salt (trust me on this one)
For the Extra-Crisp Topping:
- 1 cup old-fashioned oats (not the quick kind – we’re not savages)
- 1 cup all-purpose flour (the gluten-free crowd can substitute, I won’t judge)
- 1 cup brown sugar, packed (this is NOT the place to cut calories)
- ½ cup chopped nuts (pecans or walnuts work best, but almonds will do in a pinch)
- ½ teaspoon cinnamon (because there’s no such thing as too much cinnamon)
- ¼ teaspoon salt
- ¾ cup cold butter, cubed (THE secret ingredient – don’t even think about substituting margarine)
- 2 tablespoons cornflakes, crushed (my secret weapon for extra crunch!)
Step-by-Step Instructions
- Prep your station. Preheat your oven to 375°F (190°C). Grab a 9×13 baking dish and give it a light spray with cooking oil. This is also a good time to pour yourself a glass of wine if that’s your baking style.
- Deal with the apples. Peel, core, and slice those apples into ¼-inch pieces. Don’t go thinner, or you’ll end up with apple mush instead of apple crisp.
- Mix the filling. In a large bowl, toss your apple slices with sugar, lemon juice, flour, cinnamon, nutmeg, and salt until every slice is coated. Think of it as giving your apples a spa treatment before their grand finale.
- Spread the filling. Pour your apple mixture into the prepared baking dish, spreading it out evenly. If there’s liquid pooling at the bottom of your bowl, leave it behind – nobody wants soggy crisp.
- Make the epic topping. In another bowl, mix together the oats, flour, brown sugar, nuts, cinnamon, and salt. Add the cold butter cubes and use your fingers to work it in until the mixture resembles coarse crumbs with some pea-sized butter chunks. This is your arm workout for the day, you’re welcome.
- Add the secret crunch factor. Fold in the crushed cornflakes. I know it sounds weird, but this is what separates the amateur crisps from the professional-grade ones.
- Apply the topping. Sprinkle your topping mixture generously over the apples. And when I say generously, I mean really pile it on there. We’re going for maximum crunch coverage.
- Bake to perfection. Pop it in the oven for 45-50 minutes until the topping is golden brown and the filling is bubbly around the edges. If the top starts browning too quickly, tent it with foil.
- The hardest step: wait. Let it cool for at least 15 minutes before serving. I know it’s torture, but this cooling time is crucial for achieving peak crispiness.
Common Mistakes to Avoid
Skimping on the topping – This isn’t diet food, folks. The generous topping is what makes this recipe special.
Cutting your apples too thin – You’ll end up with apple sauce instead of crisp. Nobody wants that identity crisis in their dessert.
Using melted or room-temperature butter – Cold butter creates those perfect little pockets of buttery goodness in the topping. Science!
Skipping the cooling period – I get it, the smell is intoxicating. But serving it straight from the oven means steam, and steam means soggy topping. Patience, grasshopper.
Covering leftovers with plastic wrap – This traps moisture and kills the crispiness faster than you can say “disappointing breakfast.” Use foil instead.
Alternatives & Substitutions
Fruit swaps: Not an apple fan? (Who are you?!) This topping works beautifully on peaches, berries, or a mix of whatever fruits are threatening to turn bad in your fridge.
Gluten-free version: Substitute the flour with your favorite gluten-free blend and make sure your oats are certified gluten-free. The rest remains the same!
Nut allergies: Simply omit the nuts and add an extra ¼ cup of oats for texture. Or throw in some sunflower seeds if you’re feeling adventurous.
Reduced sugar option: Cut the sugar in the filling by half and use ¾ cup of brown sugar in the topping. It’ll still be delicious, just slightly less dessert-like. But TBH, why bother?
Spice it up: Add a dash of cardamom, ginger, or even a tiny bit of clove to give it that fancy “what’s in this?” quality that will have your guests begging for the recipe.
FAQ (Frequently Asked Questions)
Can I make this ahead of time?
You bet! Assemble everything but don’t bake it. Cover and refrigerate for up to 24 hours, then bake as directed (you might need to add 5-10 minutes to the baking time).
How do I store leftovers and keep them crispy?
Cover with foil (not plastic wrap!) and store at room temperature for up to 2 days. To revive the crispiness, pop it in a 350°F oven for 10-15 minutes before serving.
Can I freeze this?
You can, but should you? Freezing and thawing will compromise that perfect crispiness we’ve worked so hard for. If you must, freeze it unbaked and add an extra 15-20 minutes to the baking time when cooking from frozen.
Do I really need to peel the apples?
If you’re feeling lazy (I feel you), you can leave the peels on. Just know that some people might give you side-eye for the texture. Your kitchen, your rules.
Is this good for breakfast?
Is there ice cream on top? No? Then yes, it’s totally breakfast food. It has fruit and oats, which is basically a fancy granola parfait, right?
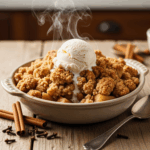
What’s the best ice cream to serve with this?
Vanilla is the classic choice, but cinnamon or caramel ice cream takes this to a whole new level of decadence. Feeling really wild? Try butter pecan.
Final Thoughts
Congratulations! You’re now armed with the knowledge to create an apple crisp that actually lives up to its name. This dessert has the perfect balance of sweet, tart, buttery, and yes, CRISPY elements that’ll make your taste buds do a happy dance. It’s rustic enough to be comforting but impressive enough to serve to guests who think you can’t cook. (I won’t tell them how easy it was if you don’t.)
So what are you waiting for? Those apples aren’t going to bake themselves. Go preheat that oven and prepare to accept compliments with grace and humility. And remember – when someone asks for seconds, that’s not just politeness… that’s your new signature dessert being born.
