Let me guess—you’ve got a bunch of apples that are about to go south, a box of Bisquick gathering dust in your pantry, and a sudden craving for something warm, sweet, and cinnamon-y? Well, friend, you’ve stumbled onto the solution to all three problems! This Apple Crisp with Bisquick recipe is about to become your new back-pocket dessert for everything from “oops, I forgot I invited people over” to “it’s Tuesday and I deserve something delicious.”
Why This Recipe is Awesome
Look, I’m not saying this Apple Crisp will change your life, but it might just change your reputation as someone who can’t bake. This recipe is basically foolproof—like, “I started a small kitchen fire last week” foolproof. The beauty of using Bisquick is that you’re essentially cheating your way to a perfect topping without measuring fifteen different dry ingredients. It’s quick (see what I did there?), requires minimal dishes (you’re welcome), and delivers that perfect balance of soft, spiced apples with a crispy, buttery topping that’ll make your house smell like a fall candle shop exploded in the best possible way.
Ingredients You’ll Need
For the apple filling:
- 6 medium apples (Granny Smith, Honeycrisp, or whatever’s sitting in your fruit bowl)
- ¾ cup granulated sugar (or less if you’re not into dental work)
- 1 tablespoon all-purpose flour (to thicken up the delicious apple juice)
- 1 teaspoon cinnamon (the non-negotiable ingredient)
- ¼ teaspoon nutmeg (optional, but why wouldn’t you?)
- 2 tablespoons lemon juice (keeps things from turning brown and sad)
For the crisp topping:
- 1 cup Bisquick (the hero of our story)
- ½ cup brown sugar, packed (like your schedule, but tastier)
- 3 tablespoons butter, cold and cubed (the colder, the better)
- ½ teaspoon cinnamon (because there’s no such thing as too much)
- ¼ cup quick-cooking oats (for that “yes, this is definitely homemade” look)
Step-by-Step Instructions
- Prep time! Preheat your oven to 375°F. Grab an 8×8 baking dish and give it a quick spray with cooking oil. Don’t skip this unless you enjoy chiseling dessert off bakeware.
- Apple business. Peel and slice those apples into thin-ish pieces (about ¼ inch). If you have one of those fancy apple corer-slicer gadgets, now’s its time to shine.
- Mix the filling. In a large bowl, toss your apple slices with sugar, flour, cinnamon, nutmeg, and lemon juice until they’re evenly coated. Dump this mixture into your prepared baking dish.
- Create the topping. In another bowl, combine Bisquick, brown sugar, and cinnamon. Add the cold butter and use two forks, a pastry cutter, or your fingers (the superior tool, IMO) to mix until it resembles coarse crumbs. Stir in the oats.
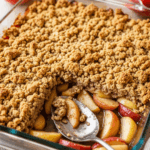
- Assemble and bake. Sprinkle the topping evenly over the apples. Pop it in the oven for 35-40 minutes until the top is golden brown and the apples are bubbling around the edges like a witch’s cauldron.
- The hardest step: Let it cool for at least 10 minutes before serving. I know, I know—but molten apple lava burns are no joke.
Common Mistakes to Avoid
Let’s be real—even the simplest recipes have their pitfalls. Here’s what not to do:
- Using room temperature butter in the topping. You’ll end up with a sad, flat layer instead of those delicious crumbly bits. Cold butter = crispy topping.
- Skipping the lemon juice. Unless you want brown, mushy apples that look like they’ve been sitting in your lunch bag all day, use the lemon juice.
- Overcrowding the baking dish. If you decide to go apple-crazy and pile in more than the recipe calls for, you’ll end up with apple soup instead of apple crisp.
- Getting impatient and cranking up the heat. You’ll burn the top while the apples stay crunchy. Trust the process, friend.
Alternatives & Substitutions
Not everyone has a perfectly stocked pantry, and that’s okay! Here are some swaps that won’t ruin everything:
- No Bisquick? Make your own by mixing 1 cup flour, 1½ teaspoons baking powder, ¼ teaspoon salt, and 1 tablespoon shortening or cold butter.
- Apples not in season? Pears work beautifully, or go wild with a mix of berries (though reduce the baking time a bit).
- Out of brown sugar? White sugar with a teaspoon of molasses works. Or just use white sugar and accept that life isn’t perfect.
- Gluten concerns? Gluten-free Bisquick exists and works the same way. Your dinner guests never need to know.
FAQ (Frequently Asked Questions)
Can I make this ahead of time?
You can prepare the apple filling and topping separately up to a day in advance, but don’t assemble until you’re ready to bake. Nobody likes soggy crisp. Nobody.
Do I really need to peel the apples?
Technically no, but unless you enjoy the texture of random bits of papery skin in your dessert, I’d recommend taking the extra few minutes to peel them.
Can I double this recipe?
Absolutely! Use a 9×13 baking dish and add about 5-10 minutes to the baking time. More dessert is always the right answer.
How do I store leftovers? (As if there will be any…)
Cover and refrigerate for up to 3 days. The topping will lose some crispness, but 20 seconds in the microwave with a scoop of vanilla ice cream and who even cares anymore?
Is this healthier than regular apple pie?
It has fruit in it, so obviously it counts as a serving of produce. That’s my story and I’m sticking to it.
Final Thoughts
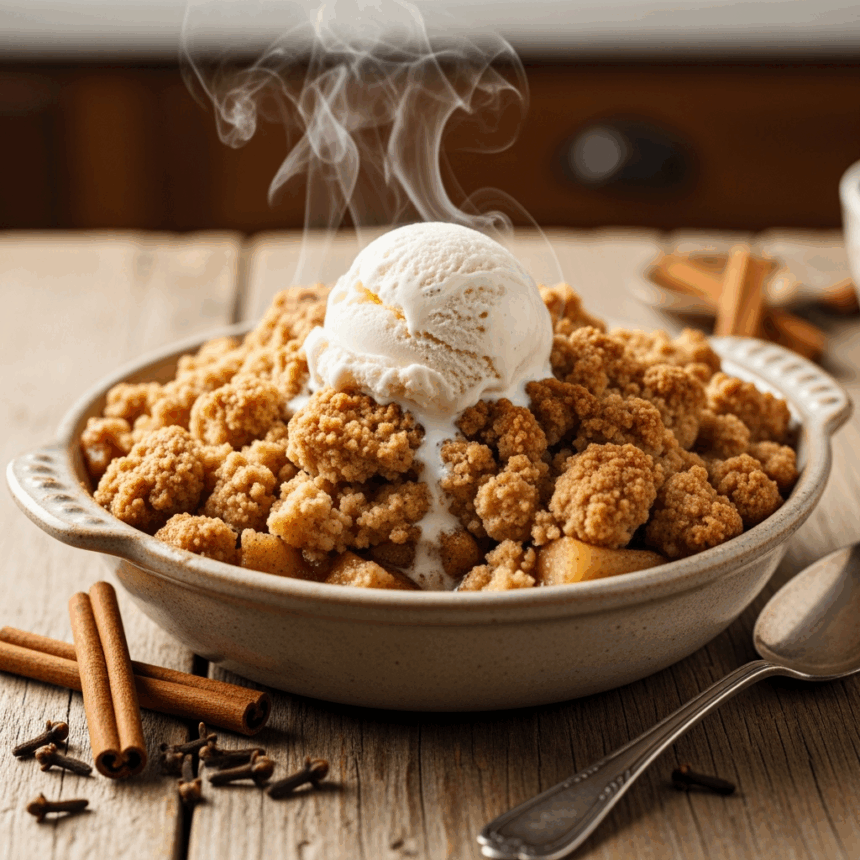
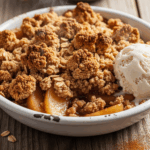
There you have it—apple crisp that’s so easy it feels like cheating, but so good nobody will question your methods. This is the perfect “gateway dessert” for baking beginners or just anyone who values maximum deliciousness with minimum effort. Serve it warm with a scoop of vanilla ice cream or, if you’re feeling fancy, a drizzle of caramel sauce. Or eat it cold, straight from the fridge at midnight while standing in the glow of the refrigerator light. I’m not judging—I’m right there with you. Now go preheat that oven and make your house smell amazing!
