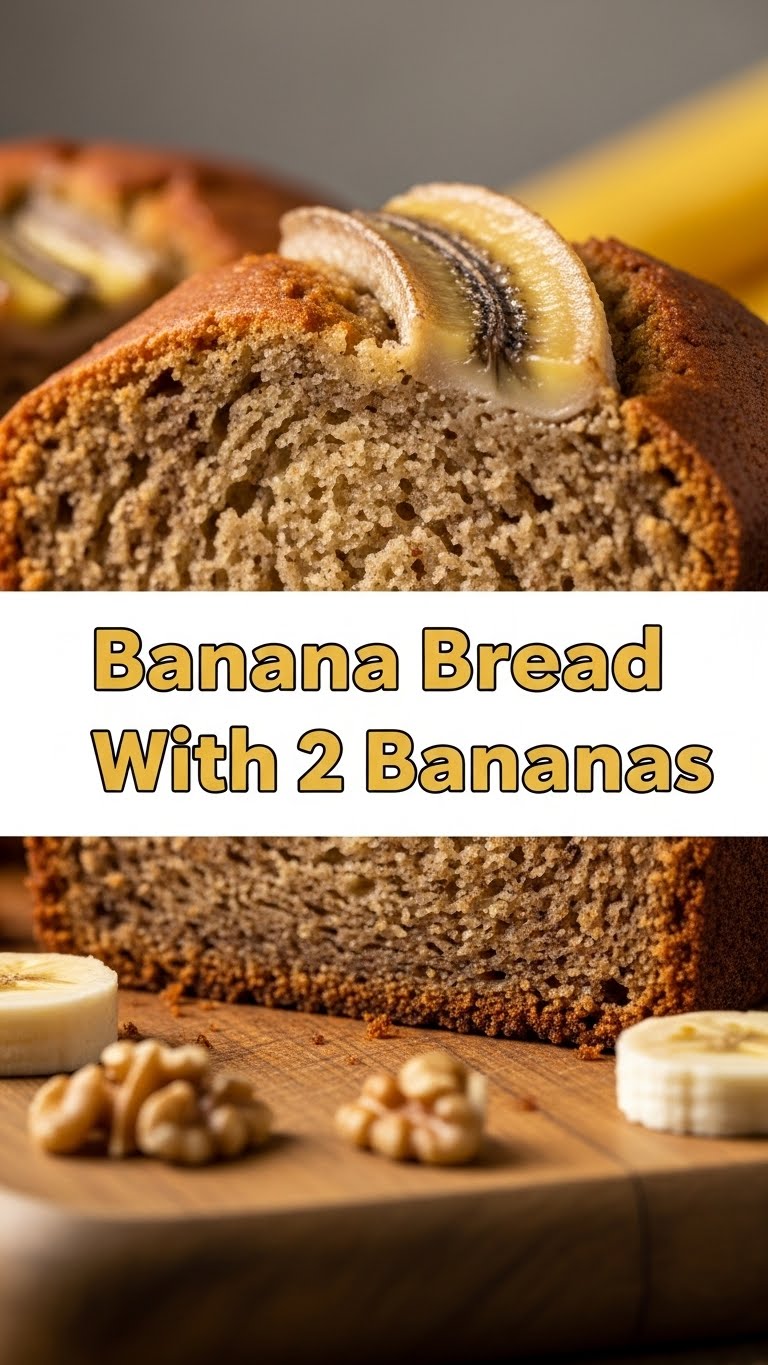
So you’re craving something warm, comforting, and just a little bit sweet, but the thought of a complicated recipe makes your eyes glaze over faster than a donut? Been there, bought the t-shirt. Good news, my friend: we’re making banana bread. And not just any banana bread – the kind that only needs two bananas, because who ever has exactly *three* perfectly ripe ones when you need them? Exactly. Get ready for some seriously easy, seriously delicious action!
Why This Recipe is Awesome
Look, I get it. Life’s busy. You want deliciousness without the drama. This recipe is your culinary superhero. It’s idiot-proof, I swear. Even if your cooking skills extend mostly to microwaving leftovers, you can nail this. It uses basic ingredients you probably already have, requires minimal fuss, and smells like a warm hug. Plus, it’s a great way to use up those two bananas that are starting to look a *little* too cozy with fruit flies. Win-win, baby!
Ingredients You’ll Need
- 2 ripe bananas: The browner, the better! We’re talking leopard print, not green jungle bananas. These are the stars of the show, remember?
- 1/2 cup (1 stick) unsalted butter: Melted, please. Don’t be shy with the butter; it’s what makes everything taste amazing.
- 1 large egg: Room temperature if you’re feeling fancy, but straight from the fridge is totally fine too. We’re not judging here.
- 1 teaspoon vanilla extract: A little splash of magic. Don’t skip it!
- 1/2 cup granulated sugar: For that perfect sweet kiss. Adjust if your bananas are super sweet (or if you have a massive sweet tooth).
- 1 1/2 cups all-purpose flour: The backbone of our bread. No fancy almond flour needed unless you’re feeling adventurous.
- 1 teaspoon baking soda: Our leavening friend, helping it get all nice and fluffy.
- 1/2 teaspoon salt: Just a pinch to balance out all that sweetness. Trust me, it makes a difference.
Step-by-Step Instructions
- Get Prepped: Preheat your oven to 350°F (175°C). Seriously, do this first. Grease and flour a 9×5 inch loaf pan, or line it with parchment paper for easy removal.
- Mashing Time: In a medium bowl, mash those two glorious ripe bananas with a fork. Lumps are totally okay; they add character!
- Wet Ingredients Party: Add the melted butter, egg, vanilla extract, and sugar to the mashed bananas. Whisk it all together until it’s just combined. Don’t overmix! We’re aiming for happy, not exhausted, ingredients.
- Dry Mix-Up: In a separate, larger bowl, whisk together the flour, baking soda, and salt. Make sure there are no lumpy bits of baking soda trying to hide.
- Combine Forces: Pour the wet ingredients into the dry ingredients. Mix gently with a spatula or wooden spoon until *just* combined. A few streaks of flour are fine; overmixing is the enemy of tender banana bread!
- Pan It Up: Pour the batter into your prepared loaf pan. Give it a gentle tap on the counter to settle.
- Bake Away! Bake for 50-60 minutes, or until a toothpick inserted into the center comes out clean. If the top starts to brown too quickly, you can loosely tent it with foil.
- Cool Down: Let your masterpiece cool in the pan for about 10 minutes before carefully transferring it to a wire rack to cool completely. Patience is a virtue, especially when warm banana bread is involved.
Common Mistakes to Avoid
- Using under-ripe bananas: Rookie mistake! Those green guys won’t give you the sweet, intense banana flavor we’re after. Wait for the brown spots, people!
- Overmixing the batter: This is a biggie. Stirring too much develops the gluten, making your bread tough and chewy instead of wonderfully moist. Mix just until the dry ingredients disappear.
- Not preheating the oven: Seriously, don’t put cold batter into a cold oven. It affects the rise and texture. Preheat your oven properly!
- Cutting into it too soon: I know, I know, the smell is intoxicating. But giving it a little time to cool allows the structure to set properly. Otherwise, it might crumble.
Alternatives & Substitutions
- Chocolate Chips? Heck yes! Stir in 1/2 cup of chocolate chips (milk, dark, white – your choice!) with the dry ingredients. Because everything is better with chocolate, IMO.
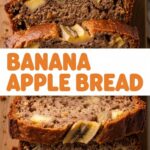
- Nuts for Crunch: Walnuts or pecans are classic. Add 1/2 cup chopped nuts at the same time as the chocolate chips for extra texture and flavor.
- Brown Sugar Swap: Feel free to use brown sugar instead of granulated sugar for a slightly deeper, more caramel-like flavor. Just make sure it’s packed!
- Spice it Up: A pinch of cinnamon or nutmeg (1/2 teaspoon of either) can add a lovely warm depth. Give it a whirl if you’re feeling spicy.
- Oil vs. Butter: If you’re out of butter, you can use 1/2 cup of neutral oil (like vegetable or canola oil) instead. The texture will be slightly different, perhaps a bit denser, but still delicious.
FAQ (Frequently Asked Questions)
- My bananas aren’t ripe enough! What do I do? Panic? No! You can roast them. Pop them on a baking sheet at 300°F (150°C) for 15-30 minutes until they’re black and squishy. Let them cool, then proceed. You’re welcome!
- Can I make muffins instead? Absolutely! Divide the batter into a 12-cup muffin tin (paper liners are your friend). Bake for 20-25 minutes. Keep an eye on them!
- How do I store banana bread? Keep it at room temperature, tightly wrapped, for up to 3 days. Or, pop it in the fridge for up to a week. It freezes beautifully too!
- Can I use gluten-free flour? Yep, a 1:1 gluten-free baking blend usually works wonders here. Just follow the package instructions for any specific recommendations.
- Why is my banana bread dry? Chances are you overmixed the batter, used too much flour, or baked it for too long. Next time, measure carefully, mix gently, and use that toothpick test!
- Is it healthy? Define “healthy.” It has fruit! And a smile. So, yes. It’s healthy for your soul. Don’t @ me.
- Can I use margarine instead of butter? Well, technically yes, but why hurt your soul like that? Butter just tastes better, let’s be real.
Final Thoughts
See? That wasn’t so scary, was it? You just made yourself a glorious loaf of banana bread. Now go impress someone—or yourself—with your new culinary skills. Slice it thick, slather on some butter (or eat it plain, no judgment!), grab a coffee, and just enjoy that sweet, comforting goodness. You’ve earned it! Seriously, pat yourself on the back. You’re basically a professional baker now. 😉

