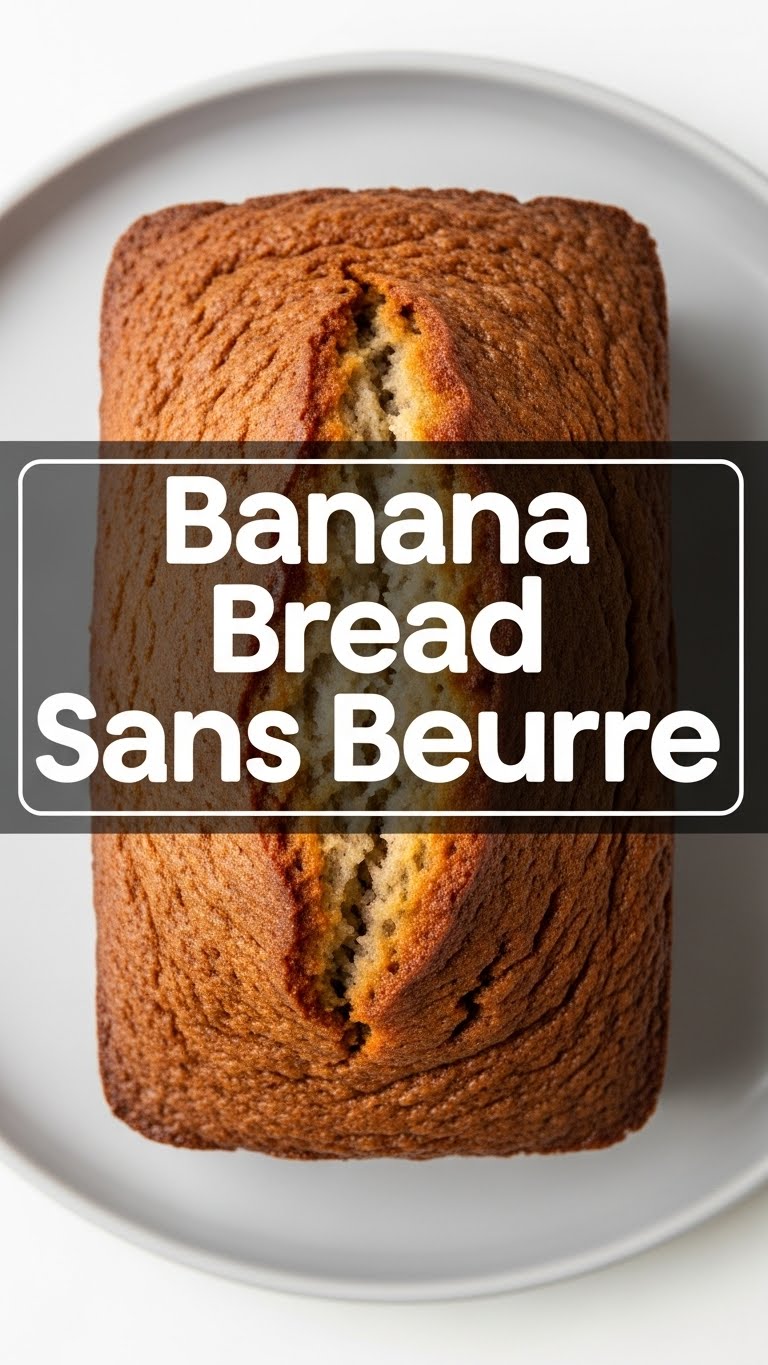
So, you’ve got those tragically ripe bananas staring at you, practically begging for a purpose beyond the compost bin, right? And you’re craving something warm, comforting, and utterly delicious, but the thought of digging out the butter, waiting for it to soften, or *gasp* actually *creaming* it just feels like too much effort for your current energy levels. Same. Welcome, my friend, to the glorious, buttery-less world of **Banana Bread Sans Beurre**!
Why This Recipe is Awesome
Let’s be real, life’s complicated enough without adding unnecessary steps to our baking. This banana bread recipe is your new best friend because it’s ridiculously easy, super moist (thanks to a genius butter swap!), and still delivers all that classic banana bread comfort you crave. **It’s practically idiot-proof**, even *I* haven’t managed to mess this one up yet, and that’s saying something. Plus, no butter means fewer dishes to wash (win!) and you can tell yourself it’s *marginally* healthier. Don’t worry, I won’t tell anyone if you eat half the loaf yourself. Your secret’s safe with me.
Ingredients You’ll Need
Gather your troops, folks! Here’s what you’ll need to transform those sad, spotty bananas into pure joy:
- **3-4 Ripe Bananas:** The stars of our show, obviously. The browner, the better – we’re talking full-on ‘forgotten in the fruit bowl for a week’ kind of brown. They’re basically pre-sweetened and loaded with flavor.
- **1/3 cup Neutral Oil:** Our secret weapon for moisture, sans beurre! Vegetable, canola, or even light olive oil if you’re feeling fancy.
- **1 Large Egg:** Room temperature, please! It helps with binding and texture.
- **1 tsp Vanilla Extract:** Because everything is better with vanilla, IMO.
- **1 1/2 cups All-Purpose Flour:** The backbone of our bread.
- **3/4 cup Granulated Sugar:** Just enough sweetness to balance the bananas. Feel free to use brown sugar for a deeper, molasses-y flavor.
- **1 tsp Baking Soda:** Our leavening agent. Don’t skip it unless you want a banana pancake.
- **1/2 tsp Salt:** Crucial for balancing flavors and making everything pop. Seriously, don’t forget the salt!
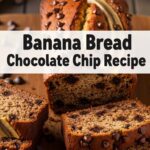
- **(Optional) 1/2 cup Add-ins:** Chocolate chips, chopped walnuts, pecans, or dried cranberries. Your bread, your rules!
Step-by-Step Instructions
- **Preheat Power-Up:** First things first, get that oven to 350°F (175°C). Seriously, **don’t skip preheating** – it’s key for an even bake. Lightly grease and flour a 9×5 inch loaf pan, or line it with parchment paper for easy removal.
- **Mash Those Bananas:** In a large bowl, mash your ripe bananas with a fork until they’re mostly smooth with a few small lumps. We’re going for texture, not baby food here!
- **Wet Ingredients Unite:** To the mashed bananas, add the oil, egg, and vanilla extract. Whisk it all together until it’s just combined. Don’t overdo it, we’re not making a soufflé.
- **Dry Mix Magic:** In a separate medium bowl, whisk together the flour, sugar, baking soda, and salt. Make sure there are no lumpy bits of baking soda!
- **Combine & Conquer:** Pour the dry ingredients into the wet ingredients. Gently fold them together with a spatula until *just* combined. A few streaks of flour are totally fine! **Overmixing is the enemy of moist banana bread**, so resist the urge to keep stirring. If you’re using add-ins, fold them in now.
- **Pan It Up:** Pour your glorious batter into your prepared loaf pan and spread it evenly. Maybe give the pan a gentle tap on the counter to settle it.
- **Bake It ‘Til It’s Golden:** Pop that pan into the preheated oven and bake for 50-65 minutes. The exact time depends on your oven and the moisture in your bananas.
- **Check for Doneness:** You’ll know it’s ready when a wooden skewer or toothpick inserted into the center comes out clean (or with a few moist crumbs, but no wet batter). If the top is browning too fast, you can loosely tent it with foil.
- **Cool Down, Buttercup:** Let the banana bread cool in the pan for about 10-15 minutes before carefully transferring it to a wire rack to cool completely. Or, you know, eat it warm. I’m not judging.
Common Mistakes to Avoid
Nobody’s perfect, but we can avoid some common pitfalls, right? Here are a few “oops” moments to side-step:
- **Using Under-Ripe Bananas:** This is perhaps the gravest sin. Green or yellow bananas won’t give you the sweetness or the moisture you need. Wait for those beautiful brown spots!
- **Overmixing the Batter:** I cannot stress this enough! Overmixing develops the gluten in the flour, leading to tough, dry banana bread. Mix until just combined, a few lumps are okay.
- **Not Preheating the Oven:** Your oven needs to be at the correct temperature from the get-go for proper rise and even baking. **Patience, my friend!**
- **Eyeballing Ingredients:** Baking is a science, not an art (mostly). Use proper measuring cups and spoons. Unless you’re a seasoned baking witch/wizard, then proceed.
- **Cutting It Too Soon:** While tempting, letting it cool a bit in the pan helps it set. If you slice it too hot, it might crumble. Give it a minute!
Alternatives & Substitutions
Feeling creative? This recipe is super flexible. Here are a few ideas to shake things up:
- **Sweetener Swap:** Instead of granulated sugar, try brown sugar for a more caramel-like flavor, or even maple syrup (you might need to slightly reduce other wet ingredients if using a lot).
- **Oil-Free (ish)?** For an even lighter version, you can substitute half of the oil with unsweetened applesauce. It’ll be a bit denser, but still delicious!
- **Spice It Up:** A pinch of cinnamon, nutmeg, or even a tiny dash of allspice can add wonderful warmth.
- **Flour Power:** Want to go a bit healthier? Swap up to half of the all-purpose flour for whole wheat flour. The texture will be a bit different, but it’s still tasty!
- **Add-in Adventures:** Chocolate chips (dark, milk, white – whatever your heart desires!), chopped nuts (walnuts, pecans), dried fruit (raisins, cranberries), or even shredded coconut are fantastic additions.
FAQ (Frequently Asked Questions)
Got questions? I’ve got (casual and humorous) answers!
- **How ripe should my bananas *really* be?**
Like, seriously ripe. We’re talking more brown spots than yellow. If they look like they’ve seen better days and are a little squishy, you’re golden. The darker they are, the sweeter and more flavorful your bread will be. Don’t be shy!
- **Can I use less sugar?**
Technically, yes, but proceed with caution! Bananas add natural sweetness, so you can often reduce it by about a quarter without much fuss. If you go too low, though, it might taste a little… sad. You’ve been warned!
- **My banana bread is dry, what went wrong?**
Oh no, a tragedy! Most likely culprits: overmixing the batter (developing too much gluten) or overbaking. Keep an eye on that oven and remember: a few moist crumbs on the toothpick are okay, dry is not!
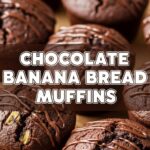
- **Can I make this into muffins?**
Heck yes, you can! Just divide the batter into a greased or lined muffin tin. They’ll bake much faster, usually around 20-25 minutes. Keep an eye on them, and enjoy your grab-and-go banana goodness!
- **Can I freeze banana bread?**
Absolutely! Banana bread freezes beautifully. Once it’s completely cooled, wrap the loaf tightly in plastic wrap, then foil, and pop it in the freezer for up to 3 months. Thaw it on the counter, and you’ve got instant comfort food for a rainy day!
- **What’s the best way to store leftovers?**
Assuming there *are* leftovers (a big assumption, TBH), store your banana bread at room temperature in an airtight container for up to 3-4 days. It actually gets even moister the next day!
Final Thoughts
See? That wasn’t so scary, was it? You’ve just whipped up a batch of glorious, butter-free banana bread, probably while barely breaking a sweat. So go ahead, slice yourself a thick piece, grab a cuppa, and bask in the glory of your culinary prowess. You’ve earned it! Now go impress someone—or yourself—with your new skills. Happy baking, my friend!
