So, you’ve got a pile of ridiculously overripe bananas staring at you, practically begging for a delicious transformation, right? And maybe, just maybe, you’re also trying to make *slightly* better life choices but still want something utterly comforting and delicious? My friend, you’ve come to the right digital doorstep. We’re about to whip up some Health Banana Bread that tastes like a hug but doesn’t come with a side of guilt. Consider it your new favorite healthy-ish indulgence. No fancy chef skills required, I promise!
Why This Recipe is Awesome
Okay, let’s be real. This isn’t just *any* banana bread. This is the “I can eat a second slice and still feel like a wellness guru” banana bread. It’s ridiculously simple – think **idiot-proof**, because even I didn’t mess it up, and that’s saying something. We’re talking minimal ingredients, minimal fuss, and maximum flavor. Plus, it’s packed with those good-for-you ingredients that make your grandma proud (and maybe a little confused why you’re not using all the sugar). It’s perfect for breakfast, a snack, or even a sneaky dessert. Basically, it’s your new best friend in carb form, FYI.
Ingredients You’ll Need
Gather your troops! Here’s what you’ll need to make this magic happen:
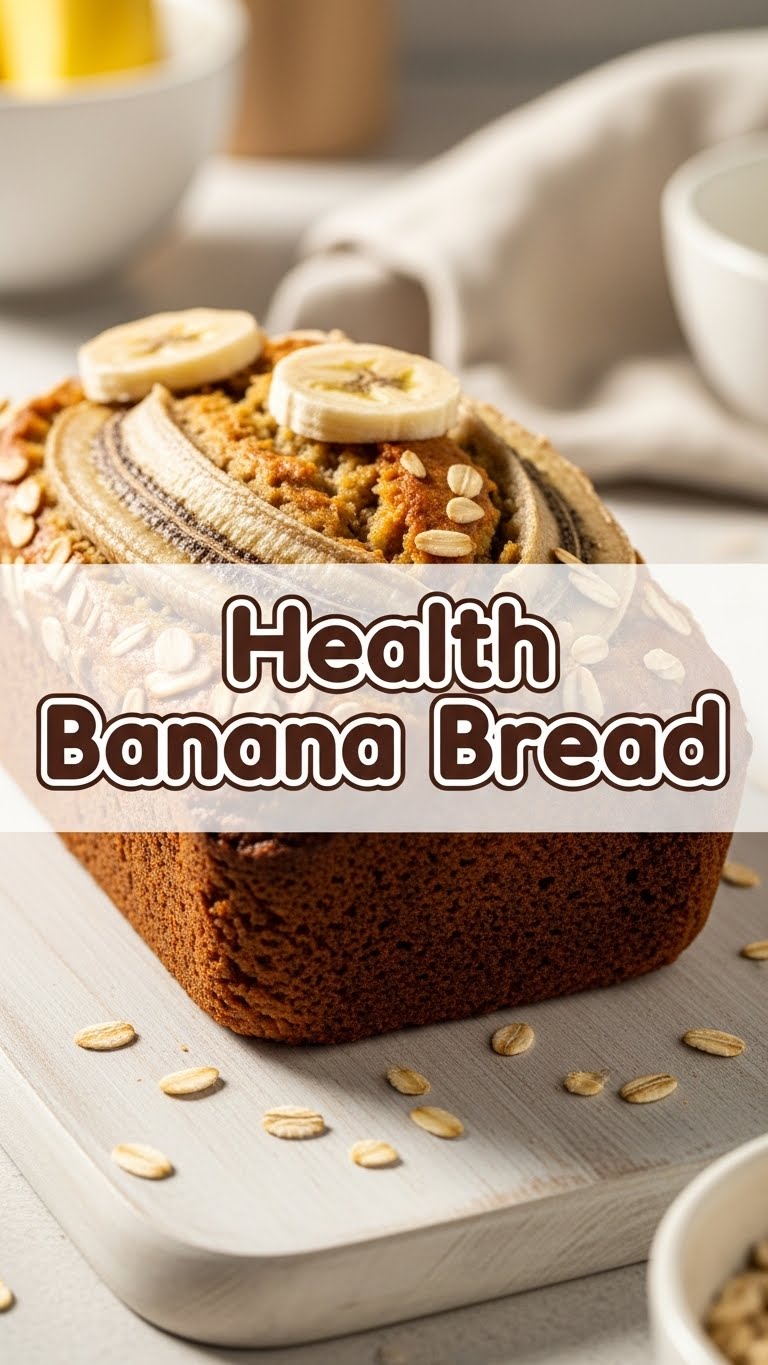
- 3-4 Very Ripe Bananas: The spottier, the better! We’re talking dramatic, almost black. These are your flavor powerhouses.
- 1 ¾ Cups Whole Wheat Flour: For that “I’m making good choices” feeling. Provides structure and some extra fiber.
- ½ Cup Maple Syrup or Honey: Nature’s candy! We’re skipping the refined stuff here, huzzah! Adjust to your sweetness preference.
- ¼ Cup Melted Coconut Oil (or other neutral oil like avocado): Adds moisture and richness.
- 2 Large Eggs: The binding agents, holding this whole delicious party together.
- 1 Teaspoon Baking Soda: Our trusty leavening agent. Makes it rise!
- ½ Teaspoon Salt: Don’t skip this! It enhances all the flavors.
- 1 Teaspoon Ground Cinnamon: Because banana bread without cinnamon is just… a missed opportunity.
- 1 Teaspoon Vanilla Extract: A splash of liquid gold for that cozy aroma.
- Optional Add-ins (choose your adventure!):
- ½ Cup Chopped Walnuts or Pecans: For a delightful crunch.
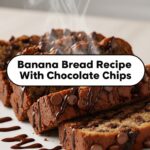
- ½ Cup Dark Chocolate Chips: Because life’s too short not to add a little chocolate.
- ¼ Cup Chia Seeds or Flax Seeds: For an extra health boost (and a little crunch!).
Step-by-Step Instructions
Alright, apron on (or just wear whatever, we’re friends here), let’s get baking!
Preheat & Prep: First things first, turn your oven to **350°F (175°C)**. Seriously, don’t skip this, it’s not a suggestion. Grease and flour a 9×5 inch loaf pan, or line it with parchment paper for easy removal. Rookie mistake? Not preheating! Don’t be that person.
Mash Those Bananas: In a large bowl, mash your super ripe bananas with a fork until they’re mostly smooth, but a few lumps are totally fine (adds character!).
Wet Ingredients Unite: To your mashed bananas, add the maple syrup (or honey), melted coconut oil, eggs, and vanilla extract. Whisk ’em all together until they’re well combined. This is your wet mix, folks!
Dry Mix Party: In a separate medium bowl, whisk together the whole wheat flour, baking soda, salt, and cinnamon. Make sure there are no lumpy bits of baking soda floating around.
Combine with Care: Now, pour the dry ingredients into the wet ingredients. Gently fold them together with a spatula or wooden spoon until *just* combined. **Important: Do NOT overmix!** A few streaks of flour are totally acceptable. Overmixing leads to tough bread, and we want tender, moist goodness.
Add-in Time (Optional): If you’re using any of those yummy add-ins like nuts or chocolate chips, gently fold them in now.
Into the Pan & Oven: Pour the batter into your prepared loaf pan. If you’re feeling fancy, slice half a banana lengthwise and lay it on top for a pretty garnish. Bake for **50-65 minutes**, or until a wooden skewer or toothpick inserted into the center comes out clean.
Cool Down, Buttercup: Let the banana bread cool in the pan for about 10-15 minutes before carefully transferring it to a wire rack to cool completely. Patience, young padawan! It needs to set.
Common Mistakes to Avoid
Nobody wants a banana bread disaster, so let’s dodge these common pitfalls with a chuckle:
- Using Under-ripe Bananas: If your bananas aren’t spotty and practically mushy, put them back on the counter and wait. Green bananas are for smoothies, not glorious, sweet banana bread. Seriously, it makes *all* the difference.
- Overmixing the Batter: Remember when I said “gently fold”? I meant it! Aggressive mixing develops gluten, leading to a dense, chewy loaf instead of a tender, fluffy one. Lumps are your friends here!
- Not Preheating the Oven: Yeah, I said it again. Putting your batter into a cold oven messes with the rise and texture. Don’t be that rebel.
- Cutting it Too Soon: I know, the smell is intoxicating. But please, give it at least 15 minutes to cool in the pan and then cool a bit more on a rack. It needs time to set up properly, otherwise, it might crumble.
- Forgetting the Salt: A little salt doesn’t make it salty; it magically enhances all the sweet flavors. It’s the unsung hero, IMO.
Alternatives & Substitutions
Feeling creative? This recipe is super flexible! Here are some ideas to make it uniquely yours:
- Flour Power: Not feeling whole wheat? You can totally use **all-purpose flour** for a lighter texture (though it will be less “health”). Or, try **spelt flour** for a similar whole-grain vibe, or even **oat flour** (just blend rolled oats until fine!).
- Sweetener Swap: If maple syrup or honey isn’t your jam, try **agave nectar** or even a little bit of **date paste** for natural sweetness. Adjust quantities based on your preferred sweetness level.
- Oil Alternatives: For a lower-fat option, you can swap half or all of the oil for unsweetened **applesauce** or **mashed avocado**. It makes it super moist!
- Spice it Up: Add a pinch of nutmeg, ginger, or even a tiny dash of cloves for a more complex spice profile.
- Extra Goodies: Get wild with your add-ins! Think dried cranberries, shredded coconut, or even a spoonful of peanut butter swirled in before baking.
FAQ (Frequently Asked Questions)
Got questions? I’ve got (casual) answers!
Can I use regular white flour instead of whole wheat? Well, technically yes, you can. But then it’s just “banana bread,” not “health banana bread,” is it? It’ll still be delicious, just slightly less virtuous.
My bananas aren’t ripe enough! Can I speed up the ripening process? Oh, the impatient chef! You can bake them unpeeled on a baking sheet at 300°F (150°C) for 15-20 minutes until they’re black and soft. Or, if you’re really in a rush, put them in a paper bag with an apple overnight!
How long does this health banana bread last? If you’re lucky and don’t devour it all in one sitting, it’ll last about 3-4 days at room temperature, covered. In the fridge, maybe a week. If you have roommates, probably 2 hours.
Can I freeze banana bread? Absolutely! It freezes beautifully. Wrap slices or the whole loaf tightly in plastic wrap, then foil, and freeze for up to 3 months. Your future self will thank you when a craving strikes!
Is this *really* healthy? Look, it’s *healthier*. We’re talking whole grains, natural sweeteners, and healthy fats. It’s definitely a step up from traditional banana bread loaded with white flour and refined sugar. It’s a treat you can feel good about, TBH!
What if I don’t have coconut oil? No worries! Any neutral-flavored oil like avocado oil, vegetable oil, or even melted unsalted butter will work just fine. Coconut oil just adds a nice subtle flavor.
Final Thoughts
So there you have it, my friend! A banana bread recipe that’s delicious, *somewhat* virtuous, and ridiculously easy to make. You’ve just transformed those sad, spotty bananas into a warm, comforting loaf of pure joy. Now go forth and conquer your kitchen, impress your friends (or just yourself, because you deserve it!), and enjoy every single delightful bite. You’ve earned that cozy moment with a warm slice and a cuppa. Happy baking!

