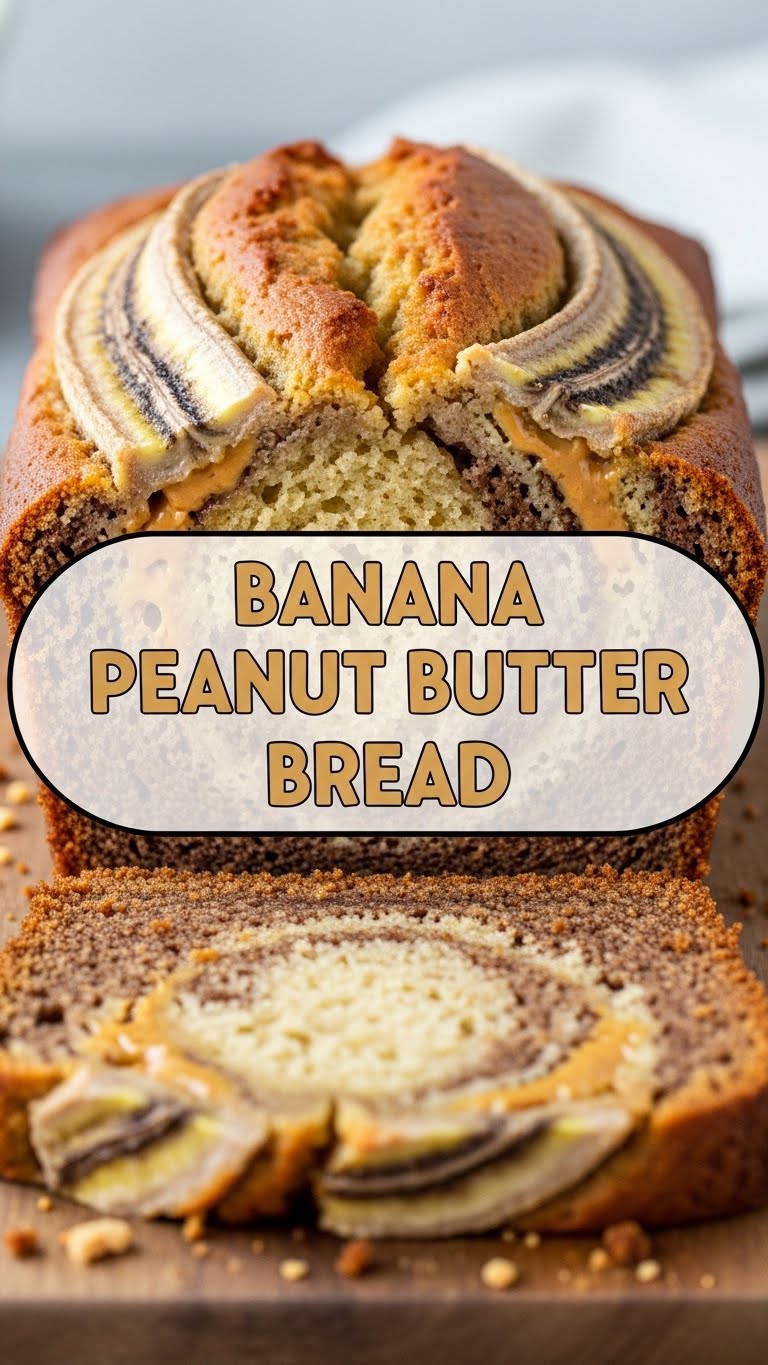
So, you’re craving something tasty but too lazy to spend forever in the kitchen, huh? Same. We’ve all been there, staring into the abyss of our pantry, wondering if instant ramen counts as a balanced meal again. But what if I told you there’s a magical creation that combines the comforting hug of banana bread with the irresistible allure of peanut butter? Say hello to your new best friend: Banana Peanut Butter Bread. It’s easy, it’s epic, and honestly, it basically bakes itself (okay, maybe not *entirely*, but close enough for us busy folks).
Why This Recipe is Awesome
Let’s be real, you’re not here for a gourmet five-course meal. You want deliciousness without the drama. And that, my friend, is exactly what this recipe delivers. First off, it’s an absolute hero for those **overripe bananas** languishing on your counter, looking sadder than a Monday morning. Instead of composting them (gasp!), you’re transforming them into pure gold. Secondly, it’s practically **idiot-proof**. Seriously, even I, a person whose biggest culinary achievement is not burning toast, can nail this one. Plus, the combo of banana and peanut butter is like the power couple of the dessert world – they just *work*. It’s comforting, it’s satisfying, and it makes your kitchen smell like a dream. **Bonus:** It’s super customizable, so you can pretend you’re a master baker even if your only skill is hitting “add to cart.”
Ingredients You’ll Need
Gather ’round, my fellow lazy gourmands! Here’s your shopping list. Most of this stuff is probably already chilling in your pantry:
- **3-4 Overripe Bananas:** The browner, the better! Think “almost black” for maximum sweetness. These ugly ducklings are about to become swans.
- **1/2 cup Unsalted Butter:** Softened. If you forget to take it out, a quick 10-second blast in the microwave usually does the trick.
- **1/2 cup Granulated Sugar:** Just enough sweetness to make those bananas sing.
- **1/2 cup Brown Sugar:** Packed. Adds that delightful molasses-y depth.
- **2 Large Eggs:** Room temp, if you’re feeling fancy. If not, straight from the fridge is fine too, we’re not judging.
- **1/2 cup Creamy Peanut Butter:** Or chunky, if you’re a texture person. Your call, boss.
- **1 tsp Vanilla Extract:** The secret weapon for making everything taste better.
- **1 1/2 cups All-Purpose Flour:** Basic, reliable, always there for you.
- **1 tsp Baking Soda:** The magic fluffy-maker.
- **1/2 tsp Salt:** Balances everything out. Don’t skip it!
- **Optional: 1 cup Chocolate Chips:** Because when is chocolate ever a bad idea? (Spoiler: Never.)
Step-by-Step Instructions
- **Preheat Power-Up:** First things first, crank that oven to **350°F (175°C)**. While it’s heating up, grease and flour a 9×5-inch loaf pan. Trust me, you don’t want your bread to get stuck – it’s a sticky situation.
- **Banana Mash Bash:** Grab those gloriously overripe bananas and mash them in a medium bowl until they’re mostly smooth with a few yummy lumps. Set aside.
- **Creamy Dreamy:** In a large bowl, beat the softened butter with both the granulated and brown sugars until light and fluffy. A hand mixer makes this quick, but elbow grease works too!
- **Egg-cellent Addition:** Beat in the eggs one at a time, making sure each is fully incorporated. Then, stir in the vanilla extract and that luscious peanut butter. Mix until it’s all combined and looking wonderfully creamy.
- **Dry Mix Magic:** In a separate bowl, whisk together the flour, baking soda, and salt. Give it a good whisk to make sure everything is evenly distributed.
- **Combine & Conquer:** Gradually add the dry ingredients to the wet ingredients. **Mix until just combined!** This is crucial. **Do not overmix!** Lumps are totally fine, actually preferred.
- **Banana & Chocolate Dive:** Gently fold in the mashed bananas. If you’re using chocolate chips (and why wouldn’t you?), now’s the time to fold those in too.
- **Into the Pan:** Pour the batter into your prepared loaf pan. Give it a gentle tap on the counter to settle it.
- **Bake It Up:** Pop it into your preheated oven and bake for **50-60 minutes**, or until a toothpick inserted into the center comes out clean. If the top starts browning too quickly, you can loosely tent it with foil.
- **Cool Down:** Once baked, let the bread cool in the pan for about 10-15 minutes before transferring it to a wire rack to cool completely. Or, if you’re impatient like me, slice off a warm end piece immediately. You’ve earned it!
Common Mistakes to Avoid
Don’t be that person. Learn from my past kitchen mishaps (so you don’t have to!).
- **Using Underripe Bananas:** Seriously, green bananas are for smoothies, not banana bread. **Super ripe bananas** are key for that natural sweetness and moisture. Don’t rush it!
- **Overmixing the Batter:** This is probably the most common mistake. Once you add the flour, mix *just* until everything is combined. Overmixing develops the gluten too much, leading to tough, dry bread. And who wants that?
- **Forgetting to Grease the Pan:** Rookie mistake! Your beautiful bread will be stuck forever, and nobody wants to wrestle their loaf out. Grease and flour, or use parchment paper.
- **Opening the Oven Door Too Soon:** Resist the urge! Every time you open the door, you let out heat, which can cause your bread to sink. Give it at least 40 minutes before peeking.
Alternatives & Substitutions
Feeling adventurous? Or just missing an ingredient? No stress, we’ve got options!
- **Nut Butter Swap:** Not a fan of peanut butter? Almond butter, cashew butter, or even sunflower seed butter (for nut-free folks) work wonderfully. Just make sure it’s a creamy variety.
- **Flour Power:** You can totally swap out some of the all-purpose flour for whole wheat flour for a nuttier flavor and a little extra fiber. Or, use a good quality gluten-free all-purpose blend if you’re GF.
- **Sweetener Switch-Up:** For a slightly different flavor profile, you can use maple syrup or honey instead of some of the sugar. Just be mindful that liquid sweeteners can change the texture slightly, so you might need to adjust other liquids.
- **Add-In Fun:** Go wild! Walnuts, pecans, shredded coconut, dried cranberries, or even a swirl of cream cheese (now we’re talking!) can elevate this bread even further.
- **Butter vs. Oil:** Don’t have butter? Vegetable oil or melted coconut oil can work in a pinch, but for that rich, classic flavor, butter is where the party’s at, **IMO**.
FAQ (Frequently Asked Questions)
Got questions? I’ve got answers (mostly humorous ones).
- **Do the bananas *really* have to be super ripe?** Yes, absolutely! **FYI**, the riper they are, the sweeter and more flavorful your bread will be. Plus, they mash so much easier. Green bananas give you sad, bland bread. Don’t do it to yourself.
- **How long does this bread last?** On your counter, tightly wrapped, it’s good for 3-4 days. In the fridge, maybe up to a week. But honestly, it’s usually gone within 24 hours in my house.
- **Can I freeze banana peanut butter bread?** Heck yeah! Slice it up, wrap individual slices in plastic wrap, then pop them into a freezer-safe bag. Thaw on the counter or give ’em a quick zap in the microwave. Perfect for a quick treat!
- **Creamy or chunky peanut butter – which is better?** This is a personal preference, my friend. Creamy gives a smoother, more integrated flavor. Chunky adds little bursts of peanut-y crunch. Try both, for science!
- **What happens if I accidentally overmix the batter?** Your bread might end up a bit tough or dense. It’ll still be edible, but it won’t have that lovely, tender crumb we’re aiming for. Next time, mix *just* until no dry streaks remain.
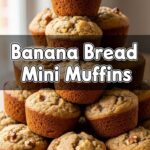
- **I don’t have a loaf pan! Can I use muffin tins?** You bet! Adjust the baking time to about 20-25 minutes, or until a toothpick comes out clean. You’ll have delicious banana peanut butter muffins!
- **Can I make this healthy?** Well, technically yes, you can reduce sugar or use whole wheat flour. But let’s be honest, this is a treat. We’re here for joy, not kale. Enjoy it as is, or make small tweaks if you must!
Final Thoughts
There you have it! A ridiculously easy, unbelievably delicious Banana Peanut Butter Bread recipe that will make you feel like a culinary genius without breaking a sweat. It’s perfect for breakfast, a midday snack, or a late-night indulgence (no judgment here!). So go on, grab those brown bananas, unleash your inner baker, and fill your home with the most amazing aroma. Now go impress someone – or yourself – with your new culinary skills. You’ve earned it!
