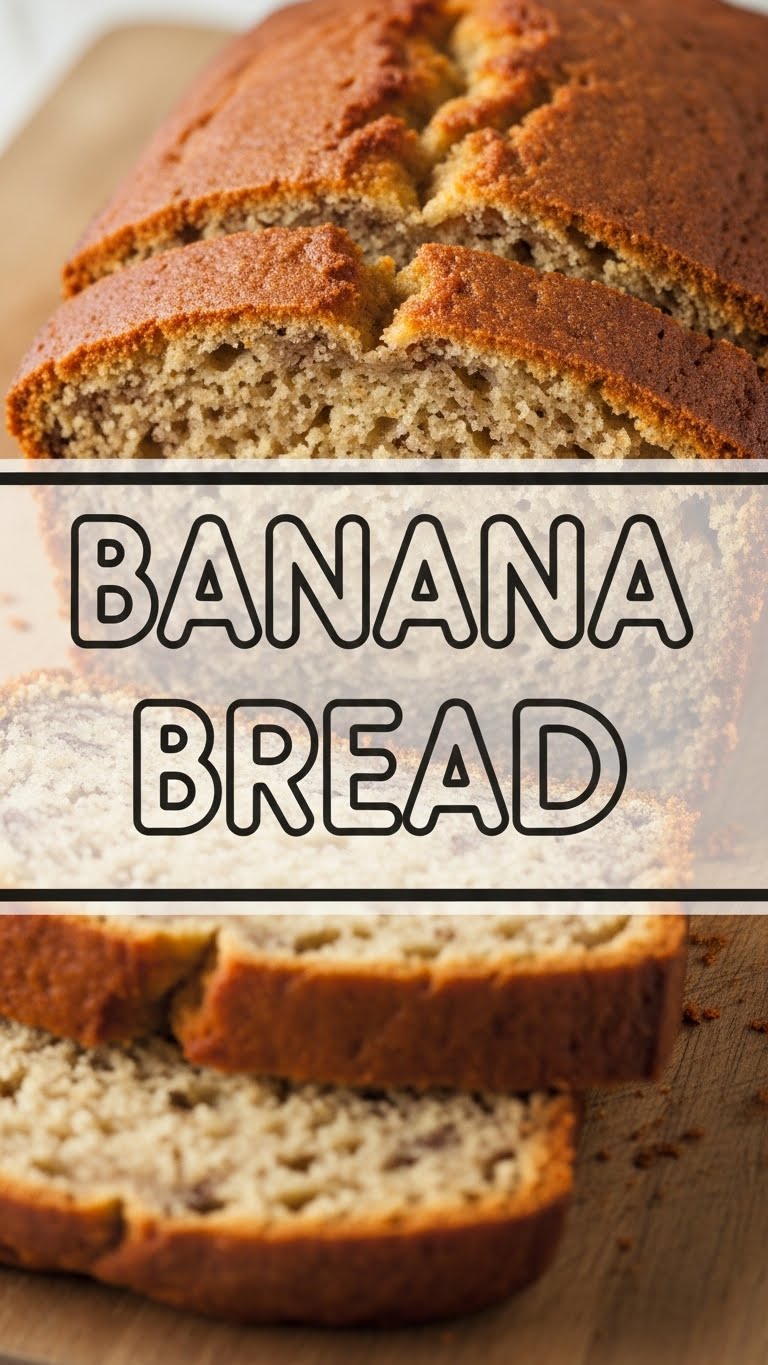
So, you’re staring at those suspiciously brown bananas on your counter, contemplating their fate? Don’t toss ’em! We’re about to turn those sad, spotty fellas into something utterly glorious. Think warm, sweet, comforting, and basically a hug in loaf form. We’re talking banana bread, my friend. And no, you don’t need to be a Michelin-star chef to nail this. Trust me on this one; if I can do it without burning down the kitchen, you definitely can!
Why This Recipe is Awesome
Okay, let’s be real: this banana bread recipe isn’t just “good,” it’s legendary. And it’s practically **idiot-proof**. Seriously, even if your culinary skills are usually limited to microwaving leftovers, you’ll feel like a baking wizard after whipping this up. It’s forgiving, uses ingredients you probably already have, and fills your whole house with that irresistible bakery smell. Plus, it’s a fantastic way to justify buying too many bananas. You’re basically a food waste warrior, high-fives!
Ingredients You’ll Need
Gather ’round, pantry warriors! Here’s your simple shopping list. No obscure unicorn tears required, just good old basics.
- 3 very ripe bananas: The spottier, the better! We’re talking almost black here, no judgment.
- 1/2 cup (113g) unsalted butter: Melted and slightly cooled. Or, you know, just soft enough to work with if you’re feeling rebellious.
- 1 large egg: Room temp, if you’re fancy. Otherwise, straight from the fridge is fine, we’re not baking for the Queen.
- 1 teaspoon vanilla extract: The good stuff! It makes all the difference.
- 1 1/2 cups (190g) all-purpose flour: Basic baking staple.
- 1 teaspoon baking soda: Our secret weapon for that perfect rise.
- 1/4 teaspoon salt: Just a pinch to make everything pop.
- 1/2 cup (100g) granulated sugar: Sweetness personified.
- 1/4 cup (50g) brown sugar: Packed! Adds a lovely caramel note.
Step-by-Step Instructions
Time to get your hands (a little) dirty! This is so easy, you’ll wonder why you ever bought banana bread.
- **Preheat Power-Up!** Get your oven fired up to 350°F (175°C). Then, lightly grease and flour a 9×5-inch loaf pan. Trust me, it helps with easy release later.
- **Banana Mash Fest!** In a medium bowl, mash those ripe bananas until they’re mostly smooth but still have a few small lumps. We like texture!
- **Wet Ingredients Party!** Add the melted butter, egg, vanilla extract, granulated sugar, and brown sugar to the mashed bananas. Whisk it all together until it’s nicely combined and looks wonderfully gooey.
- **Dry Team Assembles!** In a separate bowl, whisk together the flour, baking soda, and salt. Make sure there are no lumpy bits!
- **Combine & Conquer!** Pour the dry ingredients into the wet ingredients. Gently mix with a spatula or wooden spoon until *just* combined. Do not overmix! A few streaks of flour are totally okay; overmixing makes tough bread, and nobody wants that.
- **Loaf Pan Loving!** Pour the batter into your prepared loaf pan. Give it a gentle tap on the counter to settle any air bubbles.
- **Bake It ‘Til You Make It!** Pop that bad boy into your preheated oven and bake for about 55-65 minutes. How do you know it’s done? A toothpick inserted into the center should come out clean.
- **Cool Down Time!** Let it cool in the pan for about 10 minutes before carefully transferring it to a wire rack to cool completely. Patience is a virtue, especially when warm banana bread is involved.
Common Mistakes to Avoid
Listen, we’ve all been there. Here are a few “oopsie” moments to dodge like a ninja:
- **Under-ripe bananas:** This is like using bland coffee beans for your morning brew. You just won’t get that deep, sweet banana flavor. Use those super spotty ones!
- **Overmixing the batter:** I know, I know, it’s tempting to keep stirring. But seriously, stop when the flour streaks just disappear. Overmixing develops gluten, leading to a dense, chewy loaf instead of light and tender.
- **Not preheating the oven:** Rookie mistake! A properly preheated oven ensures even baking from the get-go. Otherwise, your bread might not rise correctly.
- **Cutting it too soon:** I get it, the smell is intoxicating. But slicing into hot banana bread is a messy business. Let it cool; it allows the bread to set properly and prevents crumbling.
Alternatives & Substitutions
Feeling adventurous? Or just missing an ingredient? No stress, we’ve got options!
- **Chocolate Chips:** The ultimate upgrade! Fold in 1/2 to 1 cup of chocolate chips (dark, milk, or white – your call) with the dry ingredients. Because everything is better with chocolate, IMO.
- **Nuts:** Walnuts or pecans are classic. Add about 1/2 cup chopped nuts for a delightful crunch. Toast them first for extra flavor!
- **Spices:** A pinch of cinnamon or nutmeg (1/2 teaspoon total) can add a lovely warmth.
- **Flour Power:** You can try half whole wheat flour for a slightly heartier, nuttier loaf, but stick to mostly all-purpose for the best texture.
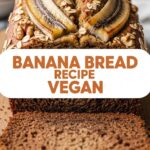
- **Butter vs. Oil:** Ran out of butter? You can substitute with 1/2 cup of a neutral oil like vegetable or canola. The texture will be a bit different (moister, less rich), but still delicious!
FAQ (Frequently Asked Questions)
- My bananas aren’t ripe enough! Help! Pop them on a baking sheet and bake at 300°F (150°C) for 15-30 minutes until their skins are shiny black. Let them cool completely before mashing. Crisis averted!
- Can I use frozen bananas? Absolutely! Just thaw them completely (they’ll release a lot of liquid, which you can mostly drain, or just embrace it for extra moistness).
- How long does banana bread last? On the counter, wrapped tightly, it’s good for 2-3 days. In the fridge, it’ll stretch to about a week. But honestly, it rarely lasts that long!
- Can I freeze banana bread? Heck yes! Wrap individual slices or the whole loaf tightly in plastic wrap, then foil. It’ll keep for up to 3 months. Thaw on the counter.
- Why is my banana bread dry? Likely culprits: overmixing the batter, too much flour (measure by weight for best accuracy!), or overbaking. Keep an eye on that oven!
Final Thoughts
See? That wasn’t scary at all! You just created a masterpiece, a delicious monument to your newfound (or rediscovered) baking prowess. Slice it thick, slather it with a little butter (or cream cheese, if you’re feeling extra fancy), and enjoy every single crumb. It’s perfect with your morning coffee, an afternoon snack, or a late-night indulgence. Now go impress someone—or yourself—with your new culinary skills. You’ve earned it!

