So, you’ve got those bananas on your counter looking a little… *melancholy*? Like they’ve seen better days and are contemplating their life choices? Excellent! This isn’t a tragic tale of forgotten fruit; it’s the beginning of a delicious adventure. We’re about to turn those sad, spotted guys into the kind of banana nut bread that makes you want to hug your oven. And trust me, it’s so easy, you’ll wonder why you ever bought it from a cafe.
Why This Recipe is Awesome
Because let’s be real, life is complicated enough. Your baking shouldn’t be. This banana nut bread recipe is practically foolproof. It’s the culinary equivalent of a warm hug on a rainy day, but with more crunch and less awkwardness. You basically mash some stuff, mix some other stuff, and then bake it. Presto! You’re a domestic god/goddess, and your house smells like a bakery. Plus, it’s a great excuse to finally get rid of those bananas before they turn into actual science experiments. You’re welcome.
Ingredients You’ll Need
Gather ’round, fellow food adventurers! Here’s your treasure map to deliciousness:
- 3-4 Ripe Bananas: The browner, the better! We’re talking serious speckles, almost black. These are the flavor heroes, trust me.
- 1/2 cup (113g) Unsalted Butter: Softened. Because everything’s better with butter, right?
- 3/4 cup (150g) Granulated Sugar: For that perfect kiss of sweetness.
- 1 large Egg: The binder, the glue, the unsung hero of many a baked good.
- 1 teaspoon Vanilla Extract: A little whisper of magic.
- 1 1/2 cups (180g) All-Purpose Flour: The structure, the backbone.
- 1 teaspoon Baking Soda: Our fluffy-maker!
- 1/2 teaspoon Salt: Just a pinch to balance all that sweetness.
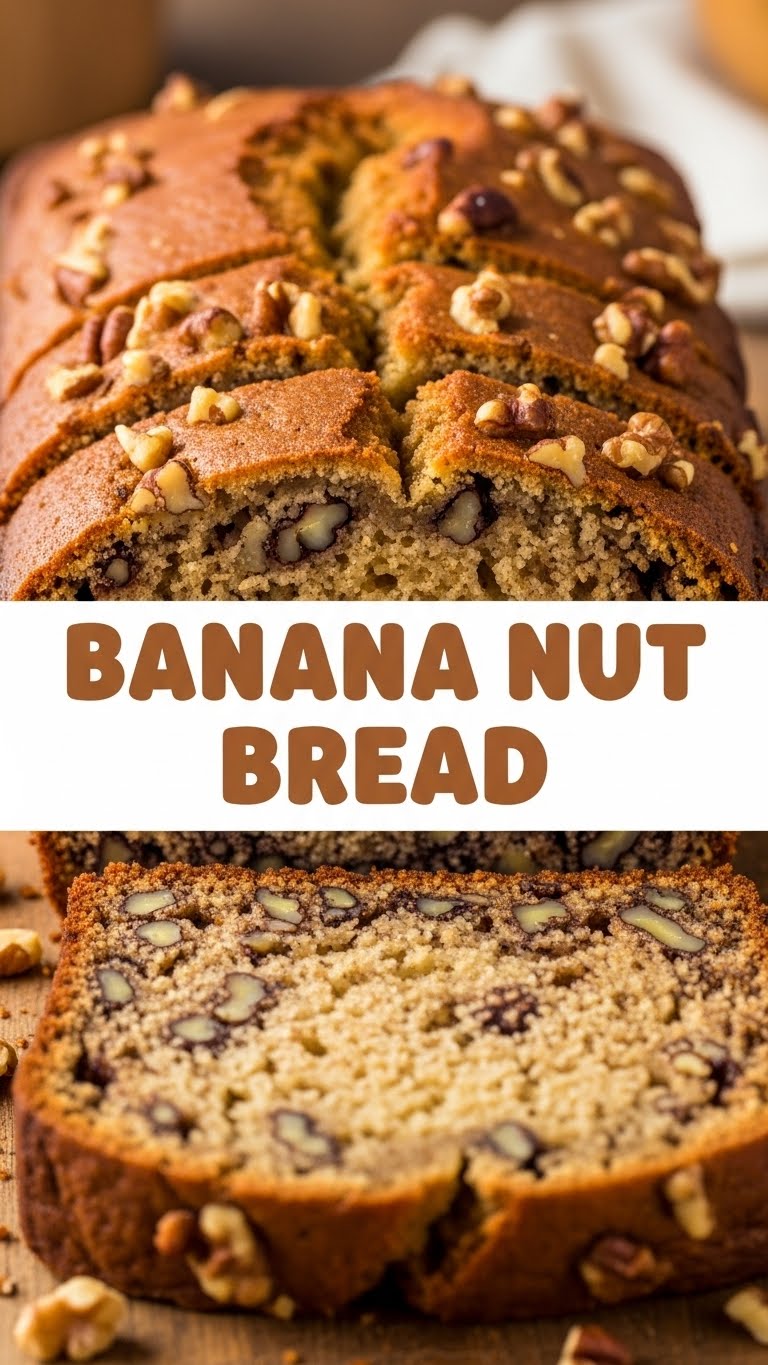
- 1 cup Chopped Walnuts or Pecans: The “nut” in banana nut bread. Or don’t. Your call, rebel.
Step-by-Step Instructions
- Preheat & Prep: Crank your oven to 350°F (175°C). Grab a 9×5 inch loaf pan, grease it up, and dust lightly with flour. Or, if you’re fancy, use parchment paper.
- Mash ‘Em Up: In a medium bowl, take those sad, spotted bananas and mash them with a fork until they’re mostly smooth with a few small lumps. We’re not going for baby food here.
- Cream It Real Good: In a separate, larger bowl, beat the softened butter and sugar together until they’re light and fluffy. This is where your electric mixer earns its keep, IMO.
- Egg & Vanilla Time: Crack that egg into the butter-sugar mix and beat until combined. Stir in the vanilla extract. Mmm, vanilla.
- Dry Mix Power: In another bowl (yes, more bowls, deal with it), whisk together the flour, baking soda, and salt. Make sure it’s all nicely blended.
- Combine & Conquer: Now for the magic! Add the dry ingredients to the wet ingredients, mixing until *just* combined. Don’t overmix! A few streaks of flour are totally fine; overmixing makes tough bread, and nobody wants tough bread.
- Fold in the Goodies: Gently fold in your mashed bananas and chopped nuts. Be gentle, treat it like a baby kitten.
- Pour & Bake: Pour the batter into your prepared loaf pan. Pop it into the preheated oven and bake for 55-65 minutes. How do you know it’s done? A toothpick inserted into the center should come out clean.
- Cool Down: Let your masterpiece cool in the pan for about 10-15 minutes before transferring it to a wire rack to cool completely. Patience is a virtue, especially when warm bread is involved.
Common Mistakes to Avoid
- Using Under-Ripe Bananas: This is a cardinal sin. Greenish bananas lack the sweetness and moisture needed. Wait for those glorious brown spots!
- Overmixing the Batter: Remember that “tough bread” warning? Overmixing develops the gluten too much, leading to a dense, chewy loaf. Mix until *just* combined.
- Not Greasing the Pan Properly: You’ve done all that work, don’t let your beautiful bread get stuck. Grease AND flour, or use parchment.
- Cutting it While Hot: Oh, the temptation! But slicing hot bread can make it crumble and dry out faster. Let it cool; it’ll be worth it.
- Forgetting to Preheat the Oven: Rookie mistake! A properly preheated oven ensures even baking from the get-go.
Alternatives & Substitutions
Feeling adventurous? Or maybe you’re just out of a specific ingredient (we’ve all been there). No worries, I’ve got your back!
- Nuts: Not a fan of walnuts? Try pecans, hazelnuts, or even skip them entirely! (Though, then it’s just banana bread, which is still delicious, FYI.)
- Chocolate Chips: Want to take it to the next level? Stir in 1/2 to 1 cup of chocolate chips with the nuts. Because chocolate makes everything better.
- Oil Instead of Butter: If you’re out of butter, 1/2 cup of a neutral oil (like vegetable or canola) can work. The flavor will be slightly different, but still good.
- Add Spices: A pinch of cinnamon or nutmeg can add a lovely warmth.
- Streusel Topping: For an extra fancy touch, mix 1/4 cup flour, 2 tbsp brown sugar, 1/4 tsp cinnamon, and 2 tbsp cold butter until crumbly. Sprinkle over the top before baking!
FAQ (Frequently Asked Questions)
Got questions? I’ve got (casual, humorous) answers!
- Can I use green bananas? Bless your heart, no! Seriously, the riper, the sweeter, the better. Green bananas will give you a lackluster, less flavorful loaf.
- How do I store banana bread? At room temperature, wrapped tightly in plastic wrap or in an airtight container, it’ll last 3-4 days. In the fridge, it lasts a bit longer (up to a week), but can dry out.
- Can I freeze banana bread? Absolutely! Wrap the cooled loaf (or slices) tightly in plastic wrap, then foil. It’ll keep for up to 3 months. Thaw at room temperature.
- What if I don’t have an electric mixer? You can totally make this by hand! Just be prepared for a bit of an arm workout when creaming the butter and sugar.
- Is this banana bread healthy? Well, it has fruit and nuts… so, yes, in a delicious, comfort-food kind of way. It’s probably not a kale smoothie, but it’s good for the soul.
- My bread turned out too dense. What happened? Most likely, you overmixed the batter, or your bananas weren’t ripe enough. Remember, gentle mixing is key!
Final Thoughts
So there you have it, superstar! You’ve just created a masterpiece of banana-y, nutty goodness. Go ahead, bask in the glory. Cut a thick slice, smear it with a little extra butter (because why not?), and enjoy your hard work. Or, if you’re feeling generous, share it with someone who appreciates homemade treats. Just remember who armed you with this delicious secret weapon. Now go impress someone—or yourself—with your new culinary skills. You’ve earned it!


