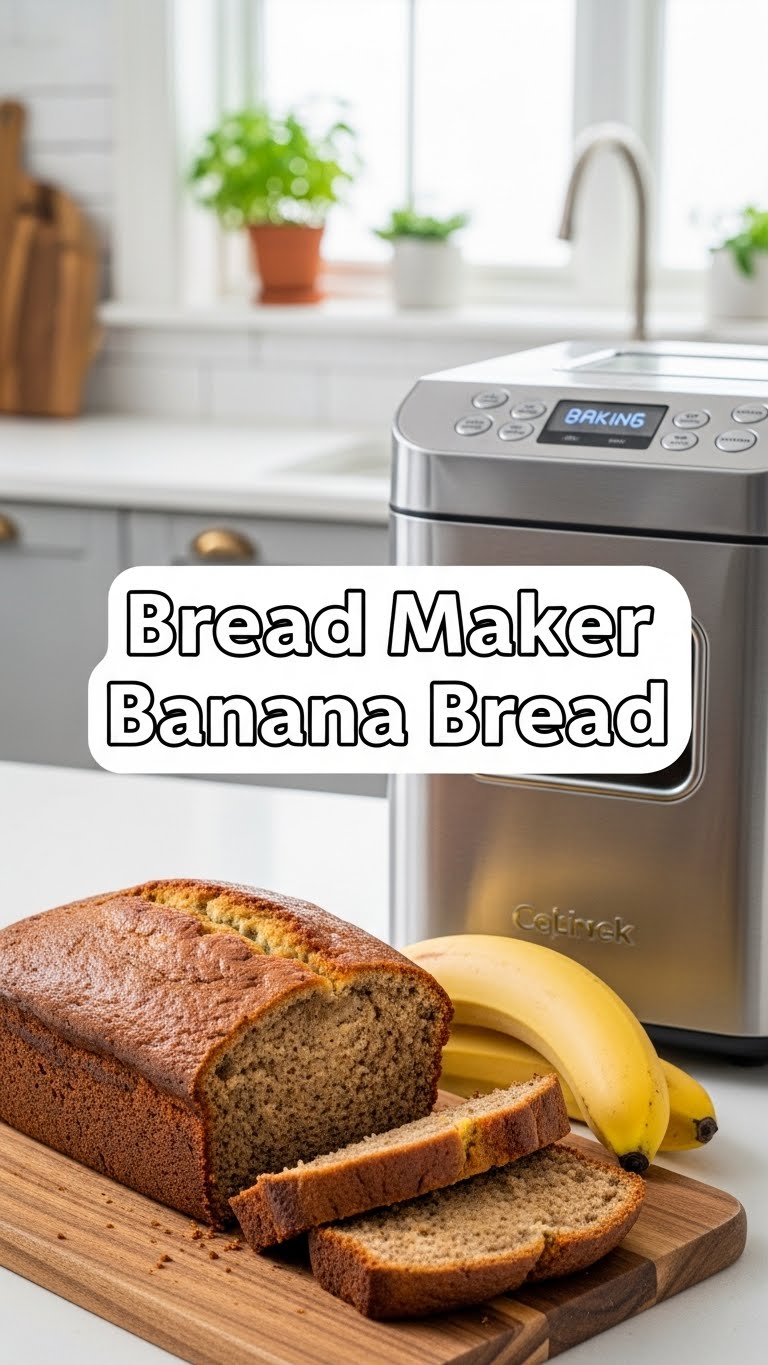
So, you’re looking for that warm, comforting hug in a slice but also want to binge-watch your favorite show without a major kitchen overhaul? Gotcha covered. We’re talking banana bread, but not just any banana bread – we’re talking **Bread Maker Banana Bread**. It’s basically magic, but with way less effort and no wand required. If your bananas are looking a little… experienced, then you’ve come to the right place, my friend!
Why This Recipe is Awesome
Let’s be real, who actually *enjoys* scrubbing flour off every surface of their kitchen? Not me, that’s who. This recipe is awesome because it’s practically a set-it-and-forget-it situation. Your bread maker does 90% of the work. You dump, you press, you wait for the glorious aroma to fill your home. It’s so easy, your pet could probably make it (if they had opposable thumbs and an interest in baking). Plus, it’s the ultimate way to use up those spotty bananas that are practically begging for a delicious transformation. **Zero mess, almost zero thinking. My kind of cooking.**
Ingredients You’ll Need
Gather your troops, folks! Here’s what you need to enlist for this delicious mission:
- **Overripe Bananas (3-4 medium):** These are the true stars! Think “auditioning for a punk rock band” level of black spots. The spottier, the sweeter, the better. No judgment here.
- **All-Purpose Flour (1 ½ cups):** The backbone of our bread. Don’t overthink it.
- **Granulated Sugar (½ cup):** For that sweet, sweet bliss. Because life’s too short for unsweetened banana bread.
- **Melted Butter (¼ cup):** Because everything’s better with butter. Trust me on this one.
- **Large Egg (1):** Our trusty binder, holding all the deliciousness together.
- **Vanilla Extract (1 teaspoon):** A little liquid magic to make everything smell and taste divine.
- **Baking Soda (1 teaspoon):** Our lift-off specialist, giving that fluffy texture.
- **Salt (¼ teaspoon):** Just a tiny pinch to make all the flavors pop. Don’t skip it!
- **Optional Add-ins:** Chocolate chips (½ cup, because why not?), chopped walnuts or pecans (½ cup, for that satisfying crunch).
Step-by-Step Instructions
- **Mash Those Bananas:** In a separate bowl, mash your super ripe bananas with a fork until they’re mostly smooth but still have a few little lumps. We’re not going for baby food here, just well-mashed.
- **Wet First:** Pour the mashed bananas, melted butter, egg, and vanilla extract into your bread maker pan. This order is key for most machines, FYI.
- **Dry on Top:** Carefully spoon the flour, sugar, baking soda, and salt directly on top of the wet ingredients in the pan. Try to form a little mound with the dry ingredients.
- **Into the Machine:** Place the bread maker pan securely into your bread machine. Close the lid.
- **Select and Start:** Choose the “Quick Bread” or “Sweet Bread” setting on your machine. If you have an option for light/medium crust, medium is usually a safe bet. Press start!
- **Optional Add-in Time:** If you’re adding chocolate chips or nuts, your bread maker might beep partway through the cycle. That’s your cue to toss them in! If not, just add them carefully about 10 minutes into the mixing.
- **The Waiting Game:** Now, sit back, relax, and let your bread maker do its thing. Your house is about to smell AMAZING.
- **Cool It Down:** Once the cycle is complete, carefully remove the pan from the bread maker (it will be hot!). Let the bread cool in the pan for about 10-15 minutes before gently removing it to a wire rack to cool completely. **Resist the urge to cut it hot!** It’ll be a crumbly mess, and nobody wants that.
Common Mistakes to Avoid
Even though this is practically foolproof, there are a few banana bread blunders to steer clear of:
- **Using Under-ripe Bananas:** This is a biggie! If your bananas aren’t spotty and soft, they won’t have enough natural sugar or the right texture. **Don’t be a hero; wait for the spots!**
- **Incorrect Ingredient Order:** Most bread makers prefer wet ingredients first, then dry on top. Swapping this can sometimes lead to uneven mixing. Check your machine’s manual if you’re unsure, but generally, this order works.
- **Not Scraping Down the Sides:** Sometimes flour or other dry bits can get stuck to the side of the pan during the initial mix. Give it a gentle nudge with a rubber spatula if you see this happening to ensure everything is incorporated.
- **Cutting While Hot:** I know, I know, the smell is intoxicating. But slicing into warm banana bread often results in it crumbling apart. **Patience, young grasshopper!** Let it cool for at least 30 minutes, ideally more.
Alternatives & Substitutions
Feeling a little adventurous? Here are some ways to shake things up:
- **Sugar Swap:** You can absolutely use brown sugar instead of white for a richer, more caramel-y flavor. Or do a 50/50 split!
- **Butter Alternatives:** If you’re out of butter, vegetable oil or even melted coconut oil can work in a pinch. It might slightly alter the flavor and texture, but it’ll still be delicious.
- **Flour Power:** Want to make it a *tad* healthier? Replace up to half of the all-purpose flour with whole wheat flour. Your bread will be a bit denser but still tasty.
- **Spice It Up:** Add ½ teaspoon of cinnamon or a pinch of nutmeg to the dry ingredients for an extra layer of warmth.
- **More Add-ins:** Get creative! Shredded coconut, dried cranberries, or even a swirl of nut butter (add towards the end of the mix cycle) can be fun additions.
FAQ (Frequently Asked Questions)
- **Can I use fresh, yellow bananas?** Well, technically yes, but why hurt your soul like that? Yellow bananas are less sweet and don’t provide the same intense banana flavor or moistness. **Always go for the spotted ones!**
- **My bread maker doesn’t have a ‘Quick Bread’ setting. What do I do?** Look for a ‘Sweet Bread’ or ‘Cake’ setting. These usually have shorter rise times and bake cycles, which is what you want for quick breads. When in doubt, consult your bread maker’s manual (yes, that dusty book in the back of the cupboard!).
- **How do I know when it’s done?** Most bread maker quick bread settings are timed perfectly! But if you’re ever unsure, a wooden skewer or toothpick inserted into the center should come out clean.
- **Can I add chocolate chips without them sinking to the bottom?** Good question! Most bread makers have a “mix-in” beep during the kneading cycle. That’s your cue! If yours doesn’t, add them about 10-15 minutes into the mixing process.
- **How long does bread maker banana bread keep?** Wrapped tightly, it’s good for 2-3 days at room temperature, or up to a week in the fridge. It also freezes beautifully for up to 3 months—just wrap slices individually and thaw as needed.
- **My bread is too dense/dry. Help!** This usually means too much flour or not enough moisture. Make sure you’re measuring your flour correctly (spooning it into the measuring cup, not scooping it directly from the bag). Also, ensure your bananas are *really* ripe and mashed well.
Final Thoughts
So there you have it, folks! You’ve conquered the bread maker, tamed the overripe banana, and created something truly delicious with minimal fuss. Now you’re practically a culinary wizard, capable of producing warm, comforting banana bread whenever the craving strikes (which, let’s be honest, is often). Slice it up, slather with a little extra butter (because, why not?), and enjoy your masterpiece. Now go impress someone—or yourself—with your new culinary skills. You’ve earned that extra slice!

