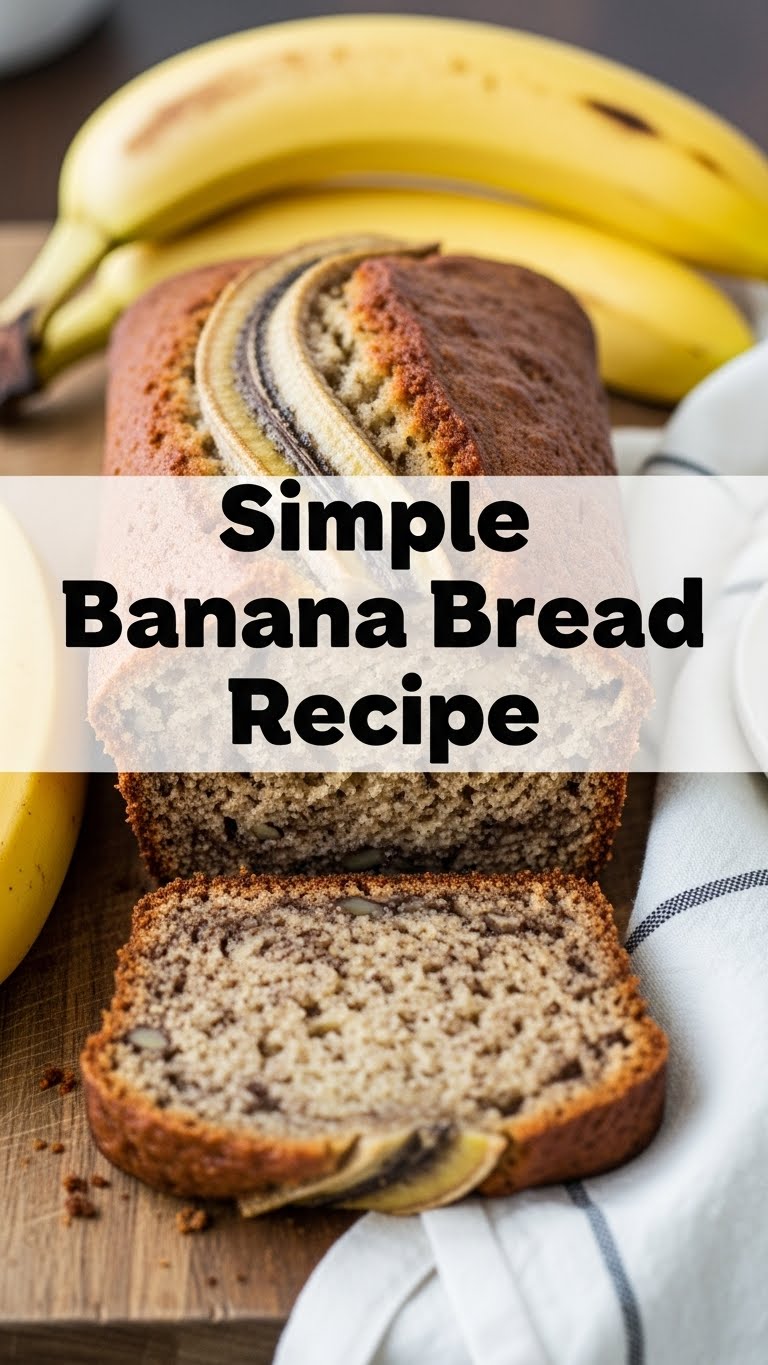
So you’re craving something warm, sweet, and comforting, but the thought of a complicated recipe makes you wanna just order takeout? Been there, done that, got the stained apron. Good news, my friend: we’re making banana bread. And not just any banana bread – **the easiest, “even-I-can-do-it” kind of banana bread.** Get ready to turn those sad, spotty bananas into pure joy!
Why This Recipe is Awesome
Seriously, this isn’t one of those recipes where you need a culinary degree and obscure ingredients. This is the ‘I found three sad-looking bananas on my counter and now I’m a baking genius’ recipe. It’s **super forgiving**, practically impossible to mess up (unless you, like, forget to turn the oven on – don’t do that). Plus, your kitchen will smell like a warm, cozy hug. You’re welcome.
Ingredients You’ll Need
- **Overripe Bananas** (3-4 medium, the darker the better – we’re talking full-on leopard print, maybe even a little bruised. They’re basically pre-sweetened for us, score!)
- **All-Purpose Flour** (1 ½ cups – the basic stuff, nothing fancy. We’re not reinventing the wheel here.)
- **Granulated Sugar** (¾ cup – adjust if your bananas are *super* sweet or you just like things extra sugary, no judgment.)
- **Egg** (1 large – binding everything together like a responsible adult.)
- **Melted Unsalted Butter** (½ cup, which is one stick – because butter makes everything better, duh.)
- **Baking Soda** (1 teaspoon – our leavening hero, making it all fluffy.)
- **Salt** (½ teaspoon – just a pinch to balance out all that sweetness.)
- **Vanilla Extract** (1 teaspoon – because vanilla is life.)
- *Optional:* Chocolate chips, chopped nuts, cinnamon (get wild, express yourself!)
Step-by-Step Instructions
- **Preheat & Prep:** First things first, get that oven to 350°F (175°C). Then, grab a standard loaf pan (around 9×5 inches) and give it a good spray with cooking non-stick spray or butter and flour it. Nobody likes stuck banana bread.
- **Mash ‘Em Up:** In a large bowl, mash those gloriously overripe bananas. A fork works perfectly. Don’t go crazy; a few lumps are totally fine, even desirable.
- **Wet Ingredients Party:** Add the melted butter, sugar, egg, and vanilla extract to your mashed bananas. Stir it all together until just combined. We’re not trying to win any mixing competitions here.
- **Dry Ingredients Unite:** In a separate medium bowl, whisk together the flour, baking soda, and salt. Make sure it’s all mixed evenly.
- **Combine Forces:** Gently fold the dry ingredients into the wet banana mixture. **Mix until *just* combined.** Seriously, stop mixing when you no longer see streaks of dry flour. Overmixing is the enemy of tender banana bread! If you’re adding optional goodies, now’s the time.
- **Into the Pan:** Pour your beautiful batter into the prepared loaf pan. Give it a gentle tap on the counter to settle.
- **Bake Away:** Pop it into your preheated oven and bake for about 50-60 minutes. How do you know it’s done? A toothpick inserted into the center should come out clean, or with just a few moist crumbs.
- **Cool Down:** Let your banana bread cool in the pan for about 10 minutes. Then, carefully transfer it to a wire rack to cool completely. Or, if you’re like me, cut a slice while it’s still warm and slightly gooey. You deserve it.
Common Mistakes to Avoid
- **Not using *overripe* bananas:** Green-ish bananas just won’t give you that intense banana flavor or natural sweetness. You’ll end up with sad, anemic bread. Don’t be that person.
- **Overmixing the batter:** This is a biggie! If you mix too much after adding the flour, you develop the gluten, and your bread will be tough and chewy instead of moist and tender. Remember: **just combined is the goal.**
- **Forgetting to preheat the oven:** We’ve all done it, but it messes with the rise and texture. Patience, young padawan!
- **Cutting into it too soon:** I know, the smell is intoxicating. But let it cool *slightly* in the pan to firm up, or it might fall apart. A few minutes won’t kill you, I promise (mostly).
Alternatives & Substitutions
- **No butter? No problem!** You can totally swap in an equal amount of oil (like vegetable or canola) for the melted butter. It’ll give you a slightly different texture, but still delicious.
- **Gluten-Free?** Try a 1:1 gluten-free flour blend. I haven’t personally tested every single brand, but many work beautifully for quick breads.
- **Sweetness Scale:** If you want less sugar, you can reduce it by ¼ cup without much issue, especially if your bananas are practically black. For more sweetness, add a sprinkle of brown sugar on top before baking for a nice crust.
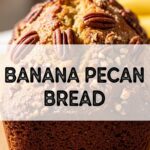
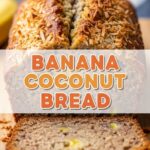
- **Mix-ins Galore:** Chocolate chips (milk, dark, white – go wild!), chopped walnuts or pecans, a sprinkle of cinnamon or nutmeg, shredded coconut… the world is your oyster! Or, you know, your banana bread.
FAQ (Frequently Asked Questions)
- **My bananas aren’t ripe enough! What do I do?!** Don’t panic! You can ripen them faster by baking them unpeeled on a baking sheet at 300°F (150°C) for 15-30 minutes until they’re black and soft. Let them cool before mashing. Crisis averted!
- **Can I use margarine instead of butter?** Well, technically yes, but why hurt your soul like that? Butter just tastes better, IMO.
- **How long does banana bread last?** At room temp, wrapped tightly, it’s good for 2-3 days. In the fridge, up to a week. And it freezes beautifully for up to 3 months! Just wrap slices individually.
- **Can I make muffins instead?** Absolutely! Divide the batter into a greased muffin tin. Bake for about 20-25 minutes, or until a toothpick comes out clean. Ta-da, banana muffins!
- **Why is my banana bread dry?** Chances are, you overmixed the batter or overbaked it. Remember to mix *just* until combined and keep an eye on that baking time!
- **What if I don’t have vanilla extract?** It’s not a deal-breaker, but it does add a lovely depth of flavor. If you don’t have it, your bread will still be tasty, just a tiny bit less… *chef’s kiss*.
Final Thoughts
See? I told you it was easy! You just whipped up a glorious loaf of banana bread without breaking a sweat (or your sanity). Now go impress someone—or just yourself—with your new culinary skills. Slice it up, slather on some butter, or just eat it plain. You’ve earned it! **Happy baking, my friend!**
