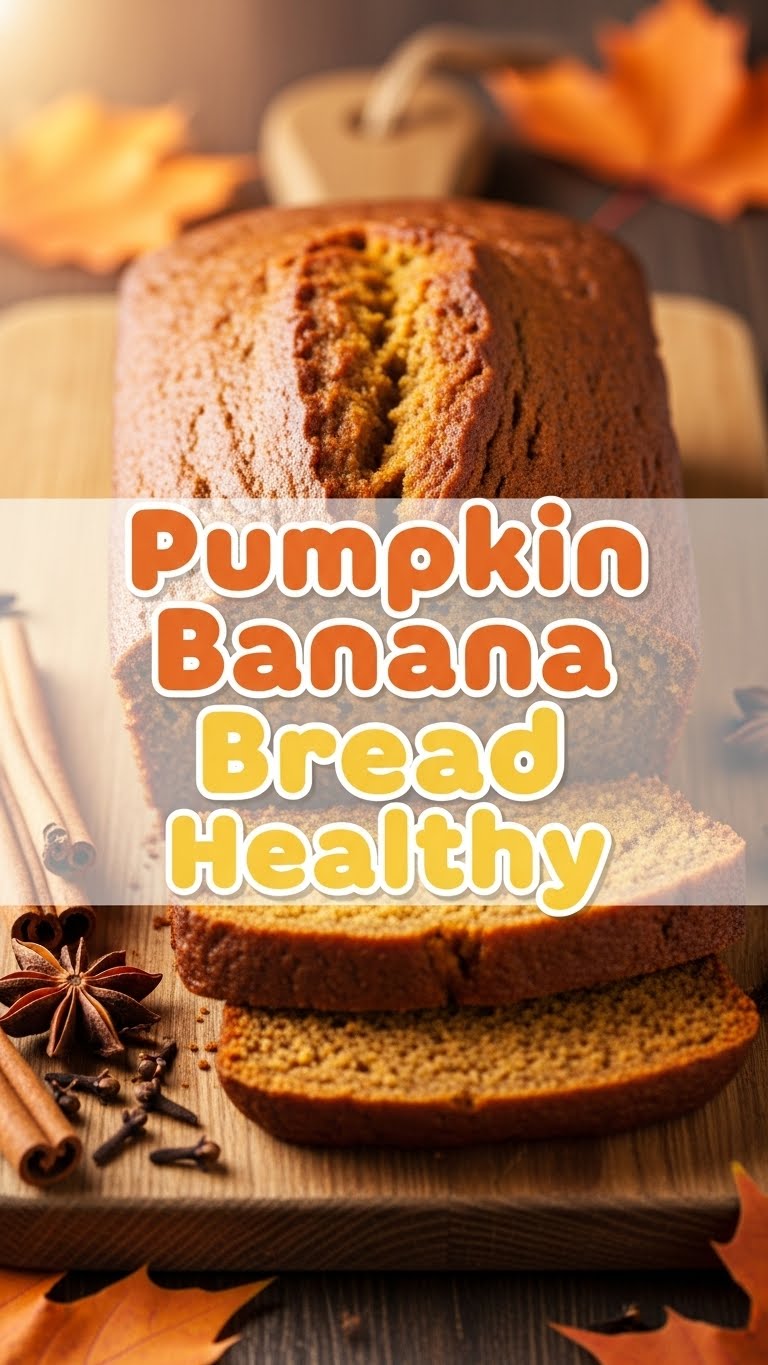
So you’re craving something tasty but too lazy to spend forever in the kitchen, huh? Same. Like, why spend hours when you can whip up something amazing, *and* feel good about it? My kind of logic! If you’re nodding along, grab a coffee (or wine, no judgment here), because we’re about to make some seriously delicious, ridiculously easy, and surprisingly healthy Pumpkin Banana Bread. Get ready for your kitchen to smell like autumn threw a party, even if it’s 90 degrees outside.
Why This Recipe is Awesome
Okay, let’s be real. There are a bazillion banana bread recipes out there. So what makes this one special? Besides the fact that it combines two of the best fall flavors (pumpkin and banana, hello!), it’s also on the healthier side. We’re talking whole grains, less refined sugar, and enough fiber to make your grandma proud. Plus, it’s pretty much **idiot-proof**. Seriously, if I can make it without setting off the smoke detector, you totally can. It’s perfect for breakfast, a snack, or let’s be honest, a midnight fridge raid. No guilt, just glorious, moist, spiced goodness.
Ingredients You’ll Need
Gather your troops, folks! Here’s what you need to make this magic happen:
- 3 Ripe Bananas: The riper, the better, honestly. We’re talking brown spots galore. Green bananas? Don’t even think about it.
- 1 Cup Pumpkin Puree: Make sure it’s 100% pumpkin puree, not the pie filling stuff. Unless you want a sugar bomb and a very confused taste, then go nuts, I guess.
- 2 Large Eggs: Room temp is always a good idea, but who really plans that far ahead?
- 1/2 Cup Maple Syrup or Honey: Your natural sweetener of choice! Adjust to your sweet tooth, but this keeps it healthy-ish.
- 1/4 Cup Melted Coconut Oil or Unsweetened Applesauce: Coconut oil gives it a richer flavor, applesauce makes it even lighter. Your call, chef.
- 1 1/2 Cups Whole Wheat Flour: Or whole wheat pastry flour for a slightly softer crumb. Don’t be scared of whole grains, they’re our friends!
- 1 Teaspoon Baking Soda: The lift-off agent.
- 1/2 Teaspoon Baking Powder: More lift, because we like fluffy things.
- 1 1/2 Teaspoons Pumpkin Pie Spice: Crucial for those cozy vibes. Don’t skip this!
- 1/2 Teaspoon Cinnamon: Because more spice is always nice.
- Pinch of Salt: Balances everything out. It’s science, or something.
- Optional Add-ins: 1/2 cup chocolate chips (dark is healthier, just saying), chopped walnuts, or pecans. Because sometimes, you just need a little extra pizzazz.
Step-by-Step Instructions
Time to get your bake on! Follow these super simple steps:
- Preheat & Prep: First things first, crank your oven to 350°F (175°C). Then, grease and flour a standard loaf pan, or line it with parchment paper. No one wants stuck bread, trust me.
- Mash ‘Em Up: In a large bowl, mash those ripe bananas until they’re mostly smooth with a few lumps (texture!).
- Wet Ingredients Unite: To the mashed bananas, add the pumpkin puree, eggs, maple syrup (or honey), and melted coconut oil (or applesauce). Whisk ’em all together until it’s a happy, well-combined goo.
- Dry Mix Party: In a separate bowl, whisk together the whole wheat flour, baking soda, baking powder, pumpkin pie spice, cinnamon, and salt. Make sure there are no lumpy bits!
- Combine Forces: Pour the dry ingredients into the wet ingredients. Mix gently with a spatula until just combined. **Do not overmix!** Lumpy batter is your friend here; overmixing leads to tough bread. Nobody wants tough bread.
- Fold in Fun: If you’re adding chocolate chips or nuts, gently fold them into the batter now. Don’t be shy!
- Pan It Up: Pour the glorious batter into your prepared loaf pan. Give it a gentle tap on the counter to settle any air bubbles.
- Bake Away: Pop it in the preheated oven and bake for **50-60 minutes**. You’ll know it’s done when a toothpick inserted into the center comes out clean.
- Cool Down: Once baked, let the bread cool in the pan for about 10-15 minutes before transferring it to a wire rack to cool completely. Patience is a virtue, especially when warm bread is involved.
- Devour: Slice, serve, and enjoy your healthy-ish masterpiece!
Common Mistakes to Avoid
Listen, we’ve all been there. Here are a few pitfalls to steer clear of:
- Using Under-ripe Bananas: Don’t do it! They won’t be sweet enough, and the texture won’t be right. You want those mushy, spotty ones. Think of them as pre-mashed.
- Overmixing the Batter: This is a cardinal sin in baking. Overmixing develops the gluten in the flour, making your bread dense and chewy instead of light and tender. Mix until *just* combined.
- Confusing Pumpkin Puree with Pumpkin Pie Filling: Seriously, double-check that label! Pie filling is loaded with sugar and spices already, which will throw off the whole recipe.
- Opening the Oven Door Constantly: I know it’s tempting, but every time you peek, you let out heat and mess with the baking process. Trust the oven, it’s doing its job.
- Not Letting it Cool: Cutting into super hot bread is tough, messy, and can make it seem gummy. Let it chill out for a bit, it’ll be worth it.
Alternatives & Substitutions
Feeling adventurous? Here are some tweaks you can make:
- Flour Power: Not a fan of whole wheat? You can totally use all-purpose flour for a lighter texture (though less healthy), or try oat flour for a gluten-free option. For gluten-free, use a 1:1 gluten-free baking blend.
- Sweetener Swap: Agave nectar or brown sugar work too if you don’t have maple syrup or honey. Just keep an eye on the consistency; you might need to adjust liquids slightly.
- Fat Options: Instead of coconut oil, olive oil or avocado oil are great healthy fat alternatives. Or, if you want to go super low-fat, bump up the unsweetened applesauce to 1/2 cup and skip the oil entirely.
- Spice it Up: Don’t have pumpkin pie spice? Mix your own! A combo of cinnamon, nutmeg, ginger, and a tiny pinch of cloves will do the trick.
- Add-in Galore: Beyond chocolate chips and nuts, try dried cranberries, raisins, or even a sprinkle of unsweetened shredded coconut. Get creative!
FAQ (Frequently Asked Questions)
Got questions? I’ve got (casual) answers!
- Can I use frozen bananas? Absolutely! Just thaw them first and drain any excess liquid. They might be a bit watery, so blot them with a paper towel. The riper, the better still applies!
- How long does this bread last? Stored at room temperature in an airtight container, it’ll last about 3-4 days. In the fridge, maybe up to a week. It also freezes beautifully for up to 3 months! Just wrap it tightly.
- Can I make muffins instead of a loaf? Oh, for sure! Fill a muffin tin about two-thirds full and bake for 20-25 minutes, or until a toothpick comes out clean. Perfect for grab-and-go.
- Is this *really* healthy? Well, “healthy” is subjective, isn’t it? But compared to traditional banana bread loaded with white sugar and refined flour, yes, this is definitely a healthier alternative. It’s packed with nutrients and fiber, IMO.
- What if I don’t have pumpkin puree? Can I still make it? Uh, then it’s just banana bread, my friend! This is *Pumpkin* Banana Bread. But if you’re really out, you can sub in more applesauce or even mashed sweet potato for a different, but still delicious, vibe.
- My bread is dense/dry, what happened? Most likely, you either overmixed the batter (which develops gluten and makes it tough) or overbaked it. Make sure your oven temp is accurate, and pull it out as soon as the toothpick test passes!
Final Thoughts
So there you have it! A super simple, delicious, and healthier Pumpkin Banana Bread recipe that’ll make you feel like a culinary wizard without all the fuss. This bread is proof that healthy-ish can still be incredibly satisfying and totally yummy. Now go impress someone—or yourself—with your new culinary skills. You’ve earned it! Don’t forget to grab a slice (or two!) and enjoy every cozy, spiced bite. Happy baking, you rockstar!


