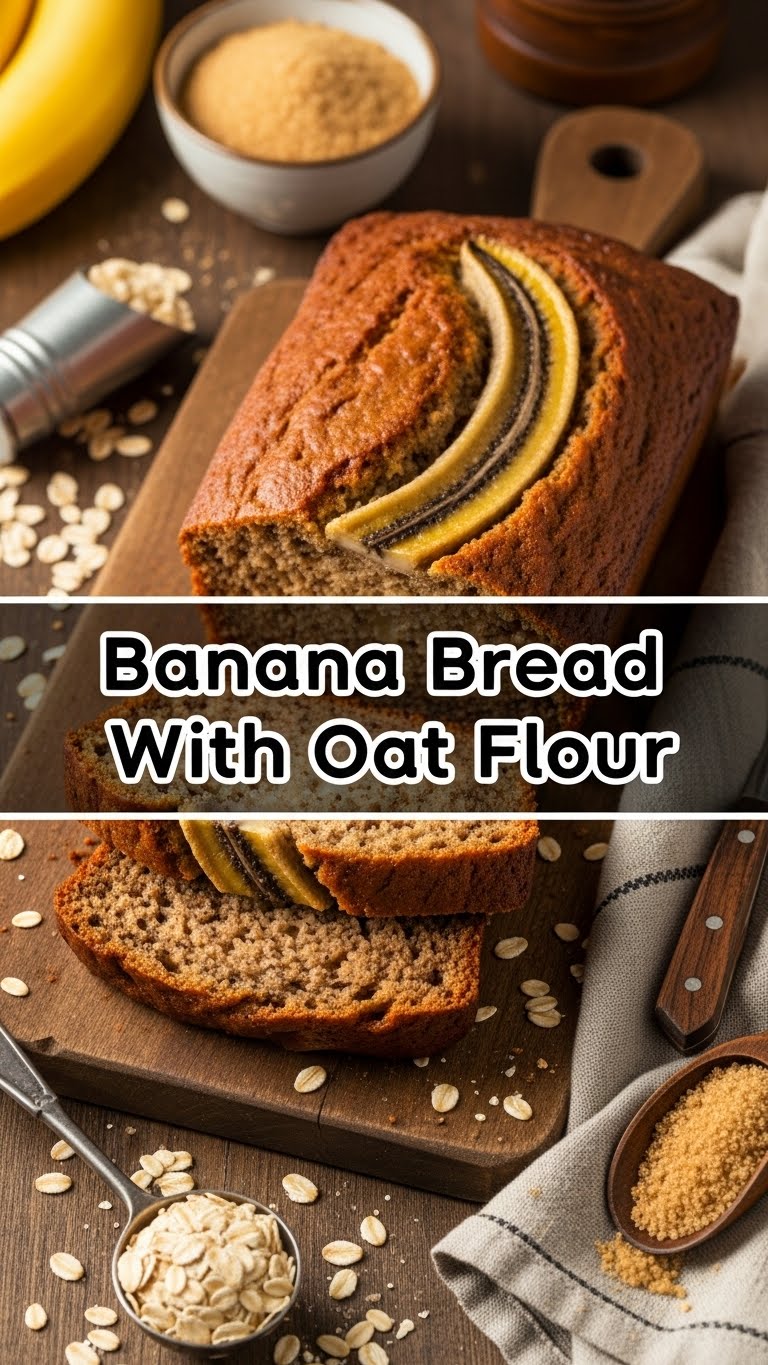
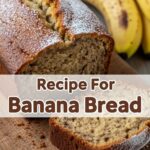
So you’ve got those sad, brown bananas giving you the side-eye from the counter, right? And you’re thinking, ‘Must I really throw them away?’ NOPE! We’re turning those overripe beauties into something ridiculously delicious with minimal effort. Plus, we’re doing it with oat flour, because we’re fancy like that (or, y’know, out of regular flour. No judgment here). Get ready to bake something that smells like a warm hug and tastes like pure joy!
Why This Recipe is Awesome
Look, I get it. Life’s busy. But this isn’t one of those recipes that demands your soul. This banana bread is stupidly easy, seriously. Even if your culinary skills peak at instant noodles, you can nail this. It’s moist, flavorful, and thanks to the oat flour, it’s got this lovely, subtle nutty vibe without being overly ‘health food-ish.’ Plus, it makes your kitchen smell like a warm hug. Who doesn’t want that? It’s pretty much a guaranteed win, which is more than I can say for my last online dating experience. Ha!
Ingredients You’ll Need
Gather ’round, fellow kitchen adventurers! Here’s your treasure map to deliciousness:
- 3-4 medium overripe bananas: We’re talking brown, spotty, almost-black bananas. The uglier, the better! This is where all the good flavor and moisture live.
- 1 ¾ cups oat flour: The star of our show! Make sure it’s actual oat flour, not just rolled oats.
- 2 large eggs: Your binder buddies, keeping everything together.
- ½ cup unsalted butter: Melted, because who has time to soften butter when there’s banana bread to be eaten?
- ½ cup granulated sugar OR packed light brown sugar: Your choice! Brown sugar adds a lovely caramel-y depth, but white works too.
- 1 teaspoon vanilla extract: The flavor magician. Don’t skip it!
- 1 teaspoon baking soda: Our trusty lifter-upper, giving that bread a nice rise.
- ½ teaspoon salt: Just a pinch to balance all that sweetness. Trust me, it makes a difference.
- Optional add-ins: ½ cup chocolate chips (milk, dark, whatever your heart desires), ½ cup chopped walnuts or pecans, or a sprinkle of cinnamon. Go wild!
Step-by-Step Instructions
Alright, apron on (or not, I’m not your mom), let’s do this!
- First things first: Preheat that oven to 350°F (175°C). And because nobody likes sticky bread, lightly grease a 9×5 inch loaf pan.
- Grab those sad bananas and mash ’em up in a medium bowl. A fork works perfectly here. Leave a few small lumps if you like a bit of texture – adds character!
- In a separate, larger bowl, whisk together your melted butter, sugar, eggs, and vanilla extract until everything looks nicely combined and slightly pale.
- Pour your mashed bananas into the wet mixture and stir ’em up until just combined. We want happy bananas, not overworked ones!
- Now for the dry stuff: In another bowl (yes, more bowls, it’s worth it!), whisk together the oat flour, baking soda, and salt. Make sure there are no lumps of baking soda chillin’ on their own.
- Gently add the dry ingredients to the wet ingredients. Mix until just combined. Seriously, don’t overmix! Overmixing is the enemy of tender banana bread. A few streaks of flour are totally fine.
- If you’re feeling fancy, now’s the time to fold in any optional add-ins like chocolate chips or nuts. A few stirs will do it.
- Pour your glorious batter into your prepared loaf pan. Give it a little wiggle to spread evenly.
- Bake for about 50-60 minutes, or until a wooden skewer or toothpick inserted into the center comes out clean (or with just a few moist crumbs). If it starts getting too brown on top, you can loosely tent it with foil.
- Once baked, let it cool in the pan for about 10-15 minutes before transferring it to a wire rack to cool completely. Patience, young grasshopper! It’ll slice much cleaner.
- Slice it up, grab a cup of coffee (or wine, I’m not judging), and devour!
Common Mistakes to Avoid
We’ve all been there, trust me. Learn from my errors so you don’t have to!
- Thinking you don’t need to preheat the oven: Rookie mistake! A cold oven means uneven baking and a weird texture. Give it time to warm up, people.
- Using under-ripe bananas: Seriously, if they’re still green or even mostly yellow, put them back on the counter. You want ugly, brown, squishy bananas for max flavor and moisture.
- Overmixing the batter: This is a biggie! Once the wet and dry ingredients meet, mix only until just combined. Overworking the flour develops gluten, which makes your bread tough and chewy instead of tender and moist.
- Opening the oven door too often: Resist the urge! Every time you peek, you let out heat, which can mess with the bread’s rise and baking time. Trust the process.
- Not letting it cool (at least a little): I know, it smells heavenly, and you want to dive in. But cutting hot banana bread often results in a crumbly mess. Let it chill out for a bit.
Alternatives & Substitutions
Feeling creative? Or just missing an ingredient? Here are some friendly swaps:
- Sweetener Swap: Instead of granulated sugar, you could use maple syrup or honey. If you do, reduce the liquid in the recipe slightly (like, 1-2 tablespoons) to maintain the right consistency.
- Fat Swap: Coconut oil (melted) can be a great 1:1 substitute for butter if you’re dairy-free or just prefer it. It gives a subtle tropical note.
- Flour Fun: While this recipe is specifically for oat flour, you could *technically* try other gluten-free flours, but the texture will definitely change. For the best results here, stick with the oat flour, IMO.
- Amp Up the Flavor: Add a teaspoon of ground cinnamon or a pinch of nutmeg to the dry ingredients for extra spice.
- Nut-Free Zone: If you’re avoiding nuts, just skip them entirely or substitute with more chocolate chips!
FAQ (Frequently Asked Questions)
Got questions? I’ve got answers (mostly, and with a dash of sass).
- Can I use margarine instead of butter? Well, technically yes, but why hurt your soul like that? Butter just tastes better and contributes to a better texture. Don’t compromise on flavor if you don’t have to!
- Do I *have* to use oat flour? This is an oat flour recipe, so yeah, for *this* recipe, you kinda do! If you use regular all-purpose flour, it’ll still be banana bread, but it won’t be *this* oat flour banana bread.
- My banana bread is dry, what happened? My guess? Either your bananas weren’t ripe enough (less moisture!) or you overbaked it. Keep an eye on that oven and don’t bake past the clean toothpick stage!
- Can I make muffins instead of a loaf? Absolutely! Just divide the batter into a 12-cup muffin tin (paper liners recommended). Reduce the baking time significantly—usually around 20-25 minutes.
- How do I store this deliciousness? Store leftover banana bread in an airtight container at room temperature for up to 3 days, or in the fridge for up to a week. It also freezes beautifully for longer storage! Wrap slices tightly in plastic wrap, then foil.
- Can I use fresh oats and grind them myself? You bet! Just make sure they’re finely ground into a flour consistency. A high-speed blender or food processor works wonders.
- Is this banana bread healthy? Define “healthy”! It’s got fruit, whole grain oat flour, and less sugar than some recipes. It’s definitely a step up from a donut, but it’s still a treat. Enjoy it without guilt!
Final Thoughts
Alright, my friend, you’ve just conquered the art of oat flour banana bread. Pat yourself on the back, grab a slice (or three), and bask in the glory of your delicious creation. This stuff is perfect for breakfast, a snack, or even a sneaky dessert. Go forth and share the banana-y goodness, or don’t—I won’t judge. You’ve earned it!

