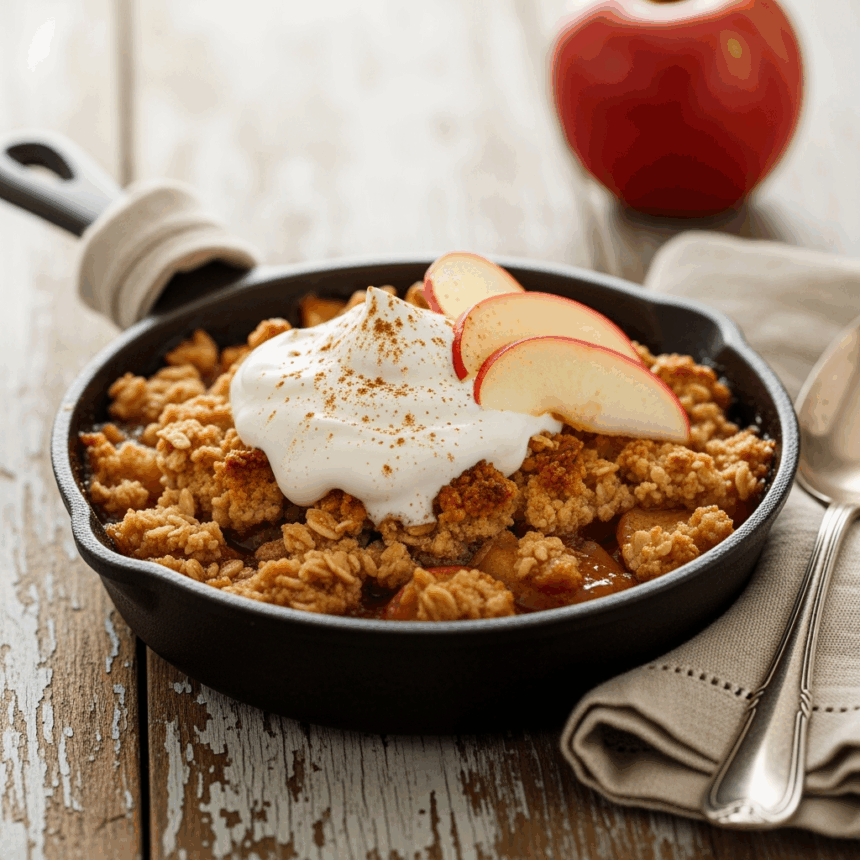
Look, I’m not saying this Fall Apple Crisp will solve all your problems, but I’ve personally witnessed it turn the grumpiest dinner guest into someone who smiles and asks for seconds. There’s something magical about the combination of warm, cinnamon-spiced apples under that perfect crumbly topping that just makes everything feel right in the world. And that whipped cream on top? *Chef’s kiss* It’s basically fall in a dessert dish, without all the pumpkin spice clichés.
Why This Recipe is Awesome
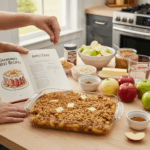
First off, this apple crisp is what I call a “confidence builder” in the kitchen. It’s virtually impossible to mess up, which means even if your cooking skills typically result in smoke alarms going off, you’re safe here. The prep takes about 15 minutes of actual work (the rest is just the oven doing its thing), making it perfect for those “I want something homemade but don’t want to spend my entire Sunday in the kitchen” moments.
Plus, it’s customizable AF. Don’t like cinnamon? (Who are you, though?) Leave it out. Want more crumble topping? Double it! This recipe is like that chill friend who’s down for whatever plan you suggest. And the smell that fills your home while it bakes? Better than any $30 fall-scented candle you’ll find at the mall.
Ingredients You’ll Need
For the apple filling:
- 6 medium-sized apples (Honeycrisp, Granny Smith, or Braeburn work beautifully – or just use whatever’s in your fridge about to go bad)
- ⅓ cup granulated sugar (or more if you have a serious sweet tooth)
- 1 tablespoon all-purpose flour (yes, just one tablespoon – I’m not trying to use up your pantry supplies)
- 1 teaspoon cinnamon (the good kind, not the one that’s been sitting in your cabinet since 2019)
- ¼ teaspoon nutmeg (optional, but highly recommended unless you hate joy)
- 2 tablespoons lemon juice (keeps the apples from turning that sad brown color)
For the crumble topping:
- 1 cup old-fashioned oats (not the quick-cooking kind – they get weird)
- ¾ cup all-purpose flour (measuring is overrated, just eyeball it)
- ¾ cup brown sugar, packed (and yes, “packed” actually matters here)
- ½ teaspoon cinnamon (because why not add more?)
- ½ cup cold butter, cubed (please use real butter – this is no place for margarine sadness)
- Pinch of salt (like, literally a pinch – don’t get crazy)
For the whipped cream:
- 1 cup heavy whipping cream (the higher the fat percentage, the better your life will be)
- 2 tablespoons powdered sugar (or more if you want it sweeter)
- 1 teaspoon vanilla extract (the real stuff, not the imitation – treat yourself)
Step-by-Step Instructions
- Preheat your oven to 350°F (175°C). I know it’s tempting to skip this, but trust me, a cold oven is where good intentions go to die.
- Peel, core, and slice your apples into pieces about ¼-inch thick. Don’t stress about making them perfect – we’re going for rustic here, not surgical precision.
- Toss the apple slices in a large bowl with sugar, flour, cinnamon, nutmeg, and lemon juice. Make sure everything’s coated evenly. This is basically apple spa treatment before they go into the oven.
- Dump the apple mixture into a 9×13 baking dish or a similar-sized vessel. Spread them out evenly but don’t compact them – they need room to get cozy with the steam.
- In another bowl, mix together the oats, flour, brown sugar, cinnamon, and salt for the topping. This is the dry party.
- Add the cold butter cubes to your dry mixture. Now get in there with your fingers and smush it all together until it looks like coarse crumbs. This is therapeutic – embrace the squish.
- Sprinkle (or honestly, just dump) this crumbly mixture over your apples, covering them completely. More is more here, people.
- Bake for 45-50 minutes, or until the topping is golden brown and the apple filling is bubbling around the edges like a delicious volcano.
- While your crisp is in the final 10 minutes of baking, make the whipped cream. Pour the cold heavy cream into a chilled bowl (stick it in the freezer for 5 minutes first if you’re fancy).
- Add powdered sugar and vanilla to the cream, then beat with an electric mixer until soft peaks form. Don’t overbeat unless you want accidental butter. (Though let’s be real, there are worse kitchen accidents.)
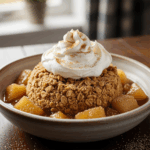
- Let the apple crisp cool for about 15 minutes before serving (I know, the hardest part). Top each serving with a generous dollop of your freshly whipped cream.
Common Mistakes to Avoid
Let’s talk about the ways people typically botch this otherwise foolproof recipe:
- Skipping the lemon juice: “But I don’t have lemons!” I hear you cry. The lemon juice isn’t just for flavor – it stops your apples from oxidizing and turning the color of sad cafeteria food.
- Using room temperature butter in the topping: Cold butter = crumbly topping. Warm butter = sad, flat cookie-like layer. Don’t be a hero – use cold butter.
- Overcrowding your baking dish: If you stuff too many apples in there, you’ll end up with apple soup instead of crisp. Nobody wants to eat apple soup with croutons on top.
- Forgetting to preheat: I already mentioned this, but it bears repeating. Your oven needs time to get hot and bothered before the crisp goes in.
- Overwhipping your cream: One minute you have beautiful cream, the next you’re staring at butter. Keep an eye on it – soft peaks means the cream forms little mountains that gently flop over at the tops.
Alternatives & Substitutions
Life happens. Ingredients go missing. Here’s how to pivot:
Apple alternatives: Pears work beautifully here. You can also do a mix of apples and pears if you’re feeling adventurous. Peaches in summer are amazing too, FYI.
Make it vegan: Substitute the butter with coconut oil (use it solid, not melted) and skip the whipped cream or use a coconut-based alternative. It’s different but still delicious.
Gluten-free option: Use a cup-for-cup gluten-free flour blend and make sure your oats are certified gluten-free. Your gluten-sensitive friends will worship you.
No oats? Make a streusel topping instead with just flour, sugar, and butter. It’s not the same, but it’ll do in a pinch.
Fancy it up: Add ½ cup of chopped nuts (walnuts, pecans, or almonds) to the topping. Or throw in some raisins or cranberries with the apples if you’re into that sort of thing.
FAQ (Frequently Asked Questions)
Can I make this ahead of time?
Absolutely! Assemble everything but wait to bake until about an hour before serving. Nobody wants soggy crumble. If you really need to bake ahead, you can reheat it at 300°F for about 15-20 minutes to crisp it back up.
Will this keep in the fridge?
Yes, for about 3-4 days. The topping won’t stay as crisp, but it’ll still taste amazing. Especially at 2 AM when you’re sneaking bites straight from the dish.
Can I freeze this?
You can, but the texture of the topping will never be the same after freezing. If you must, freeze before baking, then bake from frozen adding about 15-20 extra minutes.
What if I don’t have an electric mixer for the whipped cream?
Time for an arm workout! You can whip cream by hand with a whisk, but it takes longer and requires more endurance than most people have after a pandemic. Or just buy the canned stuff – I won’t tell anyone.
Help! My topping isn’t getting crisp!
Your oven might be lying to you about its temperature (rude). Try increasing by 25 degrees or moving your crisp to a higher rack. Worst case, you can broil it for 1-2 minutes at the end – just watch it like a hawk.
Can I add alcohol to this?
Is that even a question? A tablespoon of bourbon or apple brandy mixed with the apples elevates this from “delicious dessert” to “where has this been all my life?”
Final Thoughts
This Fall Apple Crisp isn’t just dessert – it’s an experience. It’s what happens when simple ingredients come together to create something that makes everyone at your table momentarily stop talking (a miracle in itself).
Don’t stress if it doesn’t look picture-perfect. The beauty of a crisp is in its rustic, homemade vibe. That’s what makes people feel the love. And honestly, once you add that cloud of whipped cream on top, who’s even looking at the crisp itself?
Now go forth and bake! Turn your kitchen into that magical fall wonderland that Instagram influencers pretend their homes smell like naturally. And when someone asks for your secret recipe, you can decide whether to share or just smile mysteriously and say, “Oh, it’s just something I threw together.” Your secret is safe with me.
