So you’re craving something tasty but too lazy to spend forever in the kitchen, huh? Same. And you’ve got those suspiciously spotty bananas staring at you, judging your life choices? Don’t toss ’em! We’re about to turn those overripe beauties into something so ridiculously good, you’ll wonder why you ever bothered with regular banana bread. Get ready for Banana Bread Waffles, your new obsession.
Why This Recipe is Awesome
Let’s be real, life’s too short for complicated recipes. This one? It’s **idiot-proof**, even I didn’t mess it up. Seriously. You get all the cozy, warm, banana-y goodness of banana bread but in a crispy-on-the-outside, fluffy-on-the-inside waffle form. Plus, it takes like, a fraction of the time to cook compared to baking a whole loaf. You’re basically a culinary genius in less than 15 minutes. Also, it’s a brilliant way to use up those sad, forgotten bananas on your counter. Waste not, want not, right?
Ingredients You’ll Need
Gather your troops! Here’s what you’ll need to make breakfast magic happen:
- 1 ½ cups All-Purpose Flour: The basic building block of deliciousness.
- 2 tbsp Granulated Sugar: Because sweet, sweet life. (Or more, no one’s judging.)
- 2 tsp Baking Powder: For that fluffy lift!
- ½ tsp Baking Soda: It works with the bananas and buttermilk (if using) for extra puff.
- ¼ tsp Salt: Don’t skip it; it brings out all the flavors!
- ½ tsp Ground Cinnamon: Essential for that classic banana bread vibe.
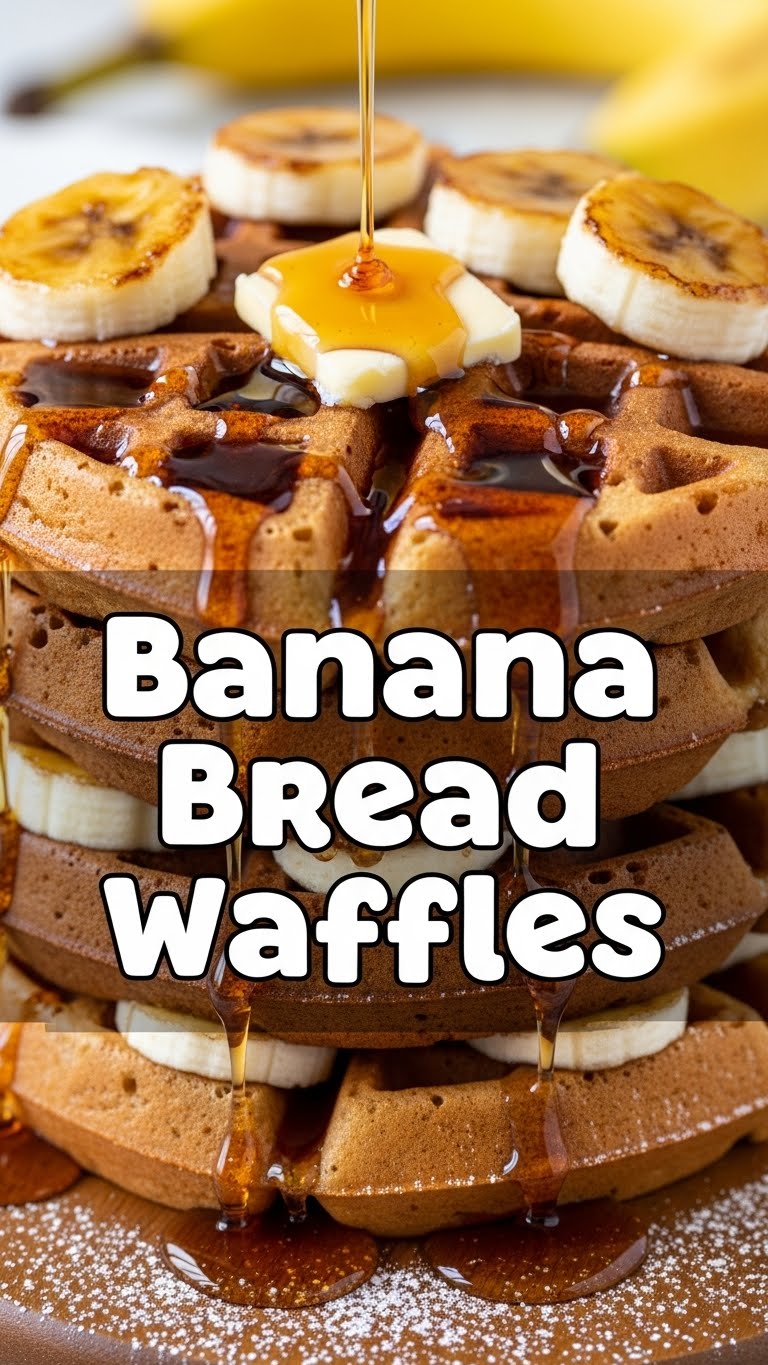
- 2 large Ripe Bananas: The star of the show! We’re talking brown, spotty, almost-liquid bananas. The riper, the sweeter!
- 1 large Egg: The binder of dreams.
- ¼ cup Melted Unsalted Butter or Vegetable Oil: Butter for flavor, oil for a lighter texture. Your call!
- 1 cup Milk or Buttermilk: Buttermilk adds an amazing tang, but regular milk works just fine.
- 1 tsp Vanilla Extract: Because everything’s better with vanilla.
Step-by-Step Instructions
Okay, put on your favorite playlist and let’s get cooking!
- First things first: **Preheat your waffle iron.** Don’t skip this step; a hot iron is key to crispy waffles! Lightly grease it if yours isn’t non-stick.
- In a large bowl, mash your ripe bananas with a fork until mostly smooth but with a few lumps for texture (unless you hate lumps, then go wild).
- In a separate medium bowl, whisk together your dry ingredients: flour, sugar, baking powder, baking soda, salt, and cinnamon. Give it a good mix so everything’s evenly distributed.
- Back to your mashed bananas, add the egg, melted butter (or oil), milk, and vanilla extract. Whisk it all together until just combined. Don’t overmix!
- Now, pour the dry ingredients into the wet ingredients. Stir gently with a spoon or spatula until just combined. **Lumps are totally okay here!** Overmixing will make your waffles tough, and nobody wants that.
- Spoon about ½ to ¾ cup of batter (depending on your waffle iron size) onto the hot waffle iron. Close the lid and cook according to your waffle iron’s instructions, usually for 3-5 minutes, or until golden brown and crispy.
- Carefully remove the waffle and repeat with the remaining batter. Serve immediately with your favorite toppings!
Common Mistakes to Avoid
Look, we all make mistakes. Here are a few to dodge for waffle perfection:
- Not preheating the waffle iron: Rookie mistake! A cold iron gives you sad, pale, floppy waffles. Always wait for that “ready” light.
- Using under-ripe bananas: If your bananas are still yellow, they’re not ready. You need those black spots for maximum sweetness and flavor. Patience, young grasshopper.
- Overmixing the batter: Seriously, stop stirring once it’s just combined. Lumps are your friends here; overmixing develops gluten and makes your waffles chewy instead of fluffy.
- Opening the waffle iron too soon: Resist the urge! Let it cook through until the steam stops or your machine indicates it’s done. Peeking too early can tear the waffle.
- Forgetting to grease the iron: Even if it’s “non-stick,” a little spray or brush of oil is cheap insurance against sticking disasters.
Alternatives & Substitutions
Feeling adventurous? Or just out of an ingredient? No worries, I got you!
- Chocolate Chips: IMO, a non-negotiable addition. Stir in ½ cup to ¾ cup chocolate chips (mini or regular) for an extra layer of decadence.
- Nuts: Toasted walnuts or pecans (about ½ cup) add a lovely crunch.
- Buttermilk Substitute: No buttermilk? No problem! Add 1 tablespoon of lemon juice or white vinegar to your regular milk and let it sit for 5 minutes before adding to the wet ingredients. Voila!
- Gluten-Free: Swap the all-purpose flour for a 1:1 gluten-free baking blend. Easy peasy.
- Vegan Option: Replace the egg with a “flax egg” (1 tbsp ground flaxseed + 3 tbsp water, let sit for 5 mins) and use a plant-based milk and oil instead of butter.
FAQ (Frequently Asked Questions)
Got questions? I’ve got answers. Kinda.
- Can I use margarine instead of butter? Well, technically yes, but why hurt your soul like that? Butter just tastes better, period. But if that’s all you have, go for it, I guess.
- How do I store leftover waffles? Let them cool completely, then pop them in an airtight container or zip-top bag in the fridge for up to 3 days.
- Can I freeze these bad boys? Absolutely! Once cooled, stack them with parchment paper in between (to prevent sticking) in a freezer bag. They’ll keep for a month or two. Reheat in a toaster or oven for quick, delicious breakfast anytime!
- My waffles are sticking to the iron, help! Make sure your iron is properly greased and hot enough. If it’s still sticking, try adding a tiny bit more oil to the batter next time.
- What kind of bananas should I use? The riper, the better! We’re talking brown, spotty, almost mushy. If they’re still yellow, they won’t be sweet enough.
- Can I just make this into regular banana bread? You *could*, but then you’d miss out on the crispy-fluffy waffle magic. But if you insist, just pour the batter into a greased loaf pan and bake at 350°F (175°C) for 50-60 minutes.
Final Thoughts
And there you have it! A quick, easy, and unbelievably delicious way to transform those sad, forgotten bananas into a breakfast (or brunch, or snack, or dinner, who cares?) masterpiece. Drizzle with syrup, top with whipped cream, or just eat ’em plain. They’re that good. Now go impress someone—or yourself—with your new culinary skills. You’ve earned it!


