So you’re craving something tasty but too lazy to spend forever in the kitchen, huh? Same. We’ve all been there: staring longingly at those suspiciously brown bananas on the counter, knowing their destiny involves either the compost bin or becoming pure, unadulterated joy. Today, my friend, we choose joy. And minimal effort. Because who has time for a whole production when mini loaves of banana bread are calling your name?
Why This Recipe is Awesome
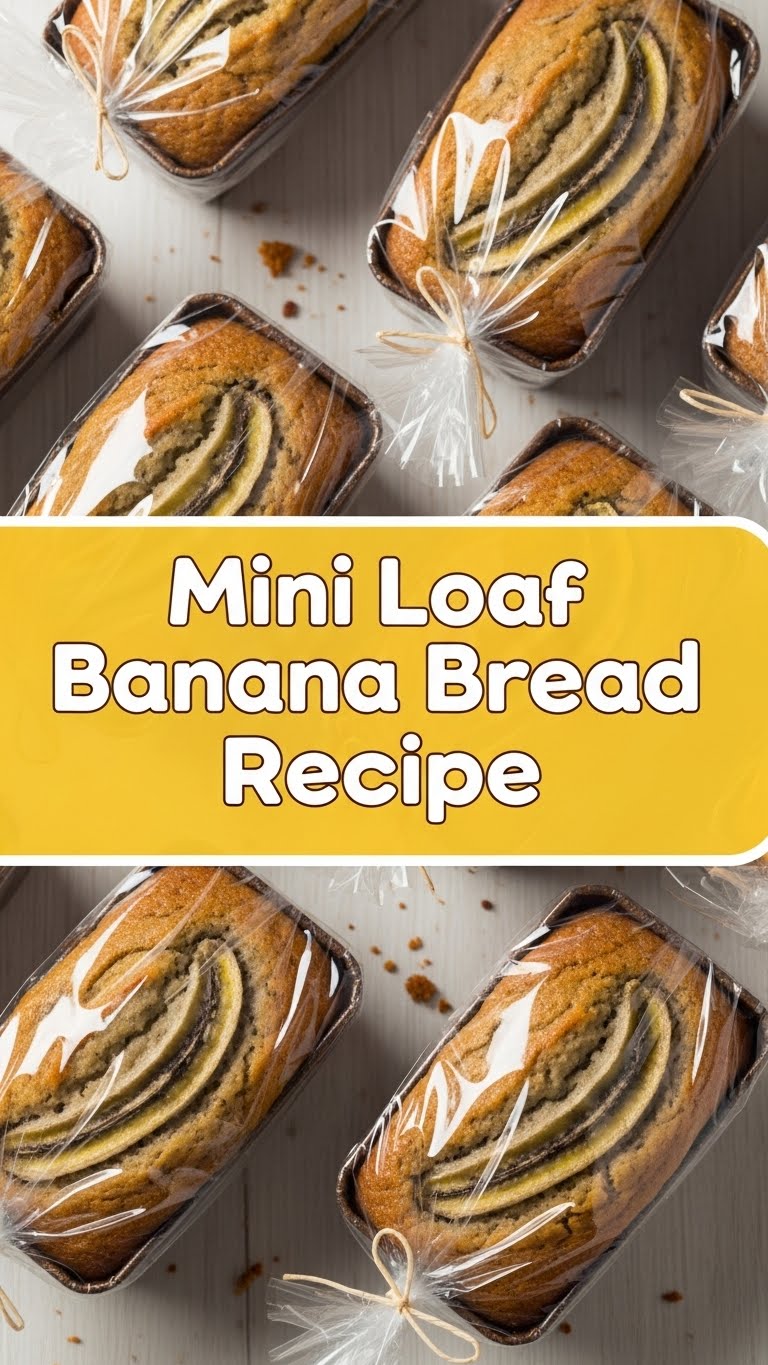
Let me tell you why this mini loaf banana bread recipe is about to become your new best friend, your culinary confidante, your spirit animal. First off, it’s pretty much **idiot-proof**. Seriously, even I didn’t manage to mess it up, and my kitchen adventures often involve more smoke detectors than Michelin stars. These little beauties bake up quicker than a full-sized loaf, meaning less waiting and more eating. Plus, they’re perfectly portioned (or, let’s be real, perfectly sized for a ‘just one more’ situation). They make your house smell like a warm hug, they’re fantastic for gifting (if you can bear to part with them), and they just make you feel like you’ve got your life together. For at least an hour. You’re welcome.
Ingredients You’ll Need
Gather ’round, my fellow lazy gourmands! Here’s the hit list for turning those sad-looking bananas into something glorious. Nothing too obscure, I promise.
- 3 very ripe bananas: The browner, the better. Think spotted, bruised, almost-black. These are your flavor bombs. Don’t you dare use yellow ones; that’s just disrespect.
- 1/2 cup (113g) unsalted butter: Softened, please. Don’t be a hero trying to cream cold butter. Life’s too short.
- 1/2 cup (100g) granulated sugar: Because sweetness is happiness, and this isn’t a health food blog.
- 1 large egg: Room temperature, if you’re feeling fancy. If not, it’ll still work, just don’t tell anyone I said that.
- 1 teaspoon vanilla extract: The secret sauce for making everything taste better.
- 1 1/2 cups (180g) all-purpose flour: The basic stuff. No need for ancient grain, artisanal, unicorn-dust flour here.
- 1 teaspoon baking soda: This is what gives your bread that lovely lift.
- 1/2 teaspoon salt: Balances out all that sweetness. Don’t skip it!
- Optional add-ins: 1/2 cup chocolate chips, chopped walnuts, pecans… whatever floats your boat. Or just plain, because sometimes simple is best, IMO.
Step-by-Step Instructions
Alright, let’s get down to business. These steps are so easy, you could probably do them in your sleep (but please don’t, hot oven and all).
- Get Prepped: First things first, **preheat your oven to 350°F (175°C)**. Then, lightly grease and flour about 6 mini loaf pans, or line them with paper inserts. Nothing worse than sticky bread that won’t come out!
- Mash ‘Em Up: Grab those tragically ripe bananas and mash them up in a medium bowl with a fork. You want them pretty smooth, but a few lumps are totally fine and add character.
- Cream Dream: In a separate large bowl, beat the softened butter and sugar together until they’re light and fluffy. A hand mixer makes this quick work, but a strong arm works too!
- Egg & Vanilla Time: Add the egg and vanilla extract to the butter-sugar mixture. Beat until just combined. Don’t go crazy here.
- Dry Mix: In yet another bowl (yes, we’re using a few here, deal with it), whisk together the flour, baking soda, and salt. Make sure it’s all nicely mixed.
- Combine Forces: Gradually add the dry ingredients to the wet ingredients, mixing on low speed (or by hand) **just until combined**. **Seriously, do not overmix!** Overmixing is the enemy of tender banana bread.
- Fold in the Goodness: Gently fold in your mashed bananas. If you’re using chocolate chips, nuts, or any other fun add-ins, toss ’em in now too!
- Fill ‘Er Up: Divide the batter evenly among your prepared mini loaf pans. Don’t overfill them – about two-thirds full is perfect to prevent overflow.
- Bake Away: Pop them into your preheated oven and bake for **25-30 minutes**, or until a toothpick inserted into the center comes out clean. They should be beautifully golden brown.
- Cool Down: Let the mini loaves cool in their pans for about 10 minutes before turning them out onto a wire rack to cool completely. Or, you know, eat one warm. I won’t tell.
Common Mistakes to Avoid
We’ve all been there, staring at a banana bread that’s somehow… wrong. Here are some pitfalls to dodge on your path to mini loaf perfection:
- Underripe Bananas: Using yellow, firm bananas is a cardinal sin. You’ll miss out on all that natural sweetness and intense banana flavor. Patience, young grasshopper.
- Overmixing the Batter: This is probably the number one killer of tender banana bread. You want to mix *just* until the dry ingredients are incorporated. A few streaks of flour are better than a tough, chewy loaf. Trust me.
- Forgetting to Preheat the Oven: Rookie mistake! A cold oven means your bread won’t rise properly and will bake unevenly. **Always preheat!**
- Overfilling the Pans: Unless you enjoy scrubbing burnt batter off the bottom of your oven, don’t fill the pans to the brim. Two-thirds full is the sweet spot.
- No Patience: Cutting into a piping hot loaf sounds tempting, but it can make the bread gummy and cause it to fall apart. Let it cool a bit. Your tastebuds will thank you.
Alternatives & Substitutions
Feeling adventurous? Or just missing an ingredient? No stress! This recipe is pretty forgiving. Here are a few ideas:
- Dairy-Free: Swap out the butter for an equal amount of unsweetened applesauce, mashed avocado, or a neutral oil like canola or vegetable oil. The texture might be slightly different, but still delicious.
- Flour Power: Want to be a little healthier? You can substitute up to half of the all-purpose flour with whole wheat flour. Just know it might result in a slightly denser loaf. For gluten-free, use a 1:1 gluten-free baking blend, but results can vary.
- Sweetener Swap: You can try using brown sugar instead of granulated sugar for a deeper, more caramel-like flavor. Honey or maple syrup could work too, but you might need to adjust other liquids slightly.
- Spice it Up: A dash of cinnamon, nutmeg, or even a pinch of allspice can take your banana bread to the next level. Spices and banana bread are a match made in heaven.
- Extra Goodies: Don’t limit yourself to chocolate chips and walnuts! Try dried cranberries, shredded coconut, or even a streusel topping for some extra pizzazz.
FAQ (Frequently Asked Questions)
Got questions? I’ve got answers (and maybe a little sass). Let’s dive in!
- Can I use frozen bananas? Absolutely! Just make sure to thaw them completely first and drain any excess liquid. They might be a bit mushier, which is perfect for mashing.
- What if I don’t have mini loaf pans? No mini pans? No problem! You can use muffin tins (bake for about 18-22 minutes) or a standard 9×5-inch loaf pan (you’ll need to increase the baking time to around 50-60 minutes, keep an eye on it!).
- How do I know when they’re truly done? The trusty toothpick test! Insert a toothpick into the center of a loaf. If it comes out clean (no wet batter), you’re golden.
- Can I reduce the sugar? Technically, yes. You can cut down on the sugar by about a quarter without too much impact on the texture. Any more, and you might notice a difference in moisture and browning.
- How should I store my mini banana loaves? Keep them in an airtight container at room temperature for up to 3-4 days. For longer storage, they freeze beautifully for up to 3 months. Just wrap them individually in plastic wrap and then foil.
- My bananas aren’t super ripe. Can I speed up the ripening process? Oh, the age-old dilemma! You can bake them (unpeeled) on a baking sheet at 300°F (150°C) for 15-30 minutes until their skins are black. Let them cool, then mash!
- Can I use margarine instead of butter? Well, technically yes, you can. But why hurt your soul like that? Butter just tastes better, period. But if that’s all you’ve got, go for it.
Final Thoughts
Boom! You did it! You’ve successfully navigated the treacherous (just kidding, super easy) waters of mini loaf banana bread making. Now you have a batch of adorable, delicious treats that will make you feel like a domestic superstar. Go ahead, bask in the glory. Share them with friends (or don’t, I get it), enjoy one with your coffee, or just hoard them all for yourself. You’ve earned it! Now go impress someone—or yourself—with your new culinary skills. Happy baking, my friend!


