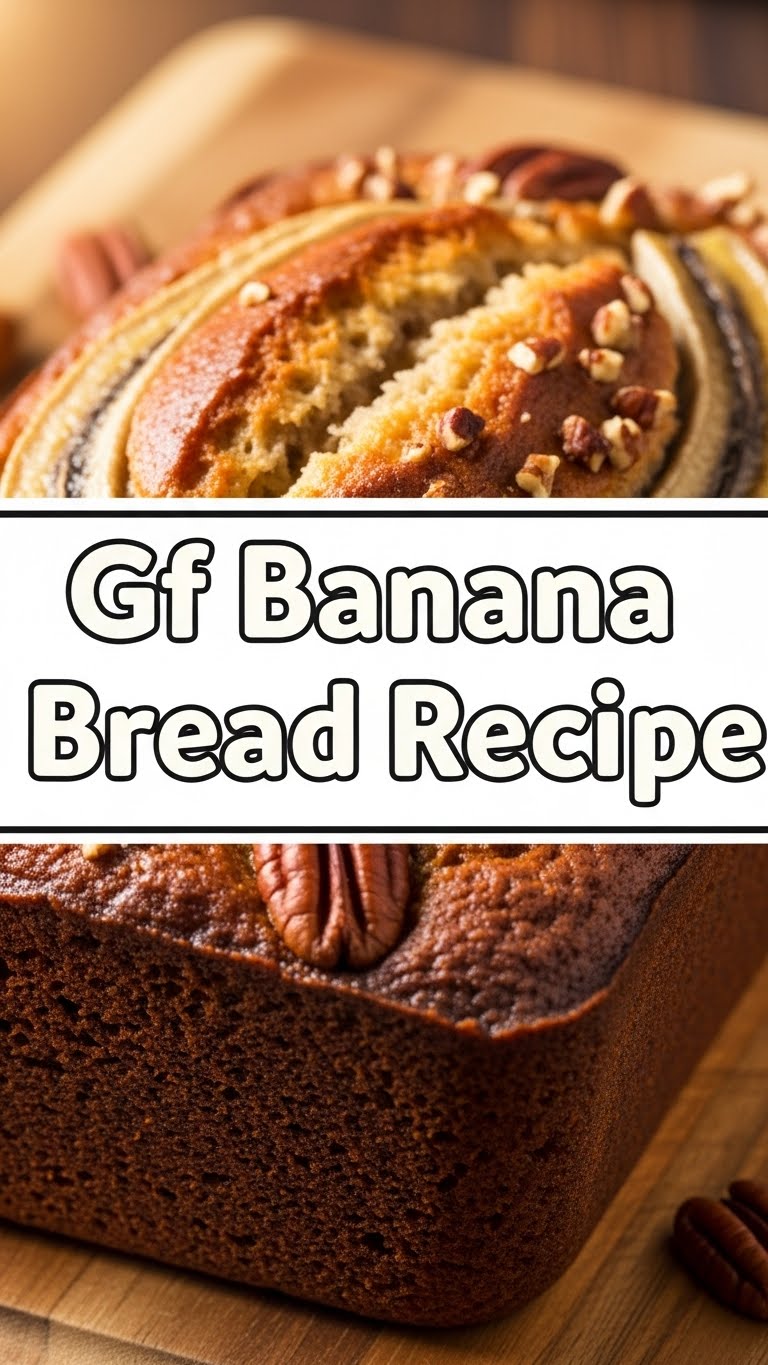
So, you’ve got those sad, spotty bananas sitting on your counter, giving you the side-eye? And you’re craving something warm, comforting, and *actually* easy to make, even if your culinary skills usually involve calling for takeout? High five, friend. You’ve stumbled upon the holy grail: the ultimate GF Banana Bread recipe that’s so good, you’ll forget gluten ever existed. And honestly, it practically bakes itself.
Why This Recipe is Awesome
Okay, so why *this* one? Because let’s be real, life’s too short for complicated recipes that require a chemistry degree. This recipe is **stupidly simple**. Seriously, if I can make it without burning down my kitchen (a regular Tuesday occurrence, *FYI*), you absolutely can too. It’s moist, perfectly sweet, and has that cozy, ‘hug in a slice’ vibe. Plus, it’s gluten-free, so you can tell your stomach to chill out. No weird, crumbly textures here – just pure, banana-y bliss.
Ingredients You’ll Need
- 3 overly ripe bananas: The browner, the better! We’re talking practically liquid, divorce-worthy bananas.
- 1/2 cup unsalted butter, melted: Or a dairy-free stick, if that’s your jam. Don’t skimp, butter makes everything better.
- 1/2 cup granulated sugar: Or a bit less if your bananas are basically candy already.
- 1 large egg: Room temp is best, but if you’re like me and remember that 30 seconds before baking, just go for it.
- 1 tsp vanilla extract: The good stuff. Not that imitation vanilla that smells like disappointment.
- 1 1/2 cups gluten-free all-purpose flour blend: Make sure it has xanthan gum, or add 1/4 tsp separately. This isn’t the time for experimenting with weird flours, unless you’re feeling adventurous (and brave).
- 1 tsp baking soda: Our leavening MVP.
- 1/2 tsp salt: Don’t skip it! It balances the sweetness.
- Optional add-ins: Chocolate chips (duh), walnuts, pecans. Because why not?
Step-by-Step Instructions
- Preheat your oven and prep your pan. Get that oven to 350°F (175°C). Grab a 9×5 inch loaf pan, grease it like you’re prepping for a marathon, and lightly flour it with a *tiny* bit of GF flour. Or, line it with parchment paper for zero stick anxiety.
- Mash those bananas. In a medium bowl, go to town on your brown bananas with a fork. Lumps are totally fine – they add character. You’re not aiming for baby food, just a good mash.
- Mix in the wet stuff. Add the melted butter, sugar, egg, and vanilla to your mashed bananas. Stir until they’re just combined. Don’t overmix; we’re making bread, not meringue.
- Combine the dry ingredients. In a separate, larger bowl, whisk together your GF flour, baking soda, and salt. Make sure it’s all happy and evenly distributed.
- Unite wet and dry. Pour your banana-y wet mixture into the dry ingredients. Stir gently until *just* combined. **Seriously, stop stirring as soon as the flour disappears.** Overmixing is the enemy of moist banana bread.
- Add your goodies (if using). Fold in any chocolate chips, nuts, or other fun stuff now. A few quick folds are all you need.
- Bake time! Pour the batter into your prepared loaf pan. Pop it into the preheated oven for 50-65 minutes.
- Check for doneness. You’ll know it’s ready when a toothpick inserted into the center comes out clean, or with just a few moist crumbs. If the top is getting too dark, tent it loosely with foil.
- Cool it down. Let your glorious banana bread cool in the pan for about 10-15 minutes before transferring it to a wire rack to cool completely. Patience is a virtue, especially when warm banana bread is involved.
Common Mistakes to Avoid
- Using yellow bananas: No, no, no. These are for eating plain. For banana bread, we need the ones that look like they’ve seen some things. **Brown spots equal flavor!**
- Overmixing the batter: This is a biggie. Stirring too much develops gluten (even in GF flour blends, it can make it tough). Just combine until no streaks of flour remain, then walk away.
- Not preheating your oven: Rookies! An unheated oven means uneven baking and sad, dense bread. Give it time to get to temperature.
- Cutting it too soon: I know, the smell is intoxicating. But warm banana bread is crumbly banana bread. **Let it cool slightly for cleaner slices.**
Alternatives & Substitutions
- Dairy-free? Swap the butter for a good quality vegan butter stick or even coconut oil (just make sure it’s refined if you don’t want coconut flavor).
- Sugar alternatives? You can definitely try coconut sugar or maple syrup (reduce other liquids slightly if using syrup). I mean, why not? But *IMO*, regular sugar just hits different here.
- Nut-free? Skip the walnuts/pecans. Add extra chocolate chips. Or sunflower seeds for a bit of crunch.
- Feeling fancy? Add a sprinkle of cinnamon, nutmeg, or even a pinch of ground ginger for a spiced twist. Maybe some shredded coconut? Your kitchen, your rules!
FAQ (Frequently Asked Questions)
- My bananas aren’t ripe enough! Help! Okay, deep breaths. You can speed it up by baking them in their peels at 300°F (150°C) for 15-20 minutes until they’re black and squishy. Or, just wait. It’s worth it.
- Can I use margarine instead of butter? Well, technically yes, but why hurt your soul like that? Butter just tastes better, friend. But if dietary needs dictate, go for it!
- How long does this GF banana bread last? On your counter, maybe 3-4 days if it survives that long (it won’t). In the fridge, up to a week. It also freezes beautifully!
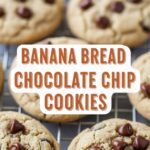
- Can I make muffins instead? Absolutely! Divide the batter into a greased muffin tin. Bake for about 20-25 minutes, or until a toothpick comes out clean. Mini loaves work too!
- What kind of GF flour blend is best? Most all-purpose GF blends with xanthan gum will work great. Brands like King Arthur Measure for Measure, Bob’s Red Mill 1-to-1, or Cup4Cup are generally reliable.
- My banana bread is dry! What went wrong? Probably overmixing or overbaking. Remember to mix *just* until combined and keep an eye on it during the last 10-15 minutes of baking. A slightly underbaked loaf is better than a dry one!
Final Thoughts
See? I told you it was easy. Now you’ve got a golden, fragrant loaf of gluten-free banana bread, probably still warm, making your kitchen smell like pure happiness. Go ahead, cut yourself a thick slice (or two). Drench it in butter, or cream cheese, or just eat it plain, standing over the counter. You’ve earned this, my friend. Now go impress someone—or yourself—with your new culinary skills. You’ve earned it!

