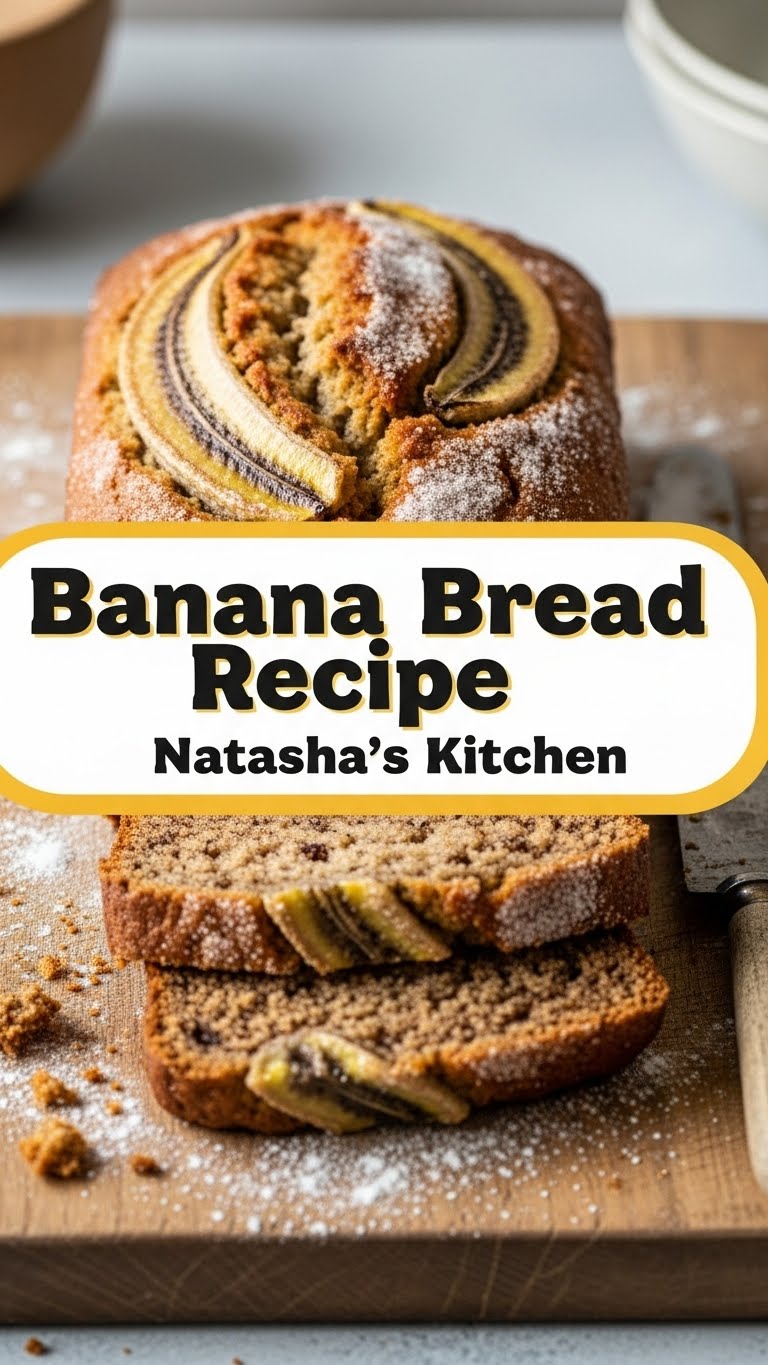
So, you’ve got those tragically ripe bananas staring at you from the counter, right? The ones that are practically begging for a glorious transformation, but you’re too busy (or, let’s be real, too comfortably lazy) to embark on a culinary odyssey. Same, friend, same. That’s where **Natasha’s Kitchen Banana Bread recipe** swoops in like a delicious superhero. Prepare yourself for maximum flavor with minimum fuss!
Why This Recipe is Awesome
Listen, there are a million banana bread recipes out there. But Natasha’s? It’s the one you print out, laminate, and pass down to your grandkids (because it’s *that* good and *that* easy). Why is it so phenomenal, you ask? Well, for starters, it’s practically **idiot-proof**. Seriously, if I didn’t mess it up, you’re golden. It consistently delivers a loaf that’s perfectly moist, just the right amount of sweet, and packed with that comforting banana flavor we all crave.
No weird ingredients, no fancy techniques, just pure, unadulterated banana bread bliss. Plus, your house will smell like a warm hug, and isn’t that what life’s all about?
Ingredients You’ll Need
- **The Bananas:** About 3-4 medium, **very ripe bananas**. We’re talking brown spots, almost black. The sadder they look, the sweeter and more flavorful your bread will be. Do *not* use yellow ones, that’s just a rookie move.
- **All-Purpose Flour:** 1½ cups. The reliable workhorse of baking. Don’t overthink it.
- **Granulated Sugar:** ¾ cup. For that essential sweetness. If your bananas are super ripe, you might even get away with a tiny bit less, you sweet-toothed rebel.
- **Egg:** 1 large. Our binding agent.
- **Unsalted Butter:** ½ cup (which is one stick), melted. Because butter. Always butter. **Unsalted gives you control over the overall saltiness.**
- **Baking Soda:** 1 teaspoon. Our leavening hero, making sure your bread isn’t a dense brick.
- **Salt:** ½ teaspoon. Balances out all that lovely sweetness. Don’t skip it!
- **Vanilla Extract:** 1 teaspoon. A splash of magic for extra depth of flavor.
Step-by-Step Instructions
- **Get Ready, Get Set, Bake!** First things first, preheat your oven to **350°F (175°C)**. And please, for the love of all that is holy, grease and flour a 9×5 inch loaf pan. No one likes a stuck loaf.
- **Mash Those Bananas:** In a medium bowl, mash your super ripe bananas with a fork or potato masher. A few lumps are totally fine; they add character! Don’t go for a perfectly smooth puree unless you’re into that.
- **Dry Team Assembles:** In a separate, larger bowl, whisk together your flour, granulated sugar, baking soda, and salt. Give them a good mingle to ensure everything is evenly distributed.
- **Wet Team Power-Up:** In another bowl (or just add to the mashed bananas, you rebel), whisk together your melted butter, the egg, and vanilla extract until well combined.
- **Combine Forces (Gently!):** Pour the wet ingredients into the dry ingredients. Now, here’s the crucial part: **mix just until combined.** A few streaks of flour are okay. Overmixing develops gluten, which leads to tough bread. We want tender, happy bread!
- **Fold in the Banana Goodness:** Gently fold your mashed bananas into the batter. Again, just until incorporated.
- **Pan It Up:** Pour your glorious batter into your prepared loaf pan. Give it a gentle tap or two on the counter to settle.
- **Bake to Perfection:** Pop that beauty into your preheated oven. Bake for **50-60 minutes**, or until a wooden skewer or toothpick inserted into the center comes out clean. If the top starts browning too much before it’s cooked through, loosely tent it with aluminum foil.
- **Cool Down, Buttercup:** Let your banana bread cool in the pan for about 10-15 minutes. This helps it firm up and makes it easier to remove. Then, transfer it to a wire rack to cool completely. Or, if you’re like me, cut a slice while it’s still warm because life’s too short.
Common Mistakes to Avoid
- **Using Under-Ripe Bananas:** I cannot stress this enough. Yellow bananas are for eating raw. Brown, spotty, almost black bananas are for baking. **They’re sweeter and more flavorful.** Trust the process!
- **Overmixing the Batter:** This is probably the biggest banana bread sin. It makes your bread tough and chewy instead of tender and moist. Mix until *just* combined. Seriously, stop when you see no dry flour streaks.
- **Forgetting to Grease/Flour the Pan:** Unless you enjoy chiseling your banana bread out of its pan, give it a good grease and flour. A little parchment paper sling can also be a lifesaver!
- **Not Preheating the Oven:** Your oven needs to be at the correct temperature from the start for even baking. Don’t rush it, your bread deserves a warm welcome.
- **Cutting Too Soon:** I know the smell is intoxicating, but give it those 10-15 minutes to set in the pan. It prevents crumbling and helps it hold its shape.
Alternatives & Substitutions
This recipe is awesome as is, but feel free to play around! Cooking should be fun, right?
- **Chocolate Chips:** Because, duh. Add ½ to 1 cup of semi-sweet chocolate chips (or dark, or milk – your call!) when you fold in the bananas.
- **Nuts:** Walnuts or pecans (about ½ to 1 cup) add a lovely crunch and nutty flavor. Toast them lightly first for an extra flavor boost!
- **Spice It Up:** A little sprinkle of cinnamon (½ teaspoon) or a pinch of nutmeg can really enhance the banana flavor.
- **Brown Sugar Swap:** You can replace up to half of the granulated sugar with light brown sugar for a deeper, more molasses-like flavor and an even moister crumb.
- **Oil vs. Butter:** While butter provides that classic rich flavor, you *can* swap it for a neutral oil (like vegetable or canola) for a slightly different texture and moistness. **Butter just hits different, IMO.**
FAQ (Frequently Asked Questions)
- **Q: My bananas aren’t ripe enough, what do I do?!**
A: Crisis averted! You can bake them (unpeeled) on a baking sheet at 300°F (150°C) for 15-20 minutes, or until they’re black and soft. Let them cool, then proceed! It’s a quick hack for impatient bakers.
- **Q: Can I use whole wheat flour for this?**
A: You can, but it might result in a slightly denser loaf. I’d suggest a 50/50 mix with all-purpose flour for a good balance of texture and whole-grain goodness.
- **Q: How do I store leftover banana bread?**
A: Leftovers? What are those? Kidding! Keep it tightly wrapped in plastic or foil at room temperature for up to 3 days, or in the fridge for about a week. It also freezes beautifully for longer storage!
- **Q: My loaf is browning too fast on top, help!**
A: Easy fix! Just loosely tent a piece of aluminum foil over the top of the loaf to prevent further browning while the inside finishes baking. Problem solved!
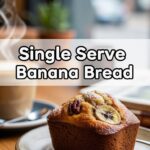
- **Q: Can I turn this into muffins instead of a loaf?**
A: Absolutely! Fill muffin cups about two-thirds full and bake for roughly 20-25 minutes, or until a toothpick comes out clean. Keep an eye on them, as they’ll bake faster than a loaf.
- **Q: Is it okay to double the recipe?**
A: Go big or go home! Yes, you can totally double it. Just make sure you have two loaf pans (or bake in batches) because one loaf pan will overflow. More banana bread for everyone (or just you, no judgment).
Final Thoughts
So there you have it, folks! Your new go-to banana bread recipe, courtesy of Natasha’s Kitchen and your very own kitchen adventures. It’s simple, it’s satisfying, and it makes your entire home smell like a warm, cozy dream. Now go forth and conquer those spotty bananas! You’ve got this. And hey, maybe save a slice for me?

