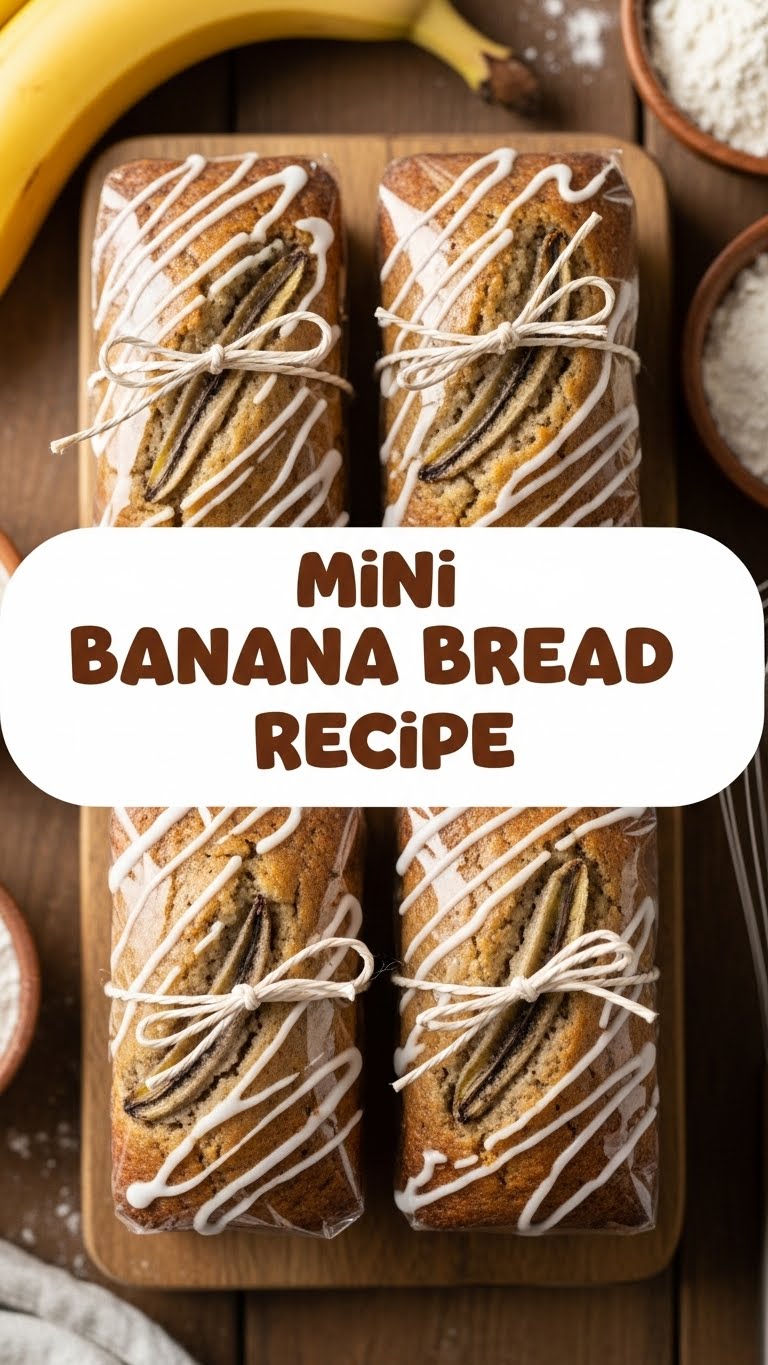
So you’re staring at those sad, spotty bananas on your counter, aren’t you? And you’re thinking, ‘Ugh, another big loaf of banana bread? Too much commitment!’ My friend, welcome to the club! But fear not, because today we’re shrinking the commitment, not the deliciousness, with our ridiculously easy Mini Banana Bread recipe. Get ready for tiny bursts of joy!
Why This Recipe is Awesome
Okay, let’s be real. We all *want* to bake, but sometimes the thought of a multi-hour kitchen marathon sends us straight to the snack cupboard for chips. This recipe? It’s the anti-marathon. It’s so **fast and foolproof**, even your dog could probably supervise it (if he had opposable thumbs and a chef’s hat). Seriously, it’s virtually impossible to mess up, which is saying something because I once burned water. Plus, mini means portion control *and* adorable little treats. Win-win!
Ingredients You’ll Need
- Ripe Bananas (3 medium, extra spotty): The spottier, the better. Think leopard print, not subtle freckles. These are your flavor bombs.
- All-Purpose Flour (1 ½ cups): The backbone. Don’t go fancy, just your regular flour.
- Granulated Sugar (½ cup): Just enough sweetness to make those bananas sing. No need to go overboard, unless you like a sugar rush!
- Egg (1 large): Your binder, your glue. Room temp if you’re feeling fancy, but straight from the fridge works too, no judgment.
- Unsalted Butter (¼ cup, melted): Melted, because who wants solid butter chunks in their bread? Not us.
- Milk (2 tbsp): Any milk works – whole, skim, almond. Just a splash for moisture.
- Baking Soda (1 tsp): Our little leavening hero, makes things fluffy.
- Vanilla Extract (1 tsp): Because everything is better with vanilla. It’s science.
- Salt (¼ tsp): Just a pinch, to balance the sweetness and make everything pop.
- Optional Mix-ins: Chocolate chips (duh!), chopped walnuts/pecans (for crunch), or a sprinkle of cinnamon. Go wild!
Step-by-Step Instructions
- Preheat & Prep: Crank your oven to **350°F (175°C)**. Grease and flour your mini loaf pan (or muffin tin if you’re making muffins, which is basically the same thing but round). This is crucial, trust me.
- Mash the Bananas: In a medium bowl, go to town on those ripe bananas with a fork. You want them mashed, but a few small lumps are totally fine – adds character!
- Wet Ingredients Unite: Add the melted butter, sugar, egg, milk, and vanilla to your mashed bananas. Stir it all together until just combined. Don’t overmix, we’re not making a soufflé here.
- Dry Ingredients Join the Party: In a separate, larger bowl, whisk together the flour, baking soda, and salt. Make sure they’re well combined.
- Combine (Gently!): Pour the wet banana mixture into the dry ingredients. **Gently fold** with a spatula until just barely combined. A few streaks of flour are okay. This is **key to tender banana bread**, not tough hockey pucks. If you’re adding mix-ins, fold them in now!
- Fill ‘Em Up: Divide the batter evenly among your mini loaf cavities. Fill them about two-thirds full.
- Bake Away: Pop your pan into the preheated oven. Bake for **18-22 minutes**, or until a toothpick inserted into the center of a loaf comes out clean.
- Cool Down: Let your mini masterpieces cool in the pan for 5 minutes before transferring them to a wire rack to cool completely. Or, you know, eat one warm because who can resist?
Common Mistakes to Avoid
- Using under-ripe bananas: Rookie move! Green bananas are great for smoothies, but for bread, you need those dark, spotty, nearly-liquid ones for maximum flavor and sweetness.
- Overmixing the batter: This is a biggie. Mixing too much develops the gluten, making your bread tough and chewy instead of soft and moist. Stop when the flour just disappears.
- Not greasing your pan properly: Unless you want to chisel your delicious banana bread out of the pan in sad, crumbly bits, **grease it well**! Seriously.
- Opening the oven door constantly: Patience, grasshopper! Every time you open the door, you drop the oven temperature and mess with the baking process. Resist the urge!
Alternatives & Substitutions
- Gluten-Free: Swap the all-purpose flour for a 1:1 gluten-free baking blend. I’ve had good luck with it, but sometimes the texture can be a smidge different. Still tasty, though!
- Dairy-Free: Use your favorite non-dairy milk (almond, soy, oat) and swap the butter for a plant-based butter alternative or even coconut oil. Easy peasy.
- Sweetener Swaps: You can use brown sugar instead of granulated for a deeper, molasses-y flavor. Maple syrup or honey *can* work, but they add more moisture, so you might need to adjust flour slightly. Stick to granulated or brown for ease, IMO.
- Add-ins Galore: Don’t stop at chocolate chips! Try dried cranberries, shredded coconut, a dash of nutmeg, or even a swirl of nut butter before baking.
FAQ (Frequently Asked Questions)
- “My bananas aren’t ripe enough! What do I do?” Panic? Kidding! You can bake them (unpeeled!) on a baking sheet at 300°F (150°C) for 15-20 minutes until they’re black and soft. Or, microwave them for 30 seconds at a time until soft. Not ideal, but it works in a pinch.
- “Can I use margarine instead of butter?” Well, technically yes, but why hurt your soul like that? Butter just tastes better. Period. If you *must*, go for it, but don’t tell me I didn’t warn you.
- “How do I know when they’re done?” The toothpick test is your best friend! Insert it into the center; if it comes out clean (no wet batter), they’re good to go. A few moist crumbs are okay.
- “Can I freeze these mini loaves?” Absolutely! FYI, once completely cooled, wrap them individually in plastic wrap, then foil, and pop them in a freezer bag. They’ll last for up to 3 months. Just thaw at room temp or give them a quick zap in the microwave.
- “I don’t have a mini loaf pan. Can I use a regular muffin tin?” Heck yes! Just adjust the baking time down to about 15-18 minutes. They’ll be mini banana muffins, which are equally delightful.
- “Why is my banana bread dry?” Likely culprit: Overmixing the batter or overbaking. Remember, just combine the wet and dry ingredients, and take them out as soon as the toothpick comes clean!
Final Thoughts
See? That wasn’t so scary, was it? You just whipped up a batch of delicious, moist, utterly adorable mini banana breads. Now go impress someone—or yourself—with your new culinary skills. Take a picture, brag a little (you’ve earned it!), and then devour them all before anyone else gets a chance. You deserve this moment of carb-loaded glory. Happy baking, my friend!

