So, you’ve got those sad, spotty bananas glaring at you from the counter, practically begging for a glorious transformation, huh? Or maybe you just woke up with an insatiable craving for something warm, sweet, and ridiculously comforting? Same, friend, same. Forget those complicated recipes that require a culinary degree. Today, we’re making Spiced Banana Bread – the kind that smells like a hug and tastes like pure joy, all without breaking a sweat. Let’s get baking!
Why This Recipe is Awesome
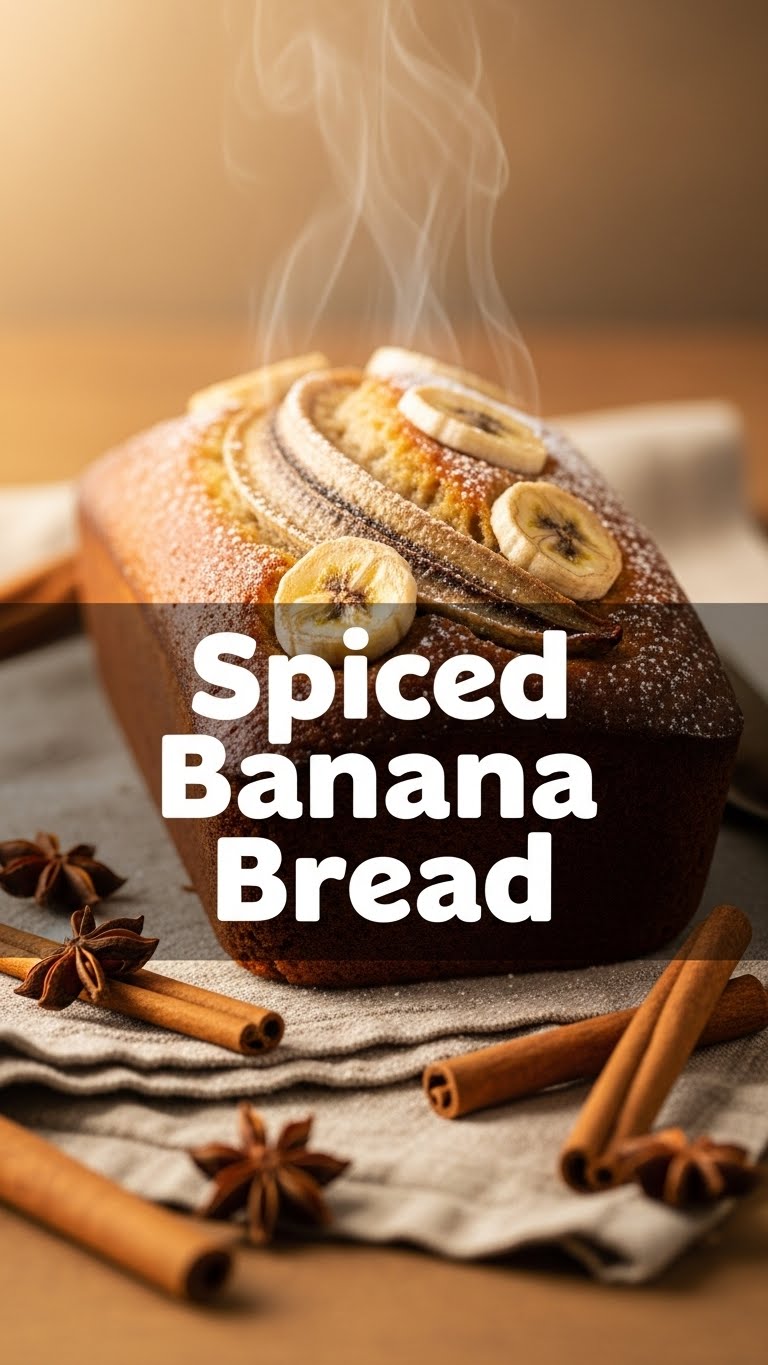
Okay, let’s be real. This isn’t just *any* banana bread. This is *Spiced* Banana Bread, which means it’s got layers of flavor that’ll make your regular banana bread jealous. Think warm spices mingling with that sweet banana goodness. It’s like a party in your mouth, and everyone’s invited!
- It’s practically **idiot-proof**. Seriously, if I can make it without setting off the smoke detector, you definitely can.
- It perfectly utilizes those overripe bananas you almost tossed. Consider it a rescue mission for your fruit.
- The aroma alone is worth it. Your kitchen will smell like a fancy bakery, and you barely lifted a finger (okay, maybe a few fingers).
- It’s a guaranteed crowd-pleaser. Bring it to a potluck, and you’ll be everyone’s favorite person. Keep it for yourself, and you’ll be your own favorite person. Win-win!
Ingredients You’ll Need
Gather ’round, bakers! Here’s your hit list. Nothing too exotic, promise.
- 3-4 Very Ripe Bananas: The spottier, the better. We’re talking almost-black, mushy beauties. Don’t be shy!
- 1 ¾ cups All-Purpose Flour: Your standard kitchen MVP.
- ¾ cup Granulated Sugar: For that classic sweetness.
- ¼ cup Light Brown Sugar (packed): Adds depth and moisture. It’s the secret sauce for a tender crumb!
- 1 teaspoon Baking Soda: Our lift-off agent. Don’t skip it unless you want a banana brick.
- ½ teaspoon Salt: Just a pinch to balance out all that sweetness and make everything sing.
- 1 teaspoon Ground Cinnamon: Essential for that “spiced” vibe.
- ½ teaspoon Ground Nutmeg: Adds a warm, cozy note.
- ¼ teaspoon Ground Cloves (or allspice): Just a touch for extra oomph. Trust me on this one.
- 2 Large Eggs: Room temperature, if you’re feeling fancy. Otherwise, straight from the fridge works too.
- ½ cup Unsalted Butter: Melted and slightly cooled. Because nobody wants to wrestle cold butter into batter.
- 1 teaspoon Vanilla Extract: A splash of magic to enhance all the flavors.
- Optional add-ins: ½ cup chocolate chips, chopped walnuts, or pecans. Go wild!
Step-by-Step Instructions
Alright, let’s turn those ingredients into a masterpiece. You’ve got this!
- Preheat & Prep: First things first, crank your oven to 350°F (175°C). Then, grab a 9×5 inch loaf pan and give it a good spray with non-stick spray or butter and flour it. Nobody wants stuck banana bread.
- Mash ‘Em Up: In a large bowl, mash your ripe bananas with a fork until they’re mostly smooth but still have a few small lumps. A little texture is good!
- Wet Mix Magic: In a separate, medium bowl, whisk together your melted butter, granulated sugar, brown sugar, eggs, and vanilla extract until well combined.
- Combine the Wet & Fruity: Pour the wet sugar-egg mixture into the mashed bananas. Stir gently until just combined.
- Dry Goods Squad: In another, smaller bowl (yes, we’re using a lot of bowls, it’s worth it!), whisk together your flour, baking soda, salt, cinnamon, nutmeg, and cloves. Make sure there are no lumpy bits of spice.
- Unite the Forces: Now, **this is key!** Add the dry ingredients to the wet ingredients. Fold them together with a spatula until *just* combined. A few lumps are totally okay. **Do NOT overmix!** Overmixing leads to tough bread, and we want tender, fluffy goodness.
- Add Your Faves: If you’re using chocolate chips or nuts, gently fold them in now.
- Bake It Up: Pour the batter evenly into your prepared loaf pan. Pop it into the preheated oven and bake for 55-65 minutes. How do you know it’s done? A wooden skewer or toothpick inserted into the center should come out clean, or with just a few moist crumbs.
- Cool Down: Let the banana bread cool in the pan for about 10-15 minutes before carefully inverting it onto a wire rack to cool completely. Or, you know, cut yourself a slice while it’s still warm because who can resist?
Common Mistakes to Avoid
Listen, we’ve all been there. Here are a few traps to sidestep on your journey to banana bread bliss.
- Underripe Bananas: Using yellow, firm bananas is a rookie mistake. They won’t give you the sweetness or moisture needed. Embrace the brown spots!
- Overmixing the Batter: I’m repeating this because it’s THAT important. A lumpy batter is a happy batter. Overmix, and you’ll end up with a dense, chewy loaf, not the light, tender one you’re dreaming of.
- Forgetting to Preheat: Patience, young grasshopper. Your oven needs to be at the correct temperature from the start for proper rising and baking.
- Opening the Oven Door Too Much: Resist the urge to peek! Every time you open the door, the oven temperature drops, which can affect your bread’s rise and texture.
- Not Greasing Your Pan Properly: Unless you enjoy chiseling your banana bread out of the pan, ensure it’s well-greased (or lined with parchment paper).
Alternatives & Substitutions
Feeling creative? Or maybe you’re just missing an ingredient? No worries, I’ve got your back with some easy swaps.
- Flour Power: Want to feel a *tiny* bit healthier? Swap up to half of the all-purpose flour for whole wheat flour. It’ll add a nuttier flavor. (FYI, it’s still banana bread, so don’t expect it to count as a salad.)
- Butter Be Gone: If you’re dairy-free, replace the melted butter with an equal amount of melted coconut oil or a neutral-flavored vegetable oil.
- Spice It Up (More!): Not a fan of cloves? Try a pinch of cardamom for an exotic twist, or a little ginger for an extra kick.
- Sweet Swaps: You can experiment with using only granulated sugar or only brown sugar, but IMO, the combo is divine. For a less sweet loaf, reduce the total sugar by ¼ cup.
- Add-In Adventures: Beyond chocolate chips and nuts, try dried cranberries, shredded coconut, or even a swirl of cream cheese frosting on top (after it cools, obviously).
FAQ (Frequently Asked Questions)
- My bananas aren’t ripe enough, HELP!?
Crisis averted! Pop those yellow guys on a baking sheet and bake them at 300°F (150°C) for 15-20 minutes, or until their skins are shiny and black. Let them cool, then mash away!
- Can I make muffins instead of a loaf?
Absolutely! Divide the batter into a 12-cup muffin tin (paper liners are your friend here). Bake for about 20-25 minutes, or until a toothpick comes out clean. Mini spiced banana bread FTW!
- How long does this Spiced Banana Bread last?
If you manage not to devour it all in one sitting, it’ll last about 3-4 days at room temperature, tightly wrapped. You can also keep it in the fridge for up to a week.
- Can I freeze banana bread?
Heck yes! Wrap individual slices or the whole loaf tightly in plastic wrap, then aluminum foil. It’ll stay fresh in the freezer for 1-2 months. Thaw at room temperature when a craving strikes.
- Why is my banana bread dry and tough?
Most likely culprits: overmixing the batter (developing too much gluten) or overbaking it. Keep an eye on the oven, and remember: lumps are good!
- Do I really need all those spices? Can I skip them?
Well, you *can*, but then it’s just regular banana bread. And while regular banana bread is fine, why settle for fine when you can have fabulous? The spices are what make this recipe special!
Final Thoughts
There you have it, folks! Your new go-to recipe for when life gives you too many bananas and a craving for something ridiculously delicious. This Spiced Banana Bread isn’t just a snack; it’s an experience. It’s the perfect companion for your morning coffee, an afternoon pick-me-up, or a late-night treat. So, go forth and bake, my friend! You’ve got this. Now go impress someone—or yourself—with your new culinary skills. You’ve earned it!


