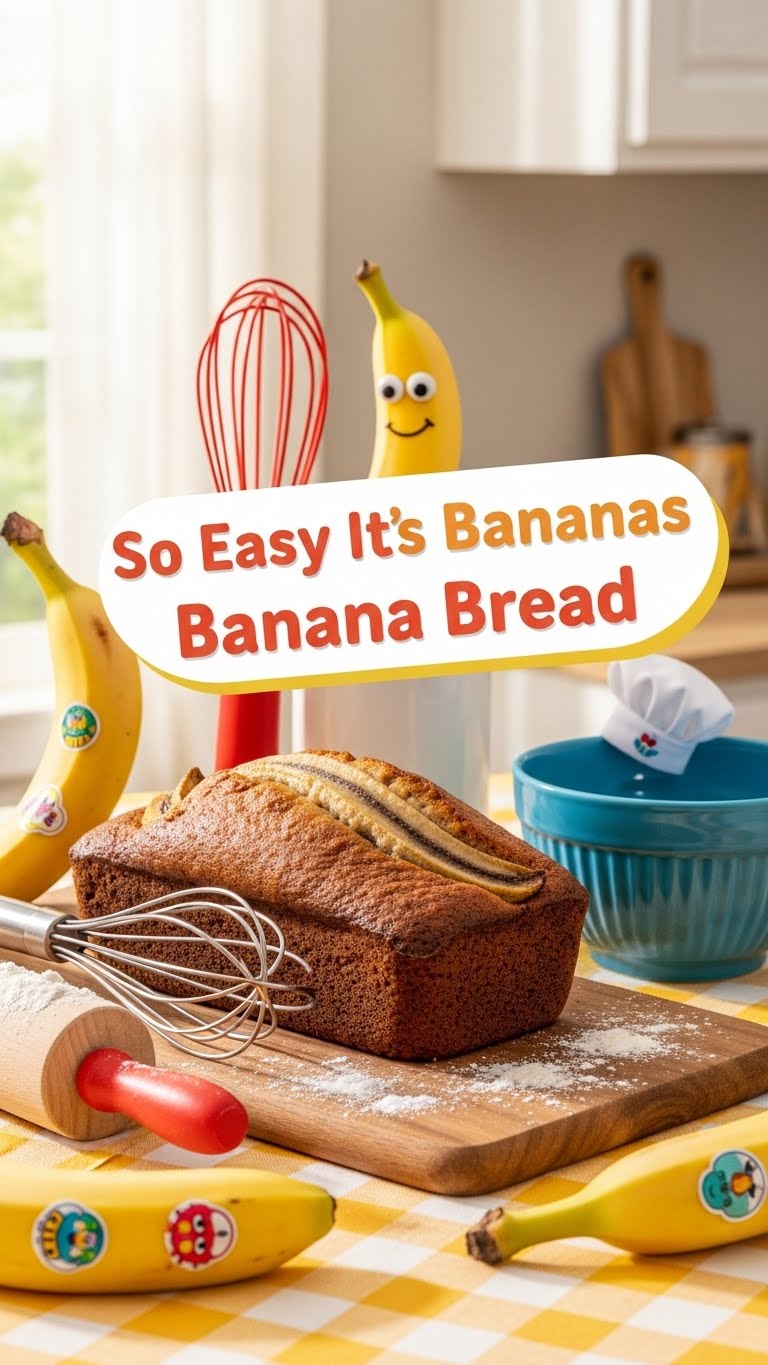
So you’re craving something tasty but too lazy to spend forever in the kitchen, huh? Same. We’ve all been there: staring into the abyss of a fridge, dreaming of something warm, comforting, and utterly delicious, but the thought of a complicated recipe makes you want to just order takeout. What if I told you there’s a magical recipe that delivers all that banana-y goodness with minimal effort? Enter: So Easy It’s Bananas Banana Bread. Seriously, this isn’t a drill; it’s your new best friend.
Why This Recipe is Awesome
Let’s be real, life’s too short for fussy recipes. This banana bread isn’t just easy; it’s practically idiot-proof. (No offense, but if I can make it, you absolutely can.) Forget complicated steps, obscure ingredients, or needing a culinary degree. This recipe is designed for those days when you want to feel like a domestic god/goddess without actually, you know, doing much work. It uses common pantry staples, comes together in one bowl (mostly!), and the best part? Your house will smell like a warm hug from a banana tree. Plus, it’s a brilliant way to use up those sad, spotted bananas lurking on your counter, turning them into pure gold. We love a good glow-up!
Ingredients You’ll Need
Gather ’round, my fellow lazy gourmands! Here’s what you’ll need for this masterpiece. Don’t worry, nothing’s too wild.
- 3-4 medium overripe bananas: We’re talking brown spots, maybe even a little black. The uglier, the better! These are your flavor bombs, trust me.
- 1/3 cup (75g) unsalted butter: Melted, because butter makes everything better, duh.
- 1 cup (200g) granulated sugar: Sweetness is essential, obviously.
- 1 large egg: Just one, to bind all that goodness together.
- 1 teaspoon vanilla extract: Don’t skip it! It’s the secret sauce for that amazing aroma.
- 1 ½ cups (190g) all-purpose flour: The regular stuff, no fancy business.
- 1 teaspoon baking soda: For that perfect, fluffy rise.
- ½ teaspoon salt: Just a pinch to balance the sweetness and make everything pop.
- Optional: ½ cup chocolate chips or chopped nuts: Feeling wild? Go for it! Or keep it classic. Your call, fancy pants.
Step-by-Step Instructions
Alright, apron on (or not, I won’t judge), let’s get baking! These steps are so easy, you could probably do them in your sleep.
- **Preheat Power-Up:** Get that oven nice and toasty to 350°F (175°C). And grease a 9×5 inch loaf pan. Seriously, don’t skip the preheating; it’s crucial for an even bake!
- **Banana Mash Bash:** In a large bowl, mash those gloriously overripe bananas with a fork. Embrace the lumps! A few small chunks add texture and a rustic charm.
- **Wet Ingredients Waltz:** Stir in the melted butter, sugar, egg, and vanilla extract with your mashed bananas until everything looks happily combined. No need for a stand mixer here; a good old spoon is your friend.
- **Dry Mix Magic:** In a separate medium bowl, whisk together the flour, baking soda, and salt. Make sure they’re well mixed so your leavening is evenly distributed.
- **Gentle Combination:** Pour the dry ingredients into the wet banana mixture. Now, here’s the crucial part: **gently fold them together until just combined.** A few streaks of flour are totally fine! Overmixing is the enemy of tender banana bread; it makes it tough and sad, and we want happy bread.
- **Optional Add-ins (if using):** If you’re feeling fancy, now’s the time to fold in your chocolate chips or nuts. Go wild, you deserve it!
- **Bake to Perfection:** Pour the batter into your prepared loaf pan. Pop it into the preheated oven and bake for **50-60 minutes**, or until a wooden skewer or toothpick inserted into the center comes out clean. **Keep an eye on it after 45 minutes!**
- **The Waiting Game:** Let the banana bread cool in the pan for 10-15 minutes before carefully transferring it to a wire rack to cool completely. I know, I know, the smell is intoxicating, but patience, my friend, patience!
Common Mistakes to Avoid
Even though this recipe is “So Easy It’s Bananas,” there are still a few rookie errors that can trip you up. Learn from my past kitchen blunders!
- **Using Underripe Bananas:** This is probably the biggest faux pas. Green or yellow bananas don’t have the sweetness or flavor concentration you need. **Brown spots are your best friend here!**
- **Overmixing the Batter:** We talked about this, but it bears repeating. When you’re combining the wet and dry ingredients, stop as soon as the flour is mostly incorporated. Overmixing develops gluten, leading to tough, rubbery bread. Nobody wants rubbery bread.
- **Not Preheating the Oven:** Thinking you can just shove it in a cold oven and it’ll all work out? Nah. A properly preheated oven ensures your bread starts rising immediately and bakes evenly.
- **Opening the Oven Door Too Often:** I get it, the suspense is killing you! But every time you open that door, you let out heat, which can cause your banana bread to sink in the middle. Trust the process.
- **Cutting It Hot:** The smell is divine, the temptation is real, but resist the urge to slice into that loaf right out of the oven. It’s still cooking, and cooling allows the starches to set, giving you a better texture. Don’t be a savage!
Alternatives & Substitutions
Feeling a little adventurous, or missing an ingredient? No stress, here are some easy swaps and additions!
- **Dairy-Free Delight:** Swap the butter for a plant-based alternative (like vegan butter sticks) or use an equal amount of vegetable oil (like canola or sunflower oil). It’ll still be delicious!
- **Sugar Swap:** You can use brown sugar instead of granulated for a deeper, more molasses-like flavor. Or, if your bananas are super sweet, you can slightly reduce the sugar amount.
- **Flour Power:** While I’m a purist for maximum fluffiness with all-purpose, you can substitute up to half the all-purpose flour with whole wheat flour for a slightly denser, nuttier, and healthier kick. Just be aware of the texture change.
- **Spice It Up:** A pinch of cinnamon, nutmeg, or even a tiny bit of allspice can totally elevate the flavor profile if you’re feeling spicy.
- **Mix-Ins Mania:** Aside from chocolate chips and nuts, consider shredded coconut, dried cranberries, or even a swirl of cream cheese frosting on top after it cools. The possibilities are endless, my friend!
FAQ (Frequently Asked Questions)
Got questions? I’ve got (casual and hopefully helpful) answers!
- **My bananas aren’t ripe enough! What do I do?**
Chill, friend. You can speed up the ripening by baking them unpeeled on a baking sheet at 300°F (150°C) for 15-30 minutes until their skins are black and shiny. Let them cool, then scoop out the pulp. Genius, right? - **Can I use margarine instead of butter?**
Well, technically yes, but why hurt your soul like that? Butter just tastes better, IMO. But if that’s all you have, it’ll work in a pinch. - **How long does this banana bread last?**
If it lasts longer than two days in your house, you’re doing something wrong (or you have incredible self-control). Kidding! It’s good for 3-4 days at room temperature, stored in an airtight container. It’ll last about a week in the fridge, or you can freeze slices for up to 3 months. Easy grab-and-go breakfast, BTW! - **My banana bread sank in the middle! Help!**
Oh no! Usually, that means it wasn’t fully baked (rookie move, we’ve all done it) or you opened the oven door too soon. It could also be that your baking soda isn’t fresh or you used too much. Next time, **trust that toothpick test** and resist peeking! - **Can I make muffins instead of a loaf?**
Absolutely! Divide the batter into a greased muffin tin (filling about two-thirds full) and bake for about 20-25 minutes, or until golden and a toothpick comes out clean. Mini banana bread happiness!
Final Thoughts
See? Told ya it was easy! Now you’ve got warm, delicious, homemade banana bread without breaking a sweat (or your mental state). Go on, pat yourself on the back, you culinary wizard! Whether you devour it all yourself (no judgment here), share it with friends, or just bask in the glory of your baking prowess, you totally nailed it. Now go impress someone—or yourself—with your new culinary skills. You’ve earned it!
