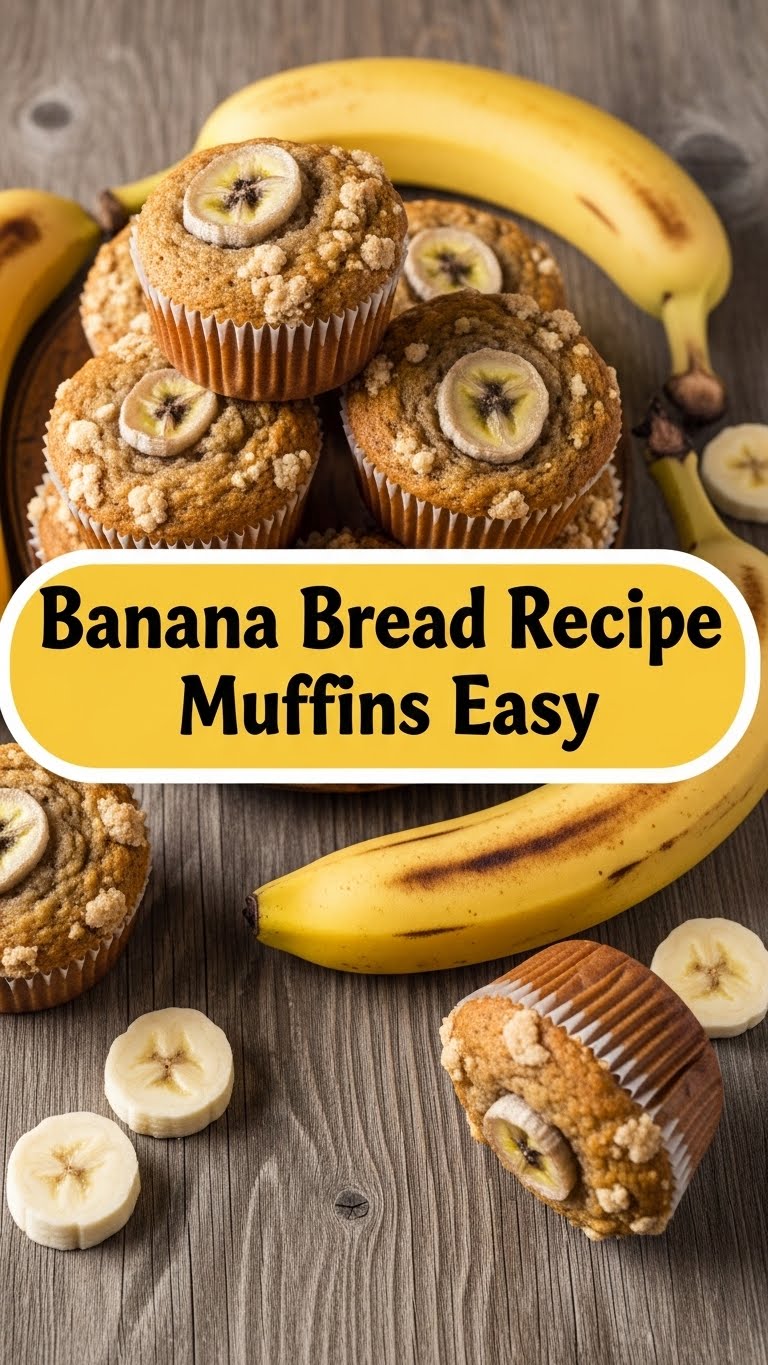
So, you’ve got some bananas looking a little… *experienced* on your counter? And the thought of making a whole banana bread loaf feels like a commitment you’re not ready for? Girl, I feel you. That’s where these Banana Bread Muffins swoosh in like a culinary superhero, ready to save your snack cravings and your overripe fruit, all with minimal fuss.
Why This Recipe is Awesome
Okay, let’s be real. This isn’t just *another* banana bread muffin recipe. This is THE recipe. Why? Because it’s practically idiot-proof. Seriously, if I can nail it after a particularly long Monday, you can too. It’s fast, it’s easy, and it turns those sad, brown bananas into pure, golden joy. Plus, muffins are basically mini, portable banana breads, which means portion control (or lack thereof, no judgment here!).
Ingredients You’ll Need
Alright, raid your pantry! Here’s what you’ll need to transform those spotty bois:
- 3 very ripe bananas: The browner, the better! Don’t you dare use yellow ones, we’re making flavor, not just fruit.
- 1/2 cup (113g) unsalted butter, melted: Because everything is better with butter. Don’t even try to argue.
- 1 large egg: The binder of our dreams. Room temp if you’re feeling fancy.
- 1 teaspoon vanilla extract: Vanilla makes everything sing. Fact.
- 1/2 cup (100g) granulated sugar: For that perfect touch of sweetness. Adjust if your bananas are basically candy already.
- 1 1/2 cups (180g) all-purpose flour: The structure. The backbone. The unsung hero.
- 1 teaspoon baking soda: Our leavening MVP, making things light and fluffy.
- 1/2 teaspoon salt: Balances out all that glorious sweetness. Don’t skip it!
- Optional add-ins: Chocolate chips (duh), walnuts, pecans. Go wild!
Step-by-Step Instructions
Deep breaths, you got this. Here’s the magic formula:
- Preheat & Prep: Get that oven preheating to 400°F (200°C). Line a 12-cup muffin tin with paper liners or give it a good spray. We don’t want sticking!
- Mash those Bananas: In a large bowl, mash your super-ripe bananas with a fork. Lumpy is totally fine; it adds character.
- Wet Ingredients Unite! Add the melted butter, egg, vanilla extract, and sugar to your mashed bananas. Stir them until they’re just combined. Don’t overmix, we’re not making cement!
- Dry Mix-Up: In a separate medium bowl, whisk together the flour, baking soda, and salt. Make sure there are no lumpy bits.
- Combine Forces: Gently add the dry ingredients to the wet ingredients. Mix until just combined. A few streaks of flour are okay! Overmixing is the enemy of tender muffins. If you’re adding chocolate chips or nuts, fold them in now.
- Fill ‘Em Up: Divide the batter evenly among your 12 muffin cups. Fill them almost to the top for nice, domed muffins.
- Bake Time! Pop them into your preheated oven. Bake for 5 minutes at 400°F (200°C). This initial blast helps them get those gorgeous domed tops! Then, reduce the oven temperature to 375°F (190°C) (without opening the door!) and bake for another 12-15 minutes, or until a toothpick inserted into the center comes out clean.
- Cool Down: Let them cool in the muffin tin for a few minutes before transferring them to a wire rack to cool completely (if you can wait that long!).
Common Mistakes to Avoid
Alright, listen up, buttercup. A few pitfalls even the best of us stumble into:
- Using Not-So-Ripe Bananas: This isn’t a suggestion, it’s a command! Greenish-yellow bananas will give you dry, bland muffins. We want brown and spotty for maximum sweetness and moisture.
- Overmixing the Batter: I said it once, I’ll say it again: overmixing develops gluten, leading to tough, chewy muffins. Mix until just combined, a few flour streaks are your friend.
- Forgetting to Preheat the Oven: Rookie mistake! A hot oven ensures they rise beautifully right from the start.
- Eyeballing Ingredients: Baking is a science, friend. Stick to the measurements. No, your “guesstimate” isn’t going to cut it here.
Alternatives & Substitutions
Feeling adventurous? Or just realized you’re out of something crucial? No sweat:
- No Butter? You could use an equal amount of oil (like vegetable or canola) for a dairy-free option. Will it be as rich? Probably not, but it’ll still be delicious. FYI, butter is always my top pick!
- Sugar Swap? Brown sugar can be used instead of granulated for a deeper, more molasses-y flavor. Maple syrup or honey can work, but you might need to slightly adjust the dry ingredients to maintain consistency.
- Gluten-Free? Swap the all-purpose flour for a 1:1 gluten-free baking blend. Easy peasy!
- Extra Goodies: Don’t stop at chocolate chips! Try adding a handful of shredded coconut, dried cranberries, or even a sprinkle of cinnamon and nutmeg to the dry ingredients for a spice kick.
FAQ (Frequently Asked Questions)
- Can I use margarine instead of butter? Well, technically yes, but why hurt your soul like that? Butter just tastes better, IMO. But if you’re really in a pinch, go for it.
- My bananas aren’t ripe enough! Help! Quick hack: bake them on a baking sheet at 300°F (150°C) for 15-30 minutes until they’re shiny and black. Let them cool, then proceed!
- How long do these muffins last? Stored in an airtight container at room temperature, they’re usually good for 2-3 days. If you haven’t devoured them all by then, you have more self-control than me!
- Can I freeze them? Absolutely! Once completely cooled, pop them in a freezer-safe bag for up to 3 months. Thaw at room temp or give them a quick zap in the microwave.
- What if I don’t have a muffin tin? You could try a loaf pan, but then they wouldn’t be muffins, would they? Baking time will increase significantly for a loaf. Just get a muffin tin, you won’t regret it.
- Why the initial high heat? That blast of high heat at the beginning helps create a sudden burst of steam, which gives your muffins those lovely domed tops. It’s a pro trick!
Final Thoughts
See? That wasn’t so scary, was it? You just whipped up a batch of delicious, moist, banana-y goodness without breaking a sweat (or a major kitchen appliance). Now go impress someone—or yourself—with your new culinary skills. You’ve earned it! Grab a mug of coffee, kick back, and enjoy your masterpiece. You’re basically a professional baker now. Don’t tell anyone I said that.

