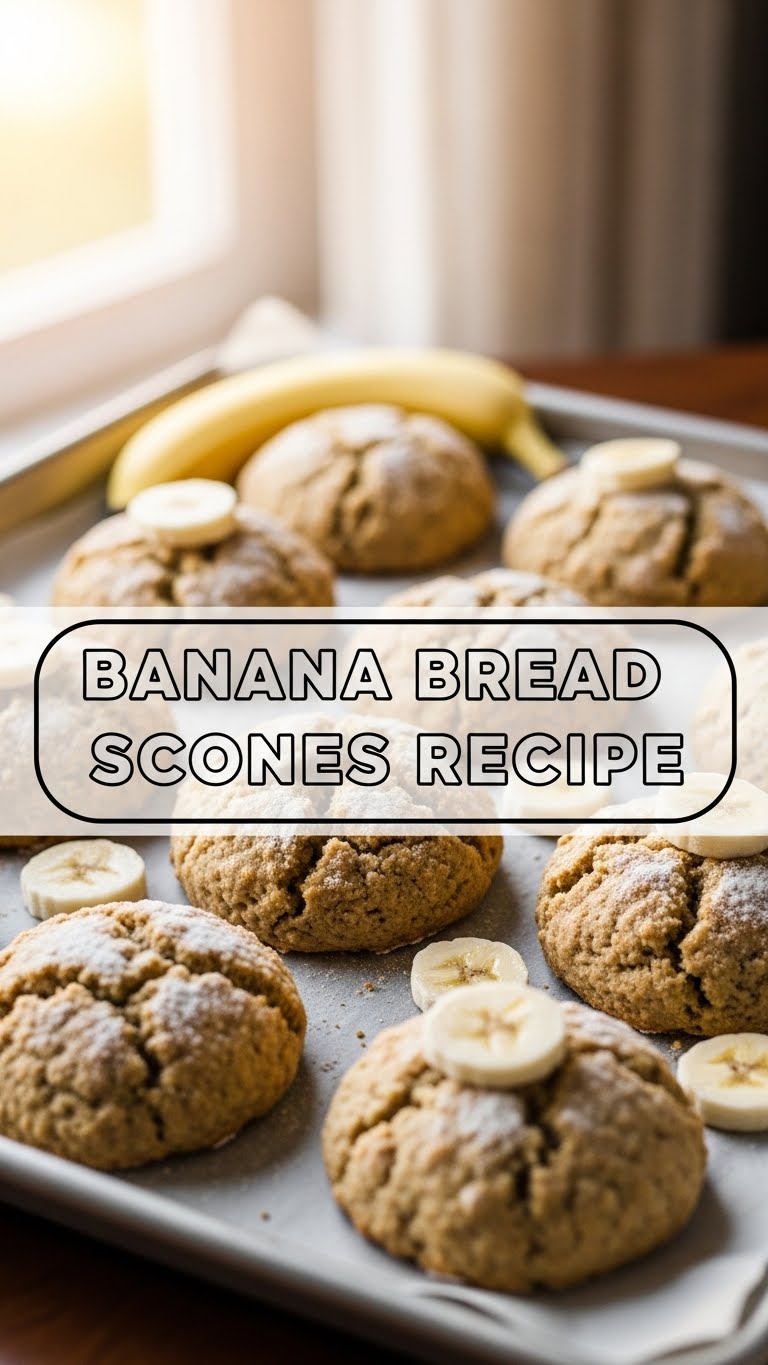
Got some sad, spotty bananas glaring at you from the counter? And that craving for something comforting, but also, you know, *fast*? Honey, you’ve come to the right place. We’re about to transform those forlorn fruits into something truly magical, without breaking a sweat or spending half your day in the kitchen. Meet your new obsession: **Banana Bread Scones!**
Why This Recipe is Awesome
Okay, let’s be real. Sometimes you want the cozy hug of banana bread, but the thought of waiting an hour for it to bake feels like an eternity. And scones? They sound fancy, but really, they’re just flaky little clouds of joy. This recipe combines the best of both worlds: the comforting flavor of banana bread with the delightful, quick-bake convenience of scones. It’s truly a match made in heaven!
What makes it *so* awesome? Well, for starters, it’s practically **idiot-proof**. Seriously, even I didn’t mess it up, and my track record with delicate baked goods is… let’s just say, *colorful*. Plus, it’s way faster than a traditional banana bread loaf, perfect for when a sudden craving strikes. You get that moist, banana-y goodness with those signature flaky layers. Your house will smell like a dream, your taste buds will thank you, and you’ll look like a baking genius. Win-win-win!
Ingredients You’ll Need
Time to gather your culinary squad! Here’s what you’ll need for these fluffy, banana-y delights:
- **2 cups All-Purpose Flour:** The trusty base. Don’t overthink it.
- **1/2 cup Granulated Sugar:** Just enough sweetness. If your bananas are super ripe, you could dial it back a tad. (But why would you?)
- **1 tablespoon Baking Powder:** Our leavening MVP. This is how we get that glorious lift!
- **1/2 teaspoon Salt:** Essential for balancing all those lovely flavors. Don’t skip it!
- **1/2 cup (1 stick) Unsalted Butter, COLD and cubed:** This is probably **the most important ingredient** for flaky scones. Seriously, keep it chilly!
- **1 Ripe Banana, mashed:** The spottier, the better! Overripe means more flavor. Don’t even *think* about using a green one.
- **1 Large Egg:** Our binding agent. Helps everything stick together.
- **1 teaspoon Vanilla Extract:** Adds a little extra “oomph” to the flavor profile.
- **1/4 cup Milk or Heavy Cream:** To bring the dough together. Whole milk or cream will give you the richest results.
- *Optional but highly encouraged:* 1/2 cup chocolate chips or chopped walnuts. Because, why not?
Step-by-Step Instructions
Alright, let’s get down to business! Follow these easy steps, and you’ll be scoffing scones in no time.
- **Prep Your Arena:** First things first, crank that oven to **400°F (200°C)**. While it’s heating up, line a baking sheet with parchment paper. This makes cleanup a breeze, FYI.
- **Whisk the Dry Crew:** In a large bowl, whisk together your flour, sugar, baking powder, and salt. Give it a good mix to make sure everything is evenly distributed.
- **Bring in the Butter:** Now, add your cold, cubed butter to the dry ingredients. Use a pastry blender, two knives, or even just your fingertips to cut the butter into the flour mixture. You’re aiming for pea-sized pieces of butter, with some larger, bean-sized bits. **Seriously, do NOT overmix here!** This is key for flakiness.
- **Mash the Banana:** In a separate medium bowl, mash that ripe banana. The lumpier the better, IMO – adds character! Then, whisk in the egg, vanilla extract, and milk/cream until combined.
- **Combine Wet & Dry:** Pour the wet banana mixture into the dry flour-and-butter mixture. Mix with a spatula or your hands until **just combined**. The dough will look shaggy and a bit sticky, but that’s exactly what we want. **Do not overmix!**
- **Shape ‘Em Up:** Lightly flour a clean surface (your counter works great). Gently turn out the dough and lightly knead it a few times – just enough to bring it together. Form the dough into a disk about 1-inch thick.
- **Cut & Bake:** Use a sharp knife or a bench scraper to cut the disk into 8 wedges (like a pizza!). Carefully transfer these wedges to your prepared baking sheet.
- **Bake to Golden Perfection:** Pop them into the preheated oven and bake for **15-18 minutes**, or until the tops are golden brown and they sound hollow when tapped.
- **Cool (If You Can Wait):** Let them cool on the baking sheet for a few minutes before moving them to a wire rack. Then, try your absolute best not to eat them all in one go.
Common Mistakes to Avoid
Listen, we all make mistakes. But with these tips, you can avoid the most common scone-sabotaging blunders. Consider it friendly advice from someone who’s made *all* of them.
- **Warm Butter is the Enemy:** Thinking you can get away with soft or room-temp butter? Rookie mistake! **Keep that butter COLD.** It creates pockets of steam that make your scones flaky. Warm butter just melts into the dough, leading to dense, sad scones.
- **Overmixing the Dough:** This is probably the biggest scone sin. Overmixing develops the gluten, resulting in tough, dry scones. Mix until *just* combined; a shaggy dough is a happy dough.
- **Under-Ripe Bananas:** Using firm, yellow bananas instead of spotty, brown ones? You’re robbing yourself of essential banana flavor and natural sweetness. Embrace the brown spots!
- **Not Preheating Your Oven:** Patience, grasshopper! Scones need a hot oven from the get-go to rise properly. Don’t rush it.
- **Rolling Too Thin:** If your dough disk is less than an inch thick, your scones might end up flat and sad. We’re aiming for fluffy, not flat-as-a-pancake.
Alternatives & Substitutions
Feeling adventurous? Or maybe you’re just out of one tiny ingredient? No stress! Here are some fun ways to play with this recipe:
- **Chocolate Lovers Unite:** Stir in 1/2 cup of chocolate chips (milk, dark, or white!) with your dry ingredients for an extra indulgent treat. It’s a classic banana bread combo for a reason!
- **Nutty for Scones:** Add 1/2 cup of chopped walnuts or pecans for a delightful crunch and earthy flavor. Toast them first for extra depth!
- **Spice It Up:** A dash of cinnamon or nutmeg (1/2 teaspoon total) can elevate that banana bread vibe even further.
- **Glaze Craze:** Want to get fancy? Whisk together about 1/2 cup powdered sugar with a tablespoon or two of milk and a splash of vanilla extract. Drizzle over cooled scones for a sweet finish.
- **Dairy-Free Dilemma?** You can try a plant-based milk (like almond or oat milk) and a vegan butter substitute. However, the texture might be slightly different. Dairy butter truly reigns supreme for flakiness, but if you have to, you have to!
FAQ (Frequently Asked Questions)
Got questions? I’ve got answers! (Mostly.)
- **Can I use frozen bananas?** Absolutely! Just make sure to thaw them completely first and drain any excess liquid before mashing. The extra moisture can make your dough a bit stickier, so you might need to add a tiny bit more flour.
- **How do I store leftover scones?** Pop them in an airtight container at room temperature for up to 2-3 days. Reheat briefly in the microwave or oven for that fresh-baked feel.
- **Can I freeze the dough for later?** You betcha! Cut the raw scones, then freeze them on a baking sheet until solid. Transfer them to a freezer-safe bag or container. When you’re ready to bake, pop them straight from the freezer into a preheated oven, adding an extra 5-10 minutes to the baking time.
- **My scones are flat, what went wrong?** Oh no! This usually points to warm butter (see “Common Mistakes”), overmixing the dough, or possibly old baking powder. Double-check your cold butter technique next time!
- **Do I *really* have to use cold butter?** **YES.** Seriously, it’s not a suggestion; it’s a command. Cold butter creates those glorious steam pockets as it melts in the oven, leading to light, flaky layers. Don’t betray the butter.
- **Can I make them gluten-free?** You can definitely try a 1:1 gluten-free flour blend, but be aware that GF flours absorb liquid differently, so your results might vary a bit in texture. I haven’t personally tested this one, so good luck!
Final Thoughts
See? Not so scary, right? You just whipped up a batch of glorious Banana Bread Scones, practically from scratch, and probably while juggling a thousand other things. Go on, pat yourself on the back – you earned it! Serve ’em warm with a dollop of clotted cream (if you’re feeling fancy), a pat of butter, or just as they are. They’re perfect with coffee, tea, or just a quiet moment to yourself.
Now go impress someone—or yourself—with your new culinary skills. You’ve just leveled up your baking game, and your taste buds are eternally grateful. Happy baking, friend!


