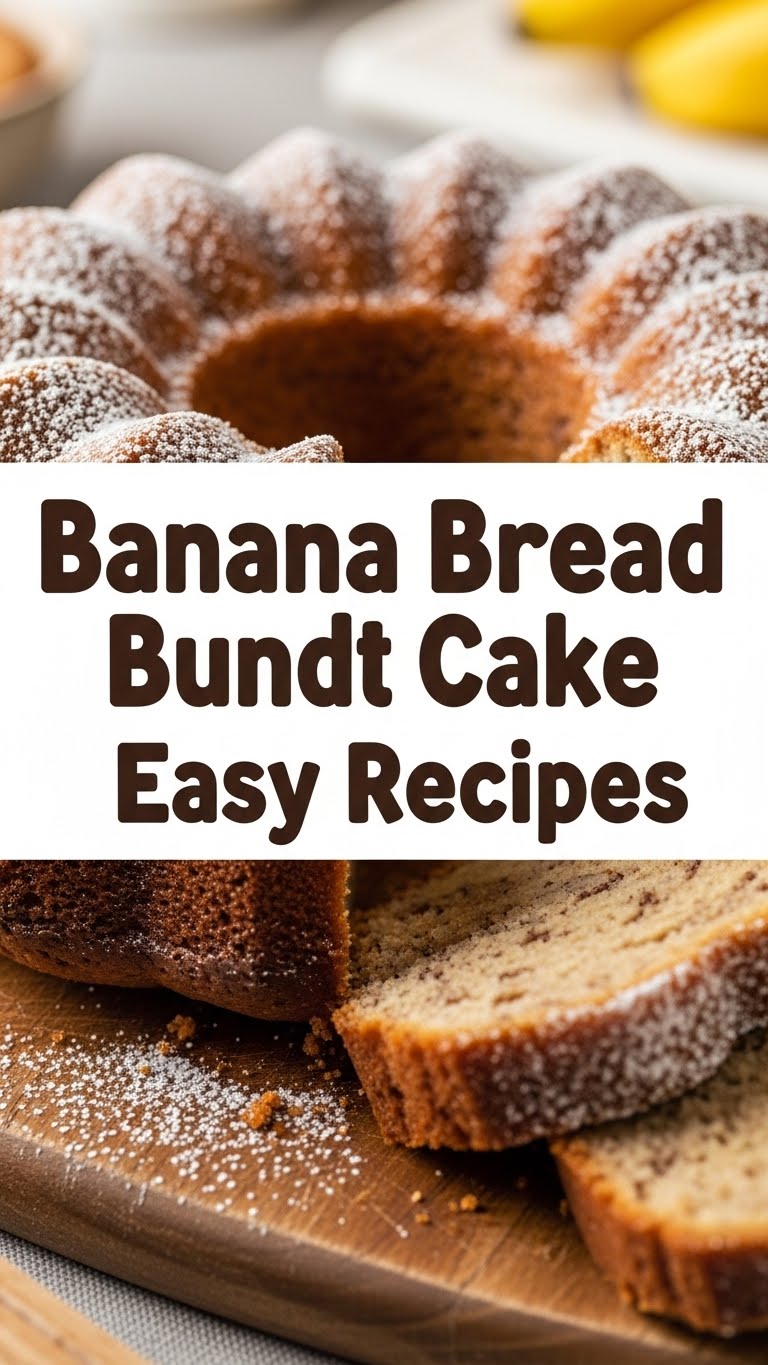
So you’ve got a pile of ridiculously ripe bananas staring you down, practically begging to be transformed into something glorious, but the thought of another boring loaf just isn’t cutting it? And let’s be real, who has time for complicated baking when there’s Netflix to watch? No worries, friend, I got you. We’re diving headfirst into the world of Banana Bread Bundt Cake – because everything’s better in a bundt, right? It just *looks* fancy without any extra effort. Trust me on this one. You’re about to become a banana bread superstar without breaking a sweat. Or at least, minimal sweat.
Why This Recipe is Awesome
Alright, let’s get real. This isn’t just *any* banana bread. This is the “OMG, you made this?!” kind of banana bread. Here’s the lowdown on why it’s about to become your new favorite:
- It’s ridiculously easy. Seriously, if you can mash a banana, you can make this. It’s practically idiot-proof. Even *I* didn’t mess it up, and my kitchen adventures often involve smoke alarms.
- That Bundt shape? Instant upgrade. It takes your humble banana bread and makes it look like it came from a fancy bakery. People will think you actually tried hard. Don’t tell them our secret.
- It’s incredibly moist. Like, “melt-in-your-mouth” moist. No dry, crumbly sadness here, folks.
- Perfect for using up those sad, spotty bananas. You know, the ones that are just a step away from the compost bin. Waste not, want not, my friend!
Ingredients You’ll Need
Gather ’round, fellow culinary explorer! Here’s your hit list for maximum banana bread bundt glory. Most of these are probably already lurking in your pantry, waiting for their moment in the spotlight.
- 2 cups (about 250g) All-Purpose Flour: The base of our masterpiece. Don’t overthink it.
- 1 teaspoon Baking Soda: Our secret weapon for that beautiful rise.
- 1/2 teaspoon Salt: Don’t skip it! It brings out all the flavors. Like a good wingman.
- 1 teaspoon Ground Cinnamon (optional, but highly recommended): Adds a cozy, warm hug to your cake. Trust me, your nose will thank you.
- 1/2 cup (113g) Unsalted Butter, softened: As in, leave it out on the counter for a bit. Not melted, just chill.
- 1 1/2 cups (300g) Granulated Sugar: Sweetness overload, in the best way possible.
- 2 Large Eggs: Room temperature if you can manage it, but honestly, don’t stress if they’re not.
- 1 teaspoon Vanilla Extract: The MVP of all baked goods. Get the good stuff!
- 4-5 Overripe Bananas, mashed: The darker the spots, the better! We’re talking practically black. Don’t be scared.
- 1/2 cup (120ml) Buttermilk (or regular milk with a splash of lemon juice/vinegar): Adds tenderness and tang. If you don’t have buttermilk, just add a teaspoon of lemon juice or white vinegar to regular milk and let it sit for 5 minutes. Voila!
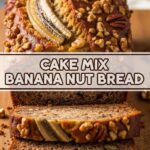
- Optional Mix-ins: 1 cup chocolate chips, chopped walnuts, or pecans. Because sometimes, more is more.
Step-by-Step Instructions
Alright, let’s get this party started! Follow these super simple steps and you’ll be smelling banana bread heaven in no time.
- Preheat & Prep: First things first, get your oven ready. Preheat it to 350°F (175°C). Then, generously grease and flour your Bundt pan. Don’t be shy here; get into all those nooks and crannies. A little non-stick spray is your best friend.
- Whisk the Dry Stuff: In a medium bowl, whisk together your flour, baking soda, salt, and cinnamon (if you’re using it). Set that aside for a moment.
- Cream the Wet Stuff (Part 1): In a large mixing bowl, beat your softened butter and granulated sugar together until they’re light and fluffy. This usually takes about 2-3 minutes with an electric mixer. Get those arm muscles working!
- Add the Eggs & Vanilla: Beat in the eggs one at a time, making sure each is fully incorporated before adding the next. Then stir in that glorious vanilla extract. It’ll smell amazing already, I promise.
- Mash ‘Em Up: Now for the stars of the show – your ripe bananas! Mash them up with a fork until they’re mostly smooth but still have a few small lumps. Add these mashed bananas to your wet ingredients and mix until just combined. Don’t overmix; we’re making cake, not banana puree.
- Alternate Wet & Dry: This is where it all comes together! Add about a third of your dry ingredients to the banana mixture, mixing just until combined. Then, add half of your buttermilk, mixing again. Repeat this – another third of dry, then the rest of the buttermilk, and finally the last third of dry. Mix *just* until no streaks of flour remain. Overmixing is the enemy of tender cakes, FYI.
- Fold in the Goodies (Optional): If you’re adding chocolate chips, nuts, or anything extra, gently fold them in now. Give them a nice even distribution throughout the batter.
- Pour & Bake: Pour your beautiful batter into your prepared Bundt pan, spreading it evenly. Pop it into the preheated oven and bake for about 50-60 minutes. How do you know it’s done? A wooden skewer or toothpick inserted into the center should come out clean.
- Cool Down: Once baked, let your cake cool in the Bundt pan for about 10-15 minutes. This is crucial! It helps the cake set and prevents it from sticking. Then, carefully invert it onto a wire rack to cool completely.
- Devour: Slice it up, grab a cup of coffee (or wine, no judgment!), and enjoy your masterpiece! A simple dusting of powdered sugar or a quick glaze makes it extra special.
Common Mistakes to Avoid
Let’s be real, even the best of us have kitchen mishaps. But with a few pointers, you can totally dodge these common banana bread blunders. Don’t be that person!
- Using Underripe Bananas: This is like trying to make lemonade without lemons. The whole point of overripe bananas is their intense sweetness and moisture. Greenish bananas? Hard pass.
- Not Greasing Your Bundt Pan Properly: Oh, the horror! Nothing is worse than baking a perfect cake only for it to get stuck in the pan. Grease it like you mean it. Flour it too. Every crevice!
- Overmixing the Batter: This is a cardinal sin in baking. Overmixing develops the gluten too much, resulting in a tough, dry cake. Mix until *just* combined, then stop. Walk away from the mixer!
- Opening the Oven Door Too Soon: Patience, grasshopper. Resist the urge to peek during the first 30-40 minutes. It can cause your cake to sink in the middle.
- Not Cooling in the Pan Long Enough: Trying to flip it out too soon is just asking for a broken cake. Let it chill out for those 10-15 minutes. It needs its moment.
- Thinking you don’t need to preheat the oven: Rookie mistake! The oven needs to be at the correct temperature for the leavening agents (baking soda) to activate properly. Cold oven = sad, flat cake.
Alternatives & Substitutions
Feeling a little rebellious, or just missing an ingredient? No stress! Here are some easy swaps and additions to make this recipe truly your own. Get creative!
- Buttermilk Substitute: Already covered this, but just a reminder: add 1 tsp lemon juice or white vinegar to regular milk, let sit 5 mins. Boom, buttermilk!
- Butter Swap: Can you use margarine? Well, technically yes, but why hurt your soul like that? If you’re out of butter, vegetable oil or coconut oil can work, but the flavor and texture might be slightly different. Use the same amount.
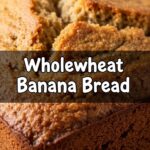
- Flour Power: You can totally experiment with a mix of all-purpose and whole wheat flour for a slightly nuttier, healthier vibe. Or go gluten-free with a good 1:1 gluten-free baking blend.
- Spice It Up: Not a cinnamon fan? Try a pinch of nutmeg, allspice, or even a touch of cardamom for an exotic twist.
- Sweetener Swap: Brown sugar can replace some or all of the granulated sugar for a deeper, molasses-y flavor. Maple syrup or honey could also work, but you might need to adjust the wet ingredients slightly to maintain consistency. (That’s getting a bit more advanced, though, IMO.)
- Nut-Free Zone: Allergic to nuts or just not a fan? Skip them! Or swap for seeds like sunflower or pumpkin seeds for some crunch.
- Add-ins Galore: Beyond chocolate chips and nuts, think shredded coconut, dried cranberries, chopped dates, or even a swirl of cream cheese frosting in the middle before baking! (Okay, that last one is next-level, but a dream.)
FAQ (Frequently Asked Questions)
Got questions? I’ve got answers! (Mostly.) Here are some things you might be wondering about your new favorite banana bread bundt cake.
- My bananas aren’t *super* ripe. Can I still use them? You *can*, but the flavor won’t be as intense, and it might not be as moist or sweet. Next time, buy them ahead and let them sit on your counter for a few days! Pro tip: If you’re impatient, you can bake them unpeeled on a baking sheet at 300°F (150°C) for 15-30 minutes until they’re black and squishy. Let them cool first!
- How do I store this masterpiece? Keep it covered tightly at room temperature for up to 3 days, or in the fridge for up to a week. If you want to keep it longer, wrap individual slices or the whole cooled cake tightly in plastic wrap and then foil, and freeze for up to 3 months.
- Can I make this as a regular loaf cake instead? Absolutely! Pour the batter into two 8×4-inch loaf pans (or one 9×5-inch pan). Adjust baking time; loaves usually take around 50-65 minutes. Just watch for that clean toothpick test!
- My Bundt cake stuck! What gives? Ah, the pain! You probably didn’t grease and flour it enough. Or you tried to remove it too soon. Seriously, go heavy on the grease and flour, and let it cool in the pan for the full 10-15 minutes. Sometimes, a light tap around the edges and center before flipping can help.
- Can I add a glaze? Heck yes, you can! A simple powdered sugar glaze (powdered sugar, a little milk or lemon juice, and vanilla extract) takes it to the next level. Drizzle it on once the cake is completely cool.
- What if I don’t have buttermilk? We covered this, friend! But just in case you forgot amidst all the banana bread excitement: 1 cup regular milk + 1 tbsp lemon juice or vinegar. Let it sit for 5 minutes. Works like a charm!
Final Thoughts
So there you have it, folks! Your new go-to, no-fuss, incredibly delicious Banana Bread Bundt Cake recipe. You’ve officially conquered those sad, spotty bananas and turned them into a show-stopping dessert (or breakfast, no judgment). It’s easy, it’s impressive, and it tastes like a warm hug. Now go forth and impress your friends, family, or just yourself with your newfound culinary prowess. You’ve earned that extra slice. Enjoy!
Happy baking!
