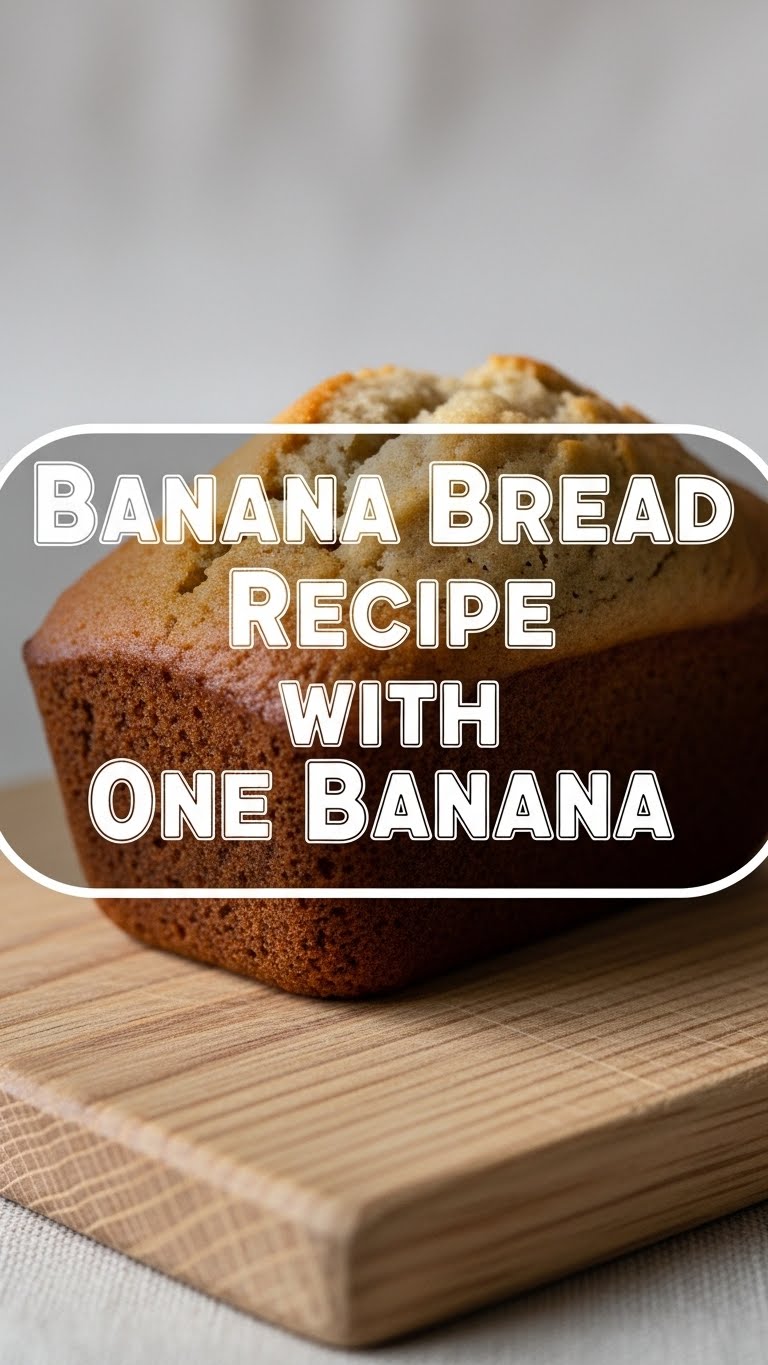
So you’ve got that *one* lonely, spotty banana eyeing you from the fruit bowl, practically begging for a purpose. And you, my friend, are craving something warm, comforting, and utterly delicious. But, let’s be real, you’re not about to start a whole baking marathon. Good news: this one-banana wonder is about to become your new best friend. It’s quick, it’s simple, and it uses up that single sad banana perfectly. No big fuss, just big flavor!
Why This Recipe is Awesome
This isn’t your grandma’s “bake-all-day-and-feed-the-entire-neighborhood” banana bread. Nope. This is minimal effort, maximum reward banana bread. It’s designed for those moments when you just need a little something, or maybe you only *have* one banana (don’t judge, we’ve all been there). Plus, it’s basically idiot-proof. Seriously, if I can do it without setting off the smoke alarm, you totally got this. It’s perfect for a small loaf, a few muffins, or even a mini cake if you’re feeling fancy.
Ingredients You’ll Need
(For a small loaf or 4-6 muffins)
- 1 ripe banana: The spottier, the better! We’re talking brown spots, not green ones. This is the star of the show, obviously.
- 1/2 cup all-purpose flour: The basic stuff. Nothing fancy.
- 1/4 cup granulated sugar: Sweetness factor. Adjust if your banana is practically syrup already.
- 2 tablespoons melted unsalted butter: Because butter makes everything better, duh. Or oil if you’re a rebel.
- 1 small egg: Helps bind it all together. Gives it structure!
- 1/2 teaspoon baking soda: Our leavening agent. Makes it fluffy, not flat.
- 1/4 teaspoon salt: Balances the sweetness and actually makes everything taste *more* like banana. Trust me on this.
- 1/2 teaspoon vanilla extract (optional but recommended): A little splash of magic.
Step-by-Step Instructions
- Preheat Your Oven: Set it to 350°F (175°C). Grease a small loaf pan (around 5×3 inches) or line 4-6 muffin cups. Don’t skip the greasing part, unless you want your banana bread to become one with the pan.
- Mash the Banana: In a medium bowl, mash that ripe banana until it’s mostly smooth. A few lumps are totally fine; adds character, right?
- Wet Ingredients First: Stir in the melted butter, egg, and vanilla extract (if using) with the mashed banana. Mix well until everything looks happy and combined.
- Dry Ingredients Next: In a separate, smaller bowl, whisk together the flour, sugar, baking soda, and salt. This ensures even distribution, so you don’t end up with a pocket of salt.
- Combine Gently: Pour the dry ingredients into the wet ingredients. Mix just until combined. Seriously, overmixing is the enemy here. A few streaks of flour? Totally okay.
- Pour and Bake: Spoon the batter into your prepared pan or muffin cups.
- Bake Time: Bake for 25-30 minutes for muffins or 30-35 minutes for a small loaf. You’ll know it’s done when a toothpick inserted into the center comes out clean.
- Cool Down: Let it cool in the pan for about 5-10 minutes before transferring it to a wire rack to cool completely. Patience is a virtue, especially when warm banana bread is involved.
Common Mistakes to Avoid
- Using a green banana: No, no, no. Those stubborn unripe bananas will make your bread bland and sad. Wait for the spots!
- Overmixing the batter: This is a big one. Overmixing develops the gluten too much, leading to tough, chewy bread instead of tender deliciousness. **Mix *just* until the dry ingredients disappear.**
- Not preheating your oven: Thinking you don’t need to preheat the oven? Rookie mistake. Your bread needs that immediate heat to rise properly.
- Opening the oven door constantly: Resist the urge! Every time you open the door, you drop the oven temperature, which can mess with the rise. Peek only when necessary.
- Not greasing the pan: Unless you love scraping baked goods, **always grease your pan!**
Alternatives & Substitutions
- No butter? No problem! You can totally swap the melted butter for an equal amount of vegetable oil (canola, sunflower, or even a light olive oil). The texture might be slightly different, but still delish.
- Chocolate Chip Fan? Throw in 1/4 cup of chocolate chips with the dry ingredients. Because, well, chocolate.
- Nutty for Nuts? A small handful of chopped walnuts or pecans (about 1/4 cup) adds a nice crunch. Again, mix ’em in with the dry stuff.
- Spice it Up: A pinch of cinnamon or nutmeg can elevate the flavor profile. IMO, cinnamon is almost mandatory with banana bread.
- Small Loaf Pan Blues? If you don’t have a tiny loaf pan, make muffins instead! Or use a ramekin for a single-serving “mug cake” vibe. Adjust baking time accordingly.
FAQ (Frequently Asked Questions)
- My banana isn’t super ripe, can I still use it? Technically yes, but your banana bread won’t have that deep, sweet banana flavor. For best results, **wait for those brown spots!**
- Can I use margarine instead of butter? Well, technically yes, but why hurt your soul like that? Butter just tastes better. If you must, use margarine, but don’t say I didn’t warn you.
- How long does this tiny loaf last? Probably not long enough! But seriously, it’s best enjoyed within 2-3 days at room temperature, or up to a week in the fridge. It also freezes well!
- Can I double the recipe? Absolutely! If you suddenly find yourself with *two* ripe bananas, just double all the ingredients and use a standard loaf pan. Adjust baking time as needed (likely 45-55 minutes).
- Why is my banana bread tough? Ah, classic overmixing! Remember, **mix *just* until the flour disappears.** A few lumps are fine!
- Do I have to add vanilla? No, it’s optional. But vanilla extract really enhances the flavor of the banana and adds a lovely aroma. Highly recommended!
Final Thoughts
See? That wasn’t so scary, was it? You just turned one lonely banana into a glorious, warm, and utterly satisfying treat. You’re practically a culinary wizard now! So go ahead, grab a slice (or a muffin, or two!), pat yourself on the back, and enjoy your hard-earned (but not really) deliciousness. Now go impress someone—or yourself—with your new culinary skills. You’ve earned it!

