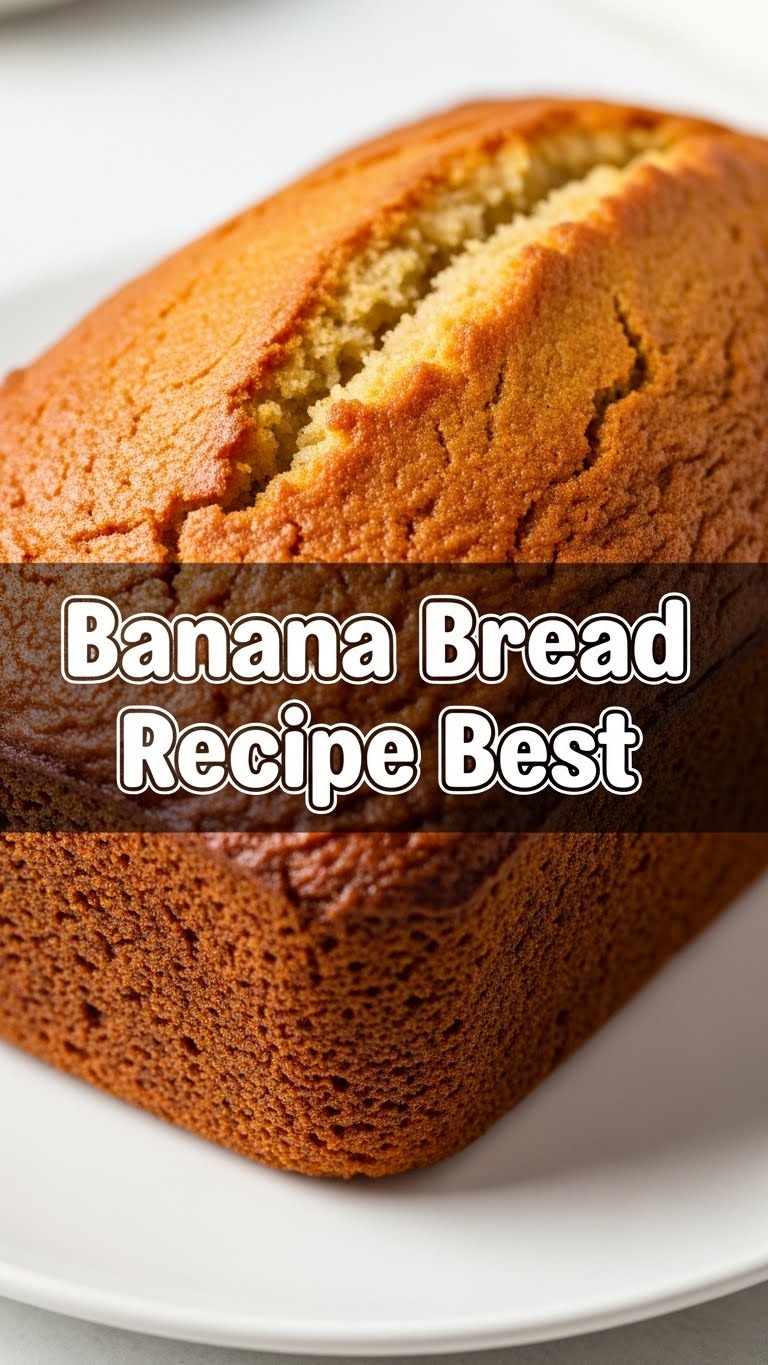
So you’re staring at those sad, spotty bananas on your counter, aren’t you? The ones that have seen better, yellower days and are now screaming, “Bake me! BEFORE IT’S TOO LATE!” Don’t even THINK about tossing them. We’re about to turn that forgotten fruit into pure, unadulterated comfort in loaf form. And no, you absolutely do not need to be a Michelin-star chef. If you can mash with a fork, you can make this. Let’s do this!
Why This Recipe is Awesome
Okay, first things first: why THIS banana bread recipe? Because it’s ridiculously easy. Seriously. It’s the kind of recipe that makes you look like a baking wizard without actually needing any wizarding skills. It uses up those overripe bananas (hello, no food waste guilt!), makes your entire house smell like a warm hug, and tastes so good you’ll wonder why you ever bought it from a bakery. It’s basically a warm, comforting hug in bread form. It’s also incredibly forgiving, so even if you’re a bit distracted (like me, always), it’ll still turn out amazing. IMO, that’s a win-win-win.
Ingredients You’ll Need
Gather ’round, my fellow lazy-gourmets! Here’s what you’ll need to create this masterpiece. Don’t worry, it’s nothing crazy.
- Overripe Bananas (3-4 medium): The browner, the better! We’re talking full-on leopard print, maybe even a little black. The uglier, the sweeter, trust me.
- All-Purpose Flour (1 ½ cups): The regular stuff. No need for fancy organic spelt flour unless you’re trying to impress someone with a glossary.
- Granulated Sugar (¾ cup): Sweetness is key! You’re not on a diet today, are you?
- Butter (½ cup / 1 stick, unsalted, melted): Adds that rich, buttery goodness. Melt it, baby!
- Egg (1 large): The binder. Our little glue guy, holding it all together.
- Baking Soda (1 teaspoon): Helps it rise and get that fluffy texture. Science!
- Salt (½ teaspoon): Balances everything out. Don’t skip it; it makes a huge difference.
- Vanilla Extract (1 teaspoon): Optional, but seriously, why would you skip it? It’s like a warm vanilla hug for your tastebuds.
- Optional additions: Chocolate chips, chopped walnuts, or pecans (for the fancy folks).
Step-by-Step Instructions
Alright, let’s get down to business. Follow these super simple steps, and you’ll be a banana bread pro in no time!
- Preheat & Prep: Get that oven fired up to 350°F (175°C). While it’s heating, lightly grease a 9×5 inch loaf pan. Line it with parchment paper if you’re feeling extra fancy and want an easy liftoff.
- Mash ‘Em Up: In a large bowl, grab a fork and go to town on those overripe bananas. Mash ’em good! Leave a few small lumps for texture because who likes perfectly smooth banana goo?
- Wet Ingredients Party: To your mashed bananas, add the melted butter, sugar, egg, and vanilla extract (if you remembered it, you smart cookie!). Stir it all together until just combined. Don’t overdo it; we’re not making soufflé.
- Dry Ingredients Dance: In a separate, medium-sized bowl, whisk together the flour, baking soda, and salt. Give it a good swirl to distribute everything evenly.
- Combine Forces: Now, add the dry ingredients to the wet ingredients. **Mix *just* until there are no streaks of flour visible.** Seriously, overmixing is the enemy of tender banana bread! This is also the perfect moment to fold in any chocolate chips or nuts if you’re feeling adventurous.
- Into the Pan: Pour your glorious batter into the prepared loaf pan. Give it a gentle tap or two on the counter to settle everything.
- Bake It Up: Pop it into the preheated oven for 50-60 minutes. How do you know it’s done? When a toothpick inserted into the center comes out clean (or with a few moist crumbs, but definitely no wet batter).
- Cool Down: The hardest part! Let it cool in the pan for about 10 minutes before transferring it to a wire rack to cool completely. Patience, my friend, is a virtue… especially when it comes to not burning your mouth.
Common Mistakes to Avoid
We’ve all been there. Learning from mistakes is part of the fun! Here are some banana bread blunders to steer clear of:
- Using yellow bananas: No, no, no. Those are for eating raw. We want *brown* bananas. The browner, the better. It’s where all the flavor and natural sweetness lives. **Trust me on this.**
- Overmixing the batter: This is a biggie. If you mix too much, you’ll end up with tough, dense bread instead of light, fluffy goodness. Mix until *just* combined, then stop!
- Not preheating the oven: Rookie mistake! Your bread needs a hot oven to rise properly and achieve that perfect texture. FYI, it’s worth the wait.
- Cutting into it too soon: I know the smell is intoxicating, but give it a moment to set up after baking. Otherwise, it might crumble and you’ll have delicious but messy bread.
- Forgetting the salt: It really does make a difference in balancing the sweetness and enhancing all the flavors. Don’t skip it!
Alternatives & Substitutions
Feeling creative? Or just missing an ingredient? No worries, we’ve got options!
- Butter: If you’re out of butter, vegetable oil or melted coconut oil can totally work in a pinch. The flavor will be slightly different, but still delish!
- Sugar: Brown sugar can replace granulated sugar for a deeper, more molasses-y flavor. You can also slightly reduce the sugar if your bananas are exceptionally ripe (they’re super sweet!).
- Mix-ins: Go wild! Chocolate chips (dark, milk, white – whatever your heart desires!), chopped nuts (walnuts, pecans), shredded coconut, a sprinkle of cinnamon, or even a dash of nutmeg. Get creative!
- Gluten-Free: Swap out the all-purpose flour for a 1:1 gluten-free baking blend. Easy peasy.
FAQ (Frequently Asked Questions)
Got questions? I’ve got casual, friendly answers!
- “My bananas aren’t ripe enough! What do I do?” Oh, the eternal struggle! You can roast them in their skins on a baking sheet at 300°F (150°C) for 15-20 minutes until they’re black and squishy. Instant ripeness, almost!
- “Can I use frozen bananas?” Absolutely! Just thaw them first, and don’t be alarmed by the liquid that comes out – it’s normal. Mash ’em up and use them as usual.
- “How do I store banana bread?” Cover it tightly in plastic wrap or foil, or pop it in an airtight container at room temp for up to 3 days. In the fridge, it lasts a bit longer (up to a week).
- “Can I freeze it?” Heck yes! Wrap individual slices or the whole loaf tightly (double-wrap for extra protection) and freeze for up to 3 months. Thaw on the counter or give it a quick zap in the microwave.
- “It came out dense/dry! What went wrong?” Likely culprits: overmixing the batter (leading to tough gluten development) or using too much flour (measure by weight if you can, or spoon and level your flour). Also, ensure your baking soda isn’t expired!
- “Is this healthy?” Healthy-ish? It has fruit! And, it’s homemade, so you know exactly what’s in it. Everything in moderation, right? *Wink*.
Final Thoughts
There you have it, future banana bread maestro! You just transformed some humble, forgotten fruit into a magnificent, aromatic masterpiece. Seriously, pat yourself on the back. This isn’t just a recipe; it’s a mood-booster, a house-smeller, and a guaranteed crowd-pleaser (if you decide to share, that is). Now go forth and spread the banana bread love – or just hoard it all for yourself. No judgment here. You’ve earned it!

