So you’re staring at those spotty, almost-black bananas on your counter, wondering if they’ve gone rogue or just really, *really* want to be banana bread? Good news: they’re not staging a coup. They’re basically screaming, “Bake us! We’re perfect!” And honestly, who are we to deny such a plea?
If you’re craving something comforting, smells like pure happiness, and is shockingly easy to whip up (even if you occasionally burn toast), you’ve come to the right place. Grab your apron (or don’t, we’re not judging), because we’re about to make some seriously delicious banana bread for your trusty 9×5 pan. Let’s do this!
Why This Recipe is Awesome
Okay, first things first: why *this* banana bread recipe? Because it’s literally a hug in loaf form. It’s moist, flavorful, and incredibly forgiving. Seriously, it’s so foolproof, even your cat could probably supervise and give an approving purr. We’re talking minimal effort, maximum deliciousness, and a kitchen that smells like a bakery exploded (in the best way possible, obviously).
No fancy equipment needed, no bizarre steps that make you question your life choices. Just simple ingredients and a straightforward process that delivers a consistently amazing result. Plus, it’s a brilliant way to use up those bananas that are past their prime, saving them from the dreaded trash can. You’re basically an eco-hero now, FYI.
Ingredients You’ll Need
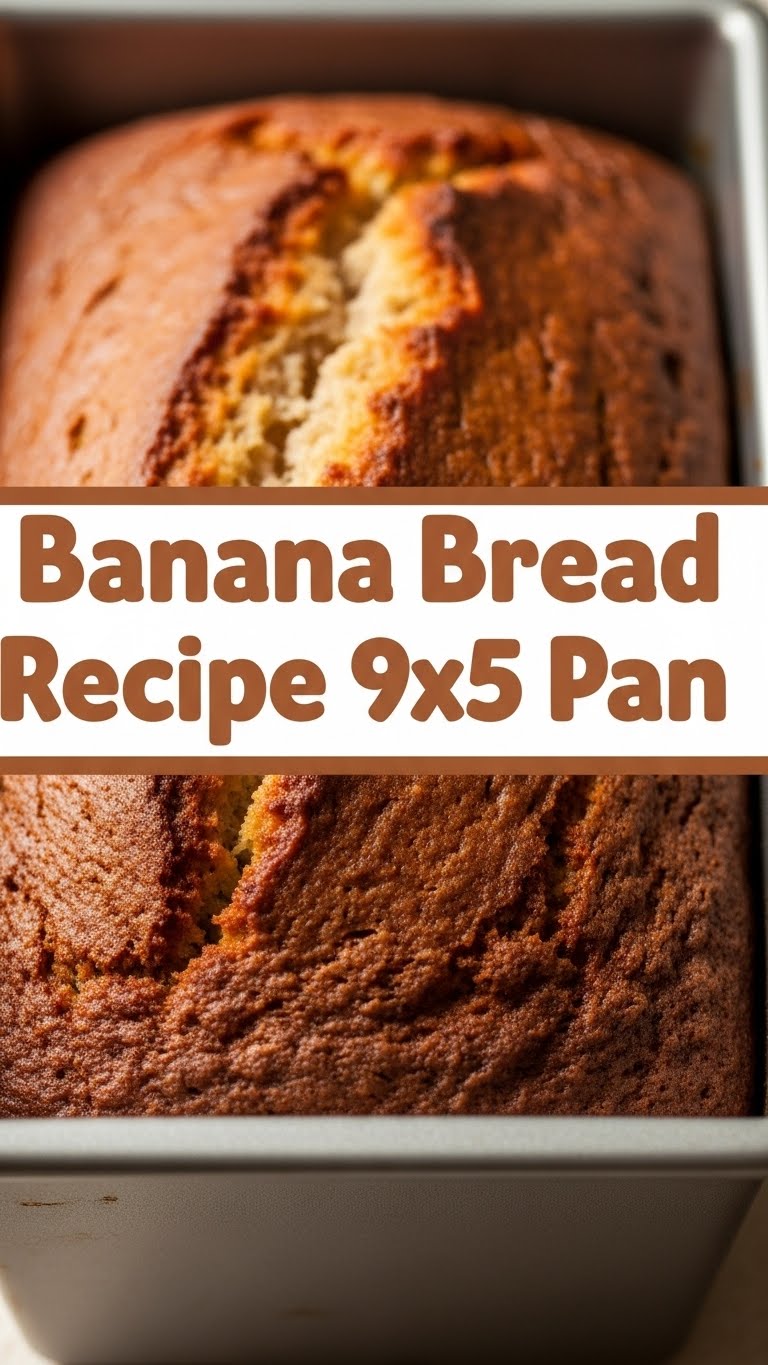
Time to gather your edible treasures! Here’s what you’ll need for one glorious 9×5 loaf:
- 3-4 ripe bananas (the spottier, the better! Like, almost black, we want ’em sweet and mushy)
- 1/2 cup (113g) unsalted butter, melted (or slightly cooled brown butter if you’re feeling fancy AF)
- 1 cup (200g) granulated sugar (or brown sugar for a richer, caramelly vibe)
- 1 large egg, lightly beaten
- 1 teaspoon vanilla extract (optional, but highly recommended for that “chef’s kiss” flavor)
- 1 1/2 cups (190g) all-purpose flour
- 1 teaspoon baking soda (our lift-off specialist!)
- 1/2 teaspoon salt (just a pinch to make everything pop)
- Optional mix-ins: 1/2 cup chocolate chips, chopped walnuts, pecans, or whatever makes your heart sing.
Step-by-Step Instructions
Let’s get baking! These steps are so easy, you could probably do them in your sleep.
- Preheat and Prep: Get your oven heated to 350°F (175°C). Lightly grease and flour your 9×5 inch loaf pan. Or, if you’re like me and love shortcuts, line it with parchment paper with an overhang for easy lifting!
- Mash the Bananas: In a medium bowl, mash those ripe bananas with a fork until they’re mostly smooth but still have a few small lumps. Embrace the lumps!
- Whisk the Wet Stuff: Add the melted butter, sugar, beaten egg, and vanilla extract to the mashed bananas. Stir it all together until it’s just combined. Don’t go crazy here; we’re not making meringue.
- Combine the Dry Stuff: In a separate, larger bowl, whisk together the flour, baking soda, and salt. Give it a good whisk to get rid of any lumps and distribute the baking soda evenly.
- Mix ‘Em Up (Gently!): Pour the banana mixture into the dry ingredients. Stir with a spatula or wooden spoon just until *just* combined. A few streaks of flour are totally fine! Do NOT overmix! Overmixing is the enemy of moist banana bread, trust me on this. If adding mix-ins, fold them in now.
- Pan Time: Pour the glorious batter into your prepared loaf pan. Give the pan a gentle tap on the counter to settle the batter.
- Bake It Baby: Pop the pan into your preheated oven and bake for 50-65 minutes. How do you know when it’s done? A toothpick inserted into the center should come out clean, or with just a few moist crumbs attached. If the top starts browning too much, you can loosely tent it with foil.
- Cool Down: Once baked, let the bread cool in the pan for about 10-15 minutes. Then, carefully lift it out (especially easy if you used parchment paper!) and transfer it to a wire rack to cool completely. Or, you know, eat a slice while it’s still warm. Your house, your rules.
Common Mistakes to Avoid
Listen, we all make mistakes. It’s how we learn… or how we end up with dense, sad banana bread. Let’s try to avoid the latter, shall we?
- Underripe Bananas: Trying to make banana bread with yellow or slightly green bananas is like trying to party without music. It’ll be bland and disappointing. Wait for those spots!
- Overmixing the Batter: This is the cardinal sin of quick breads. Once you add the wet to the dry, stir *just* until combined. Lumpy is good here. Overmixing develops the gluten too much, leading to a tough, dry loaf. Don’t be that person.
- Not Greasing Your Pan (Properly): Thinking you can skip this step? Rookie mistake! Unless you use parchment paper, your beautiful loaf might stage a permanent sit-in in the pan. Grease and flour, or parchment it up.
- Opening the Oven Door Too Early: Resist the urge to peek during the first 40 minutes of baking! Sudden temperature changes can make your bread sink. Patience, young padawan.
Alternatives & Substitutions
Feeling a little adventurous? Or maybe you’re just out of one ingredient? No worries, we’ve got options!
- Butter Swaps: Instead of unsalted butter, you can totally use melted coconut oil for a slightly different flavor profile, or even a neutral oil like vegetable oil. Just make sure it’s melted for proper mixing.
- Sugar Power: Swap out half or all of the granulated sugar for brown sugar for a deeper, more molasses-y flavor. Maple syrup or honey can also work, but might change the texture slightly.
- Flour Power: Want to boost the nutrition? Substitute up to half of the all-purpose flour with whole wheat flour. It’ll be a bit denser but still yummy.
- Spice It Up: Add 1/2 teaspoon of cinnamon and a pinch of nutmeg to the dry ingredients for a warm, spicy kick. It’s like a cozy blanket for your taste buds.
- Mix-in Mania: Beyond chocolate chips and nuts, try shredded coconut, dried cranberries, or even a swirl of cream cheese frosting on top (after baking, obviously!).
FAQ (Frequently Asked Questions)
Got questions? We’ve got quick, snappy answers, because life’s too short for complicated explanations.
- My bananas aren’t ripe enough! Can I still make this? Technically yes, but your bread won’t be as sweet or moist. Pro tip: You can speed up ripening by baking unpeeled bananas on a baking sheet at 300°F (150°C) for 15-30 minutes until they’re black. Or, put them in a paper bag with an apple overnight!
- Can I use margarine instead of butter? Well, technically yes, but why hurt your soul like that? Butter just tastes better, IMO. If you must, use it, but expect a slight difference in flavor and texture.
- How long does this banana bread last? At room temperature, tightly wrapped, it’s good for 3-4 days. In the fridge, it’ll last up to a week. For longer storage, slice and freeze individual pieces for up to 3 months. Just thaw and microwave for a warm treat!
- Can I make muffins instead of a loaf? Absolutely! Just divide the batter into a greased muffin tin (fills about 12-18 muffins) and bake for 20-25 minutes, or until a toothpick comes out clean.
- Why is my banana bread dry and crumbly? Most likely culprits: overmixing the batter (developing too much gluten) or overbaking. Keep an eye on that baking time and remember, a few moist crumbs on the toothpick are okay!
- Can I reduce the sugar? You can, but it might affect the moisture and texture a bit. Start by reducing by 1/4 cup and see how you like it. The bananas provide natural sweetness, so it won’t be bland, just less sweet.
Final Thoughts
So there you have it, superstar! You’re now equipped with the knowledge (and hopefully the motivation) to conquer those overripe bananas and turn them into pure gold. This isn’t just a recipe; it’s a license to bake deliciousness and fill your home with the kind of aroma that makes people wander into your kitchen uninvited (you’ve been warned!).
Now go impress someone—or yourself—with your new culinary skills. You’ve earned it! Grab a slice, maybe a cup of coffee, and pat yourself on the back. You just made the world a little bit sweeter. Happy baking!
