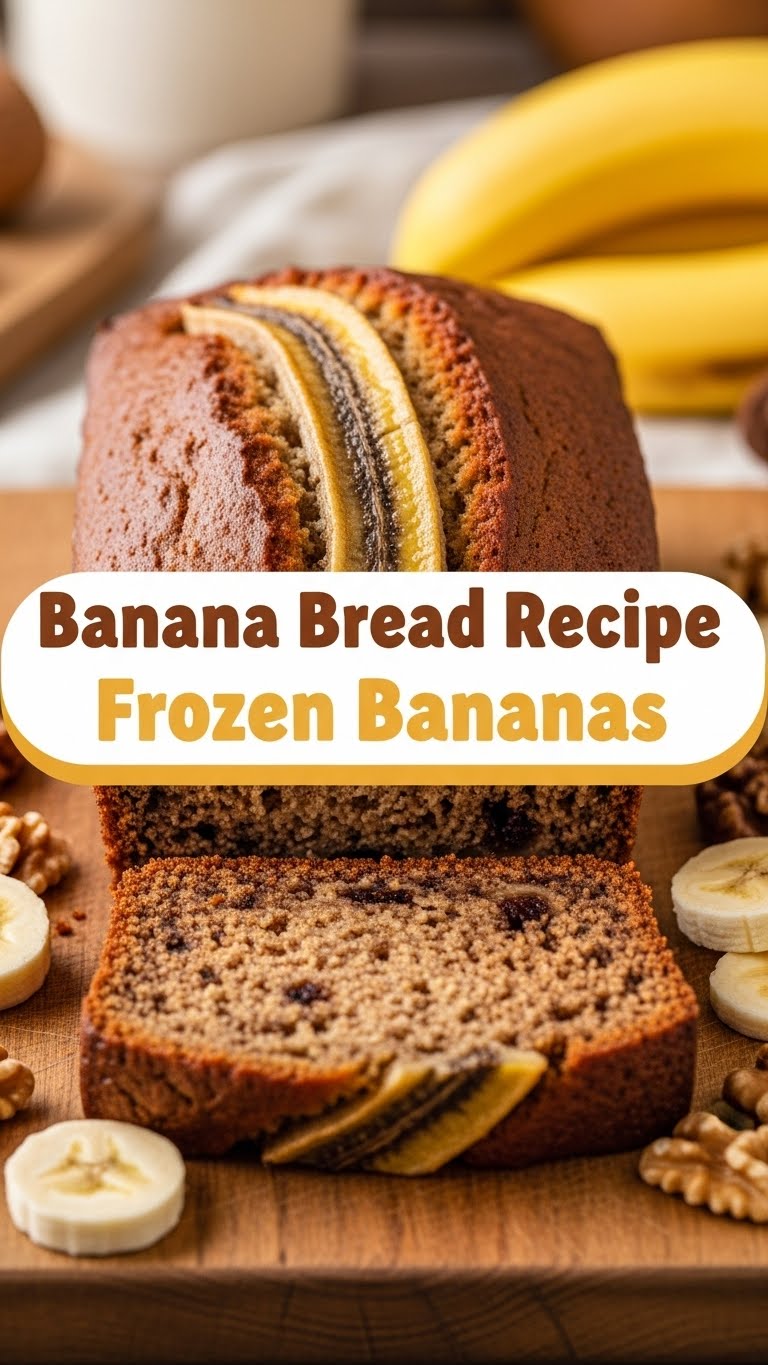
So you’re craving something warm, comforting, and seriously delicious, but your banana situation is… well, *frozen*? And let’s be real, who actually remembers to take them out of the freezer in time? Not me, that’s for sure. But guess what, my culinary comrade? Those icy, forgotten bananas are about to become the star of your next kitchen masterpiece: the ultimate **Banana Bread from Frozen Bananas**. No more waiting for nature to take its sweet, slow course. We’re doing this, and we’re doing it now!
Why This Recipe is Awesome
Okay, first off, it uses up those sad, rock-hard bananas taking up prime real estate in your freezer. You know the ones – they’ve been there since last Tuesday, or was it last month? Who cares! This recipe is basically a superhero for food waste. Secondly, it’s pretty much **idiot-proof**. Seriously, if I can nail it after a long week, anyone can. It’s got that perfect moist crumb, that sweet banana flavor, and it fills your whole house with a scent that says, “I’ve got my life together!” (Even if you definitely don’t). Plus, **no more waiting for bananas to ripen on the counter** for what feels like an eternity. We just go straight from frosty to fabulous. You’re welcome.
Ingredients You’ll Need
Time to gather your weapons of mass deliciousness. Don’t worry, it’s mostly stuff you already have lurking around.
- **3-4 overly ripe (or previously ripe and now frozen) medium bananas:** The darker, the better, even if they’re black from freezer burn. Those are flavor bombs!
- **1/2 cup (113g) unsalted butter:** Melted, please. Because everything’s better with butter. If you only have salted, just reduce the added salt a smidge.
- **1 cup (200g) granulated sugar:** Or 3/4 cup if you don’t have a sweet tooth like a hummingbird.
- **1 large egg:** Room temp if you’re feeling fancy and organized, but straight from the fridge works too. Don’t stress.
- **1 teaspoon vanilla extract:** The good stuff. It makes all the difference, IMO.
- **1 1/2 cups (190g) all-purpose flour:** No need for anything complicated here.
- **1 teaspoon baking soda:** Our leavening friend. Don’t skip it unless you want a banana brick.
- **1/2 teaspoon salt:** Just to balance all that sweetness.
- **Optional add-ins:** 1/2 cup chocolate chips, chopped walnuts, pecans, or a sprinkle of cinnamon. Go wild!
Step-by-Step Instructions
Alright, apron on (or don’t, I won’t tell), let’s get baking!
- **Preheat Your Oven & Prep Your Pan:** First things first, get that oven to **350°F (175°C)**. Then grease and flour a 9×5 inch loaf pan. Or, if you’re lazy like me, just use baking spray.
- **Banana Thaw & Mash Extravaganza:** Take your frozen bananas out. If they’re peeled, awesome. If not, run them under warm water for a few seconds until the peel slips off easily. Now, here’s the magic: **microwave them for 2-3 minutes** until they’re super soft and mushy. You can also let them thaw on the counter for a couple of hours, but who has time for that? Drain off any excess liquid before mashing them thoroughly in a medium bowl.
- **Wet Ingredients Party:** In a large bowl, whisk together the melted butter and granulated sugar until combined. Crack in the egg and add the vanilla extract. Whisk until everything is smoothly incorporated and looks like a happy, golden mixture.
- **Combine the Bananas:** Pour your mashed bananas into the wet ingredients bowl. Stir it all together until it’s just combined. Don’t overmix, we’re not trying to make a smoothie here.
- **Dry Ingredients Join the Fun:** In a separate medium bowl, whisk together the flour, baking soda, and salt. This ensures everything is evenly distributed.
- **Marry Wet and Dry:** Gradually add the dry ingredients to the wet ingredients, mixing until just combined. **Do not overmix!** A few lumps are totally fine and actually preferred for a tender crumb. If you’re adding chocolate chips or nuts, fold them in now.
- **Pan It Up & Bake:** Pour the batter into your prepared loaf pan. Pop it into the preheated oven and bake for **50-65 minutes**, or until a wooden skewer or toothpick inserted into the center comes out clean. If the top starts browning too quickly, you can loosely tent it with foil.
- **Cool Down & Devour:** Once baked, let the banana bread cool in the pan for about 10-15 minutes before carefully turning it out onto a wire rack to cool completely. (Or, if you’re impatient like me, slice into it while it’s still warm. No judgment here.)
Common Mistakes to Avoid
Listen up, buttercup, because these little oopsies can ruin your banana bread dreams:
- **Not Thawing Your Bananas Properly:** Thinking you can just throw those frozen bricks in? Rookie mistake. **You MUST thaw and mash them**; otherwise, your bread will be unevenly cooked and sad.
- **Overmixing the Batter:** We’re making bread, not playdough! Overmixing develops gluten, leading to a tough, dense loaf. Mix until *just* combined. Lumps are your friends!
- **Ignoring the Oven Temp:** Thinking you don’t need to preheat? That’s a one-way ticket to uneven baking and disappointment. Give your oven time to get to temp!
- **Cutting It Too Soon:** I know, the smell is intoxicating. But giving it a few minutes to set in the pan before cooling on a rack really does help with structure. Patience, grasshopper.
- **Forgetting the Salt:** Seriously, don’t. Salt isn’t just for savory dishes; it really helps enhance the sweetness and flavor profile here.
Alternatives & Substitutions
Feeling adventurous? Or just realized you’re missing something? No worries, we can totally improvise!
- **No Butter? No Problem:** You can swap melted butter for 1/2 cup of any neutral oil (like vegetable or canola oil), or even unsweetened applesauce for a slightly lighter loaf.
- **Sugar Swap:** Brown sugar can replace granulated sugar for a deeper, more caramel-y flavor. Maple syrup or honey *could* work, but you might need to adjust other liquids slightly. Stick to granulated or brown for easiest results.
- **Gluten-Free Gang:** A 1:1 gluten-free flour blend works great in this recipe! Just make sure it includes xanthan gum.
- **Spice It Up:** Add 1/2 teaspoon of cinnamon or a pinch of nutmeg for an extra layer of warmth. Cardamom is also surprisingly good in banana bread!
- **Vegan Vibes:** Use a flax egg (1 tbsp ground flaxseed + 3 tbsp water, let sit for 5 mins) instead of a regular egg, and use a plant-based butter or oil. Easy peasy!
FAQ (Frequently Asked Questions)
- **”Can I use less sugar?”** Well, technically yes, but why hurt your soul like that? You can reduce it to 3/4 cup, but any less and you might miss that signature banana bread sweetness.
- **”My bananas aren’t super ripe, even after thawing. Can I still use them?”** You *can*, but your banana bread won’t have that intense, sweet banana flavor. The riper (and mushier) the banana, the better the bread!
- **”How long does it keep?”** On your counter, tightly wrapped, about 3-4 days. In the fridge, maybe a week. But honestly, it rarely lasts that long in my house.
- **”Can I freeze the baked banana bread?”** Absolutely! Wrap slices or the whole loaf tightly in plastic wrap, then foil. It’ll keep for up to 3 months. Just thaw at room temperature.
- **”What’s the best way to thaw frozen bananas?”** The microwave method (2-3 mins until soft) is the quickest. You can also pop them in a bowl in the fridge overnight, or at room temperature for a few hours. Just **don’t forget to drain any excess liquid** after thawing!
- **”My banana bread is dry! What went wrong?”** Two main culprits: too much flour (always spoon and level, don’t scoop directly from the bag) or overmixing. Keep that batter light!
Final Thoughts
And there you have it, folks! Your new go-to recipe for when you’ve got those sad, forgotten frozen bananas staring at you from the freezer. This isn’t just banana bread; it’s a testament to your resourcefulness, your ability to turn humble ingredients into pure joy, and your sheer refusal to let good bananas go to waste. Now go impress someone—or yourself, which is arguably more important—with your new culinary skills. You’ve earned it! Seriously, go make some tea, grab a slice (or two), and bask in the glory of your banana-y triumph. Happy baking!

