So you’re staring at those spotty bananas, feeling guilty about throwing them away, and suddenly a lightbulb goes off: banana bread! You’re thinking, “Can I *actually* bake something this delicious without setting off the smoke detector?” Absolutely, my friend. Let’s make some magic and turn those sad-looking fruits into a slice of pure joy!
Why This Recipe is Awesome
Okay, first off, it’s virtually **idiot-proof**. Seriously, if I can whip this up without a major kitchen catastrophe, you can too. It’s the kind of recipe that makes you look like a culinary genius with minimal effort. Plus, your kitchen will smell like a warm hug, and who doesn’t want that? It’s the perfect excuse to turn on some tunes, maybe a cheesy baking show, and pretend you’re a contestant – minus the actual pressure, of course!
Ingredients You’ll Need
- **Ripe Bananas (3-4 medium, spotted is key!)**: The uglier, the better. These are the unsung heroes of flavor. Don’t even *think* about using yellow bananas.
- **All-Purpose Flour (1 ½ cups)**: Your basic baking BFF.
- **Granulated Sugar (½ cup)**: Just enough sweetness to balance the banana goodness.
- **Egg (1 large)**: The binder that holds all your dreams (and bread) together.
- **Melted Butter (½ cup, unsalted)**: Because everything is better with butter. *Alternatively, use a neutral oil if you’re feeling wild, but butter is superior, IMO.*
- **Baking Soda (1 teaspoon)**: The magic poof-maker.
- **Salt (½ teaspoon)**: Enhances all the flavors, don’t skip this tiny but mighty ingredient!
- **Vanilla Extract (1 teaspoon)**: A little hug of warmth and depth.
- **Optional Mix-ins (½ cup)**: Chocolate chips (duh!), chopped walnuts/pecans, a dash of cinnamon, whatever your heart desires.
Step-by-Step Instructions
- **Prep the battlefield:** Preheat your oven to **350°F (175°C)**. Grease and flour a 9×5 inch loaf pan. Don’t skip this step, unless you want your bread to become one with the pan permanently.
- **Mash ’em up:** In a large bowl, grab those spotty bananas and mash them with a fork until they’re chunky but not completely pureed. A few lumps are totally fine – they add character!
- **Wet ingredients party:** Add the melted butter, sugar, beaten egg, and vanilla extract to the mashed bananas. Stir it all together until just combined. We’re not making cement, so no overmixing here!
- **Dry ingredients mingle:** In a separate bowl, whisk together the flour, baking soda, and salt. Make sure they’re well mixed so your bread rises evenly and doesn’t have weird pockets of baking soda.
- **Combine the forces:** Gently fold the dry ingredients into the wet ingredients. Mix **just until no dry streaks remain**. Seriously, stop mixing! Overmixing leads to tough bread, and nobody wants that. If you’re using mix-ins, now’s the time to fold them in.
- **Into the pan:** Pour the glorious batter into your prepared loaf pan. Give it a gentle tap on the counter to settle any air bubbles.
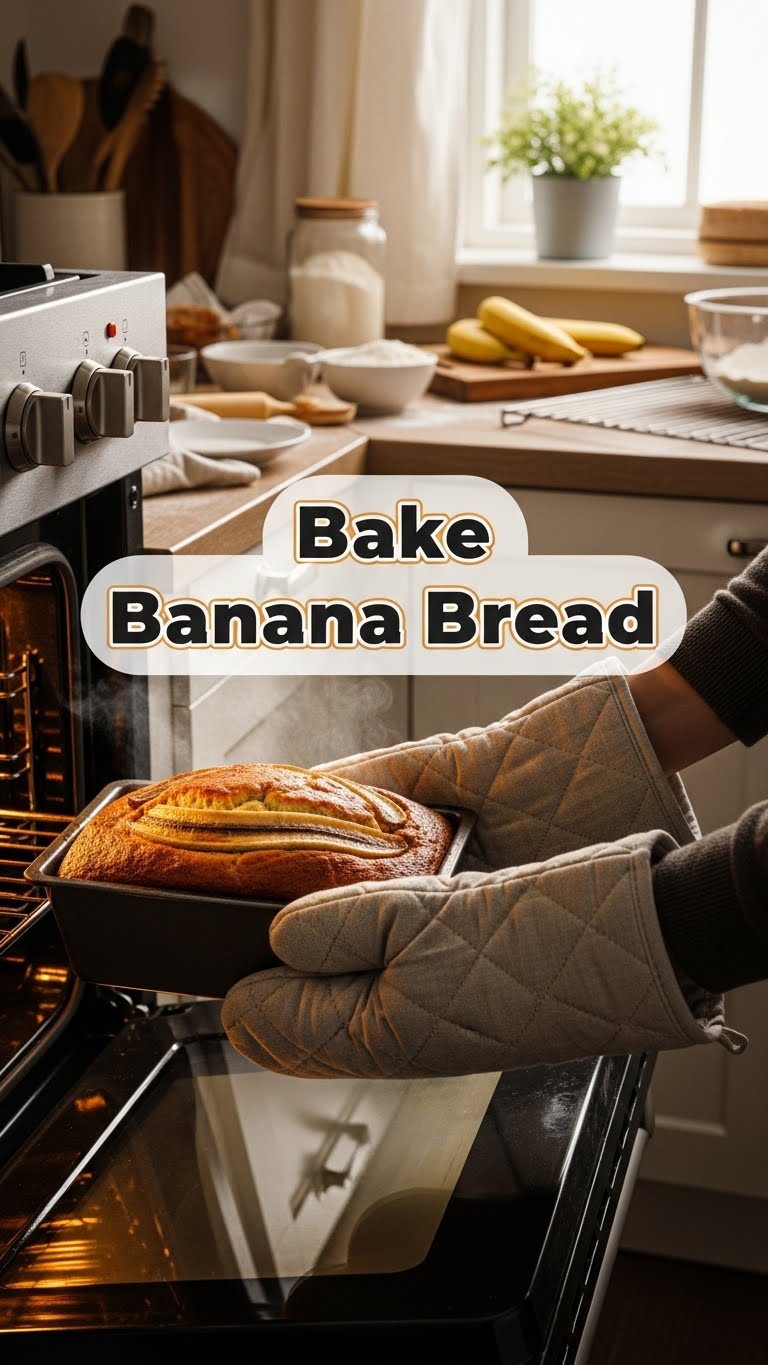
- **Bake it ’til you make it:** Pop it into your preheated oven and bake for **50-60 minutes**, or until a toothpick inserted into the center comes out clean. If it’s looking too brown on top, you can loosely tent it with foil.
- **Cool down:** Let the bread cool in the pan for about 10 minutes. This helps it firm up. Then, carefully transfer it to a wire rack to cool completely. Patience is a virtue, especially when warm banana bread is involved.
Common Mistakes to Avoid
- **Using under-ripe bananas:** This is like showing up to a party with no snacks. The flavor just won’t be there, and neither will the natural sweetness. **Seriously, wait for those spots!**
- **Overmixing the batter:** Remember that cement analogy? Overmixing develops gluten, which makes your bread tough and chewy. We want tender and moist, right? So, mix gently and stop once the dry bits disappear.
- **Not preheating the oven:** Rookie mistake! An un-preheated oven means uneven baking and sad, possibly raw-in-the-middle bread. Give your oven time to get cozy and reach the right temp.
- **Cutting into it too soon:** I know, the temptation is *real*! But letting it cool in the pan and then on a rack helps it set properly. Otherwise, it might crumble, and that’s just heartbreaking.
Alternatives & Substitutions
- **Flour power:** You can totally swap out some all-purpose flour for whole wheat if you’re feeling “healthy” (but why mess with perfection?). Or, if gluten is an issue, a good 1:1 gluten-free baking blend usually works wonders.
- **Sugar switch-up:** Brown sugar can add a deeper, caramel-y note if that’s your jam. You could even reduce the sugar slightly if your bananas are super, super ripe.
- **Butter vs. Oil:** While I’m a butter evangelist, a neutral oil (like canola or vegetable) works fine. It might even make it a touch *more* moist, but you’ll lose that rich, buttery flavor. Your call, rebel.
- **Spice it up:** A pinch of cinnamon, nutmeg, or even a tiny bit of allspice can elevate your banana bread game. Go wild!
- **Add-ins:** Think beyond chocolate chips! Dried cranberries, shredded coconut, or even a swirl of nut butter before baking. The world is your banana bread oyster.
FAQ (Frequently Asked Questions)
- **Can I use frozen bananas?** Absolutely! Thaw them completely, drain any excess liquid (don’t skip this, FYI!), and mash away. They’ll be extra soft and sweet.
- **My bananas aren’t ripe enough, help!** No worries! You can bake them (with the peel on) at 300°F (150°C) for 15-20 minutes until they’re black and soft. Or, pop them in a paper bag with an apple overnight – the apple releases ethylene gas, which ripens fruit faster. Science!
- **How long does banana bread last?** On the counter, tightly wrapped, about 3-4 days. In the fridge, up to a week. In *my* house? About 3-4 *hours*. Seriously, it disappears.
- **Can I make muffins instead?** Yes! Pour the batter into a muffin tin (fill about two-thirds full) and bake for 20-25 minutes, or until a toothpick comes out clean. Hello, mini banana breads!
- **It’s too dry/crumbly! What went wrong?** Probably overmixing the batter or baking it too long. **Remember, gentle hands and keen eyes are your friends!**
- **Why is my banana bread sunken in the middle?** Could be too much leavening (baking soda), opening the oven door too early, or sometimes just an unpredictable oven. Don’t sweat it too much, it’ll still taste amazing!
Final Thoughts
And there you have it! You just conquered banana bread, you magnificent baker, you. Pat yourself on the back, grab a slice (or three), and bask in the glory of your perfectly moist, ridiculously delicious creation. Now go impress someone—or yourself—with your new culinary skills. You’ve earned it! Seriously, go make some tea or coffee and enjoy your masterpiece. You’re basically a professional now. Don’t forget to share… unless you don’t want to, then don’t. No judgment here!


