Short, Catchy Intro
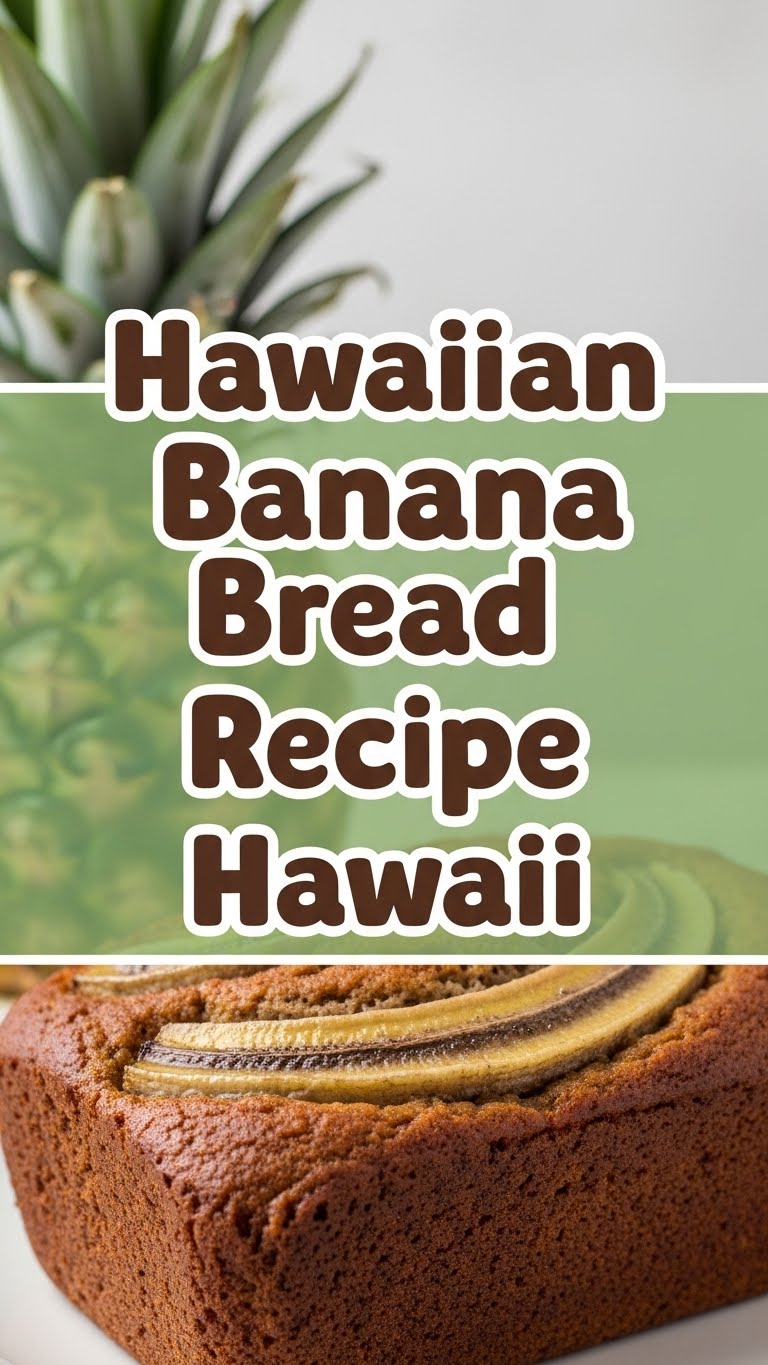
Alright, listen up, buttercup! Ever have those days where you just *need* something warm, sweet, and comforting, but the thought of a complicated recipe makes you want to curl up in a ball and cry? Yeah, me too. But what if I told you we could whisk ourselves away to a sun-drenched Hawaiian beach, banana bread in hand, without even leaving your kitchen? No plane ticket required, just a few ripe bananas and a sprinkle of aloha spirit. Get ready for the easiest, most ridiculously delicious Hawaiian Banana Bread that practically bakes itself. Your taste buds (and your inner beach bum) are gonna thank you!
Why This Recipe is Awesome
Let’s be real, most recipes promise the world and deliver a crumbly mess. Not this one, my friend! This isn’t just *any* banana bread; it’s Hawaiian banana bread, meaning we’ve upped the ante with some tropical goodness. Why is it awesome? Because it’s:
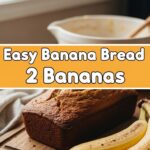
- Stupid-easy: Seriously, if you can mash a banana, you can make this. I’ve seen monkeys do more complicated things.
- Fluffy & Moist: We’re talking melt-in-your-mouth perfection, not some dry, choke-on-it cardboard.
- A Tropical Vacation: One bite and you’re practically hearing ukuleles and feeling sand between your toes. Goodbye, stressful day; hello, paradise!
- Impossible to Mess Up: Okay, maybe not *impossible*, but pretty darn close. Even my perpetually-burnt-toast-making cousin nailed this one. So, you’re good.
Ingredients You’ll Need
Gather ’round your kitchen kingdom, noble baker! Here’s your treasure list. Don’t sweat it if you’re missing one or two things; we’ll get to subs later. For now, try to stick to the script!
- 2-3 Very Ripe Bananas: The browner, the better! We’re talking almost-past-its-prime, looking-a-little-sketchy bananas. Those are your flavor bombs.
- 1/2 cup Unsalted Butter: Melted. Because butter makes everything better, duh.
- 1 tsp Vanilla Extract: The secret hug in every recipe. Don’t skip it!
- 1 Large Egg: Room temp is best, but let’s be honest, who plans that far ahead?
- 1/2 cup Granulated Sugar: Or a smidge more if your bananas are being shy on the sweetness.
- 1 cup All-Purpose Flour: The backbone of our bread-y dreams.
- 1 tsp Baking Soda: Our fluffy-maker. Don’t confuse it with baking powder unless you want a flat sad pancake.
- Pinch of Salt: Just a tiny bit to make all the other flavors sing.
- 1/2 cup Shredded Coconut: Unsweetened is my jam, but sweetened works too if you’ve got a super sweet tooth. Aloha!
- 1/4 cup Chopped Macadamia Nuts: The crunchy, buttery stars of Hawaii. If you can’t find them, don’t panic (see “Alternatives”).
- 1/4 cup Crushed Pineapple (optional): Drained! This is where we go full-on tropical. Fresh or canned, just make sure it’s *well* drained.
Step-by-Step Instructions
Alright, apron on, game face ready! Let’s get baking. Remember, chill out, have fun, and maybe put on some island tunes.
- Preheat & Prep: Crank your oven to 350°F (175°C). Grease and flour a standard loaf pan (9×5 inch works great), or line it with parchment paper for easy removal. Trust me, future you will thank present you for this.
- Mash Those Bananas: In a medium bowl, mash your super ripe bananas with a fork until they’re mostly smooth but still have a few small lumps. We’re not making baby food here!
- Wet Ingredients Whirlwind: Into the mashed bananas, stir in the melted butter, egg, vanilla extract, and sugar. Mix until just combined. Don’t overmix! We’re aiming for moist bread, not tough hockey pucks.
- Dry Mix Magic: In a separate bowl, whisk together the flour, baking soda, and salt. Make sure there are no lumps—nobody likes a surprise clump of baking soda.
- Combine Gently: Add the dry ingredients to the wet ingredients. Fold them together gently with a spatula until *just* combined. A few streaks of flour are totally fine. Overmixing is the enemy of tender banana bread.
- Tropical Goodies Go In: Now for the fun part! Gently fold in your shredded coconut, chopped macadamia nuts, and drained crushed pineapple (if using). Distribute them evenly.
- Bake It Baby: Pour the batter into your prepared loaf pan. Pop it into the preheated oven and bake for 50-60 minutes.
- Check for Doneness: How do you know it’s done? Stick a toothpick into the center. If it comes out clean or with a few moist crumbs, you’re golden! If it’s still gooey, give it another 5-10 minutes.
- Cool Down: Let your masterpiece cool in the pan for about 10 minutes before turning it out onto a wire rack to cool completely. Or, if you’re like me, slice into it while it’s still warm and gooey. Just don’t burn your tongue!
Common Mistakes to Avoid
Nobody’s perfect, but we can try to avoid these rookie errors. Consider this your friendly (and slightly sarcastic) heads-up!
- Using under-ripe bananas: Seriously? Green bananas are for smoothies, not for epic banana bread. You want brown, spotty, almost-ugly bananas. They’re sweeter and easier to mash.
- Overmixing the batter: This is the cardinal sin of baking. You mix too much, you develop the gluten, and your bread turns into a dense brick. Mix until *just* combined. Period.
- Skipping the grease/parchment paper: Ever had your beautiful creation stick to the pan? It’s soul-crushing. Grease and flour or parchment paper is your BFF.
- Not draining the pineapple: If you’re using pineapple, please, for the love of all that is holy, drain it well! Otherwise, you’ll end up with soggy bread, and nobody wants that.
- Impatience: Peeking every five minutes, pulling it out too early… Baking is an art of patience. Let the oven do its job.
Alternatives & Substitutions
Life happens, ingredients run out. No stress! Here are some swaps and upgrades:
- No Macadamia Nuts? No biggie! Walnuts, pecans, or even a handful of chocolate chips would be delicious. (Though macadamias truly bring that Hawaiian vibe, IMO!)
- No Fresh Pineapple? Canned works perfectly, just remember the draining rule! If you don’t have any, just skip it. Your bread will still be awesome.
- Coconut Shy? If you’re not a fan, you can reduce the amount or skip it entirely. Or swap it for an equal amount of oats for a chewier texture.
- Gluten-Free? You can usually swap out the all-purpose flour for a 1:1 gluten-free baking blend. Just make sure it contains xanthan gum.
- Make it More “Hawaiian”: Add a splash of rum extract or a little grated fresh ginger for an extra tropical kick!
FAQ (Frequently Asked Questions)
- My bananas aren’t ripe enough! What do I do? Patience, young padawan! Or, if you’re in a hurry, you can bake them on a baking sheet at 300°F (150°C) for 15-20 minutes until they’re black and soft. Revolutionary, right?
- Can I use oil instead of butter? Yes, you can! A neutral oil like vegetable or canola oil will work. It might change the flavor slightly, but it will still be moist. But really, butter is just… better.
- How long does this tropical masterpiece last? It’ll stay fresh at room temperature, tightly wrapped, for 2-3 days. In the fridge, it’ll last up to a week. If it lasts that long, you’re showing incredible self-control.
- Can I add other things to it? Absolutely! White chocolate chips, a sprinkle of cinnamon, a dash of nutmeg… just don’t go too wild and overload it.
- Can I make muffins instead of a loaf? You betcha! Reduce the baking time to about 20-25 minutes, or until a toothpick comes out clean. Perfect for grab-and-go treats!
Final Thoughts
See? That wasn’t so scary, was it? You just whipped up a slice of Hawaiian paradise, and you probably didn’t even break a sweat. Now go ahead, pour yourself a coffee (or a piña colada, no judgment here!), slice into that glorious loaf, and bask in the deliciousness you’ve created. You’re basically a professional baker now, so don’t be shy about showing it off. You earned those bragging rights! Enjoy every single bite!

