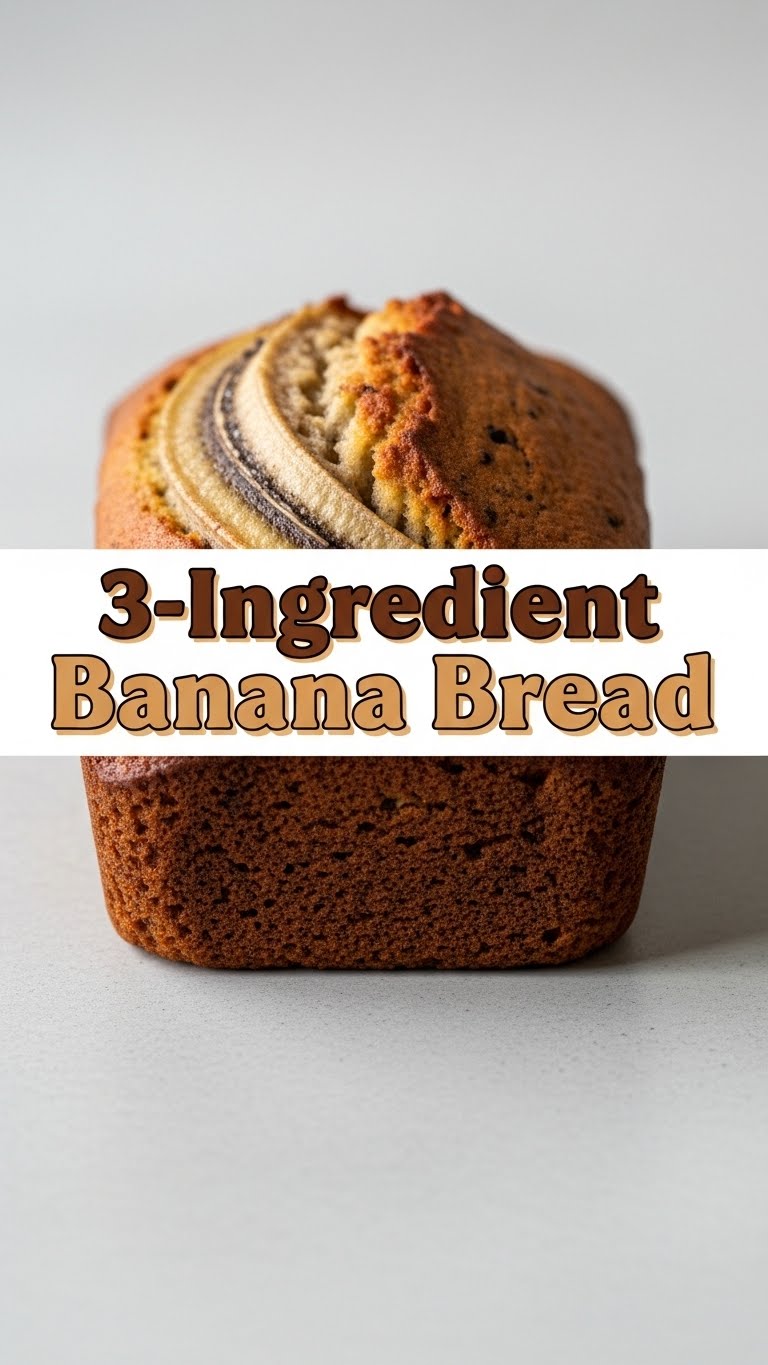
So you’re craving something tasty but too lazy to spend forever in the kitchen, huh? Same, friend, same. You want that warm, comforting smell of home-baked goodness without, you know, *all the work*? Well, grab a virtual seat because I’m about to drop a knowledge bomb that will change your life (or at least your snack game) forever: 3-ingredient banana bread. Yes, you read that right. Three. Count ’em. No fancy mixers, no obscure ingredients, just pure, unadulterated banana bread bliss. Let’s get baking without breaking a sweat, shall we?
Why This Recipe is Awesome
Okay, let’s be real. In a world full of 17-step recipes and ingredients you can’t even pronounce, this one is a breath of fresh air. Why is it awesome? Let me count the ways:
- It’s practically idiot-proof. I’ve personally made this after a long day when my brain cells were on vacation, and it still turned out amazing. If I can do it, you absolutely can.
- Minimal cleanup! Seriously, one bowl (if you’re careful), a masher, and a whisk. That’s it. Your future self will thank you.
- It’s a fantastic way to use up those sad, spotty bananas on your counter that are practically begging to be transformed. Don’t let them go to waste!
- The taste? Oh, the taste. It’s surprisingly delicious, moist, and perfectly sweet. You’ll wonder why you ever bothered with more complicated versions.
Ingredients You’ll Need
Get ready for the shortest shopping list of your life. Seriously, you probably have these knocking around already. And remember, for the true 3-ingredient magic, stick to these beauties!
- 2-3 Very Ripe Bananas: And by “very ripe,” I mean practically black and squishy. These aren’t just ripe; they’re *peak* banana flavor and sweetness. Don’t be shy; the spottier, the better! This is where all your natural sweetness comes from, so don’t skimp on the ripeness.
- 2 Large Eggs: The unsung heroes binding this whole delicious show together. Fresh from the fridge or at room temp, doesn’t really matter for this casual genius.
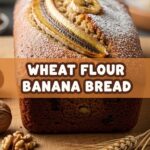
- 1 Cup Self-Rising Flour: This is our MVP. It’s already got the leavening agent and salt mixed in, which is how we keep the ingredient count so low. If you don’t have it, scroll down to the FAQ for a cheeky workaround, but for the purist 3-ingredient experience, this is your guy!
Step-by-Step Instructions
Ready to get your bake on? This is so easy, you might think you missed a step. (Spoiler: you didn’t.)
- Preheat Your Oven: Crank that baby up to 350°F (175°C). And while it’s heating, go ahead and lightly grease a standard loaf pan (around 9×5 inches). You don’t want your beautiful bread sticking, do you?
- Mash Those Bananas: In a medium-sized bowl, absolutely annihilate your ripe bananas with a fork or a potato masher until they’re a lumpy (or smooth, your preference!) purée. Some chunks are totally fine and add character.
- Whisk the Eggs: In a separate small bowl, lightly whisk your two eggs. Just a quick scramble to break up the yolks and whites.
- Combine the Wet Stuff: Pour the whisked eggs into your mashed bananas. Give it a gentle stir until just combined.
- Introduce the Flour: Now, add your self-rising flour to the banana-egg mixture. Here’s the crucial part: Mix *just* until everything is incorporated. A few lumps of flour are better than overmixing. Overmixing develops the gluten too much, and we’re not making rubber bread today!
- Into the Pan It Goes: Pour your glorious batter into the prepared loaf pan. Give the pan a gentle tap or two on the counter to settle the batter and release any big air bubbles.
- Bake It ‘Til Golden: Pop it into your preheated oven and bake for about 30-40 minutes. You’ll know it’s ready when the top is beautifully golden brown, and a toothpick inserted into the center comes out clean (or with just a few moist crumbs).
- Cool Down: Once baked, let it cool in the pan for about 10-15 minutes before carefully transferring it to a wire rack to cool completely. Patience is a virtue here; trying to slice hot banana bread is a messy business.
Common Mistakes to Avoid
Even the simplest recipes have their pitfalls. Steer clear of these rookie errors for guaranteed success!
- Not Using Ripe Enough Bananas: This is probably the biggest blunder. Under-ripe bananas won’t give you the natural sweetness or the soft texture needed. You want brown, you want spots, you want squish. Trust me.
- Overmixing the Batter: As mentioned, once that flour goes in, be gentle. Mixing too much will make your banana bread tough and chewy instead of light and tender. We’re going for delicious, not dense.
- Forgetting to Grease Your Pan: Don’t skip this. Unless you enjoy prying your beautiful creation out in sad, broken pieces, grease that pan! A little non-stick spray or butter and flour goes a long way.
- Opening the Oven Door Too Soon: Resist the urge! Opening the oven door in the first 20 minutes can cause your bread to sink. Let it do its thing, baking magic takes time.
Alternatives & Substitutions
Okay, so this is a 3-ingredient recipe, and we love it for its simplicity. But once you’ve mastered the basics, who says you can’t jazz it up a little? Just remember, these additions make it officially “more than 3 ingredients,” but totally worth it for a flavor boost!
- Chocolate Chip Heaven: Throw in 1/2 cup of chocolate chips (milk, dark, or white, your call!) with the flour. Because, well, chocolate.
- Nutty Crunch: Add 1/2 cup of chopped walnuts or pecans for a delightful texture contrast. Toast them first for extra flavor, if you’re feeling fancy.
- Spice it Up: A teaspoon of cinnamon or a dash of nutmeg can add a wonderful warmth to your banana bread. Mix it in with the flour.
- Different Pan, Different Time: You can bake this in muffin tins (fill about 2/3 full, bake for 20-25 mins) or even a square pan (might bake faster, keep an eye on it!). Just adjust baking times accordingly.
FAQ (Frequently Asked Questions)
Got questions? I’ve got answers. Let’s tackle some common conundrums with a smile.
- Can I use unripe bananas?
Oh, sweet summer child, no! Unripe bananas are firm and starchy, and they just won’t give you the sweetness or the moisture needed for a delicious banana bread. You’ll end up with something bland and probably dry. Patience, grasshopper, wait for those glorious brown spots!
- What if I don’t have self-rising flour?
Ah, the plot twist! If you’re in a pinch, you can absolutely make your own self-rising flour. For every 1 cup of all-purpose flour, whisk in 1.5 teaspoons of baking powder and 1/4 teaspoon of salt. *But remember*, this officially makes it a 5-ingredient banana bread. Still easy, just not *three*!
- My bread is dense/gummy. What happened?
Sounds like you might have fallen victim to the dreaded overmixing! When you add the flour, mix just until combined. A few lumps are okay; a tough, chewy loaf is not. Be gentle, friend.
- How do I know when it’s perfectly done?
The classic toothpick test is your best friend here. Insert a toothpick into the center of the loaf. If it comes out clean (or with just a few moist crumbs, no wet batter), it’s ready for its close-up!
- Can I double the recipe?
Absolutely! Just scale up all your ingredients proportionally (4-6 bananas, 4 eggs, 2 cups self-rising flour) and use a larger loaf pan, or split it into two standard ones. Baking time might increase slightly, so keep an eye on it.
- How long does this magical banana bread last?
If you manage to not eat it all in one sitting (a challenge, I know!), it’ll keep covered at room temperature for 2-3 days, or in the fridge for up to a week. It also freezes beautifully for up to 3 months—perfect for future cravings!
Final Thoughts
There you have it, folks! The easiest, most ridiculously simple banana bread recipe that tastes way better than it has any right to. It’s a testament to the fact that sometimes, less truly is more, especially when it comes to kitchen endeavors. So go forth, conquer those overripe bananas, and bask in the glory of your effortless baking prowess. Now go impress someone—or yourself—with your new culinary skills. You’ve earned it!

