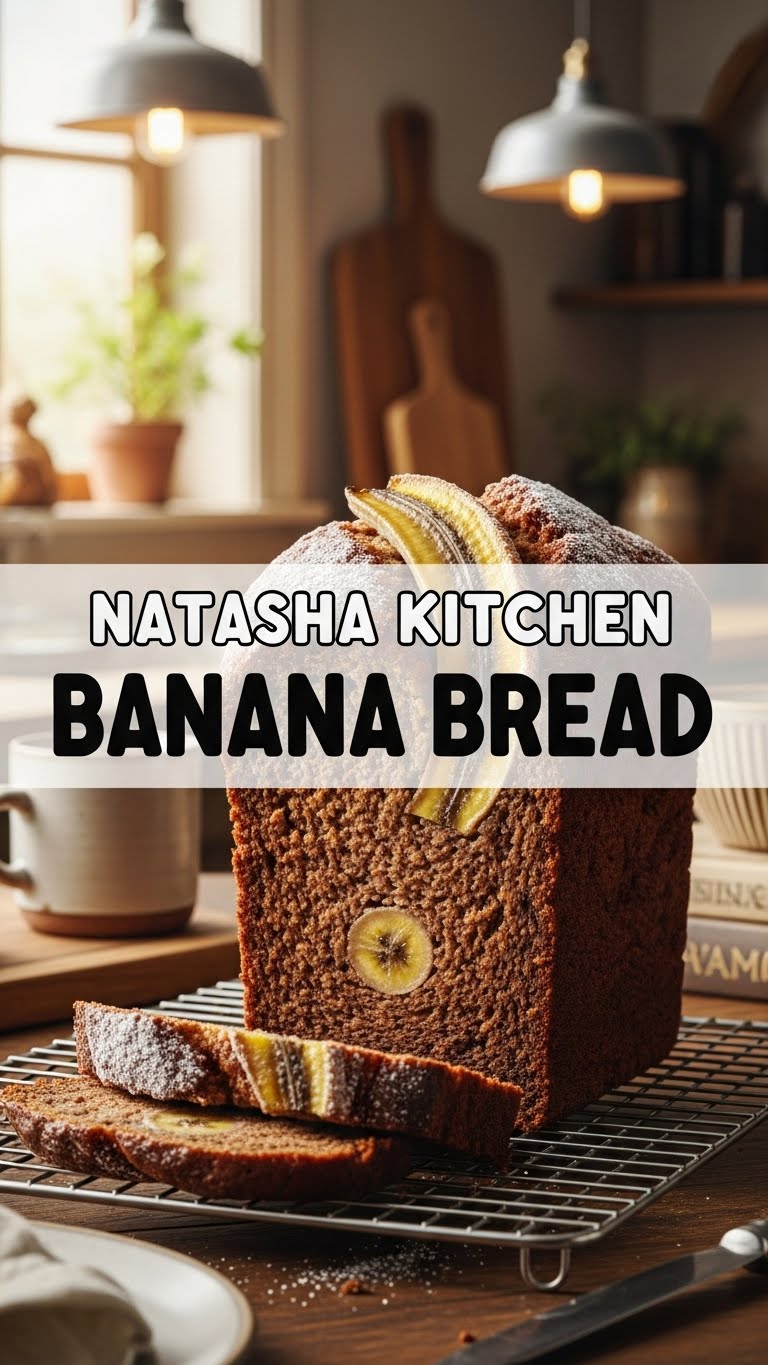
So your bananas have officially reached “too ripe to eat plain” status, huh? And you’re staring at them, debating whether to actually make something or just… not? Honey, I feel you. But today, we’re not just *making* something; we’re crafting a masterpiece with minimal effort. Get ready for the Natasha Kitchen Banana Bread experience – it’s so good, it should be illegal (but totally isn’t, so bake away!).
Why This Recipe is Awesome
First off, this isn’t just *any* banana bread. This is the kind of banana bread that makes your house smell like a warm, sugary hug, and your friends think you’re some kind of culinary wizard. The best part? **It’s practically foolproof.** Seriously, even if your cooking skills extend mostly to ordering takeout, you can nail this. It’s moist, it’s flavorful, and it comes together faster than you can scroll through Instagram. Plus, it’s the perfect way to use up those sad, spotty bananas without any guilt. Win-win, darling!
Ingredients You’ll Need
Gather ’round, buttercup, it’s ingredient time! Most of these are probably lounging in your pantry already. No fancy-pants stuff needed.
- 3-4 very ripe bananas: The spottier, the better! We’re talking almost black here. Don’t be shy; embrace the goo.
- 1/2 cup (113g) unsalted butter: Softened. The good stuff. Not that sad margarine spread, unless you absolutely have to.
- 3/4 cup (150g) granulated sugar: For that sweet, sweet soul food.
- 1 large egg: Room temp, please! It mixes better.
- 1 teaspoon vanilla extract: Because vanilla makes everything taste like a warm hug.
- 1 1/2 cups (180g) all-purpose flour: The basic building block of deliciousness.
- 1 teaspoon baking soda: This is our lift-off agent, for a nice, fluffy texture.
- 1/2 teaspoon salt: Just a pinch to balance out all that sweetness. Trust me, it makes a difference.
Step-by-Step Instructions
Alright, let’s get this party started! Follow these simple steps, and you’ll be in banana bread heaven in no time.
- **Preheat Your Oven & Prep Your Pan:** Set your oven to a cozy 350°F (175°C). While it’s warming up, grease and flour a 9×5-inch loaf pan. Or line it with parchment paper if you’re feeling fancy (and want easy cleanup!).
- **Mash Those Bananas:** Grab your ripe bananas and mash them up in a medium bowl. A fork works perfectly here. You want some lumps for texture, but mostly smooth.
- **Cream the Good Stuff:** In a separate large bowl, cream together the softened butter and granulated sugar until it’s light and fluffy. This usually takes a couple of minutes with an electric mixer, or a good arm workout with a whisk.
- **Add Wet Ingredients:** Beat in the egg until it’s well combined with the butter mixture. Then stir in that lovely vanilla extract. Your kitchen should be smelling pretty good right about now.
- **Combine Dry Ingredients:** In another bowl (yes, we’re using three!), whisk together the flour, baking soda, and salt. Make sure it’s all mixed evenly so your bread rises uniformly.
- **Gently Combine:** Slowly add the dry ingredients to the wet ingredients, mixing until *just* combined. **Don’t overmix!** Overmixing develops gluten, making your bread tough. We want tender, honey.
- **Fold in the Bananas:** Now, gently fold in your mashed bananas. Give it a couple of stirs – no need to be aggressive here.
- **Pour & Bake:** Pour the glorious batter into your prepared loaf pan. Pop it into the preheated oven and bake for about 55-65 minutes.
- **Check for Doneness:** How do you know it’s ready? Insert a toothpick into the center of the loaf. If it comes out clean or with a few moist crumbs, you’re golden!
- **Cool It Down:** Let the banana bread cool in the pan for about 10-15 minutes before transferring it to a wire rack to cool completely. Patience is a virtue, especially when it comes to warm banana bread.
Common Mistakes to Avoid
Even though this recipe is practically magic, there are a few rookie errors that can thwart your delicious destiny. Let’s not make them, okay?
- **Underripe Bananas:** Seriously, don’t use yellow bananas. They need to be spotty, brown, even black. That’s where all the sweetness and moisture come from. Using firm bananas is a one-way ticket to bland, dry bread.
- **Overmixing the Batter:** We talked about this! Once the flour goes in, mix only until no streaks of dry flour remain. Your bread will thank you by being tender, not chewy.
- **Not Preheating the Oven:** Thinking you can just shove it in a cold oven and it’ll all work out? Nah. **Always preheat your oven** for even baking and a good rise.
- **Slicing Too Soon:** I know, I know, the smell is intoxicating. But slicing hot banana bread is a recipe for crumbling disaster. Let it cool a bit; it firms up and tastes better.
Alternatives & Substitutions
Feeling adventurous? This recipe is super flexible! Here are a few ways to jazz it up:
- **Chocolate Chips:** Because, duh. Who doesn’t love chocolate chips? Add about 1/2 to 1 cup with the bananas. Dark, milk, white – pick your poison!
- **Nuts:** Walnuts or pecans (about 1/2 cup) add a lovely crunch and a touch of sophistication. Toast them lightly beforehand for extra flavor!
- **Spices:** A pinch of cinnamon or nutmeg (1/2 teaspoon each) can add a warm, cozy depth.
- **Brown Sugar:** You can swap half or all of the granulated sugar for brown sugar for an even moister, more caramel-y flavor. I’m a big fan of this one.
- **Oil Instead of Butter:** If you’re out of butter, you can use an equal amount of vegetable oil. It’ll still be good, but IMO, butter brings that extra richness.
FAQ (Frequently Asked Questions)
Got questions? I’ve got answers, friend!
- My bananas aren’t super ripe! Help! Okay, deep breaths. You can speed up ripening by baking them in their peels on a baking sheet at 300°F (150°C) for 15-30 minutes, until they’re black and shiny. Let them cool before mashing.
- Can I use less sugar? You can try, but sugar isn’t just for sweetness; it also helps with moisture and browning. Reducing it too much might affect the texture. Maybe start by reducing by 1/4 cup and see how you like it.
- How do I store banana bread? Keep it covered at room temperature for up to 3 days, or in the fridge for up to a week. Make sure it’s wrapped tightly to prevent it from drying out.
- Can I freeze banana bread? Absolutely! Wrap the cooled loaf (or slices) tightly in plastic wrap, then foil, and freeze for up to 3 months. Thaw at room temperature when you’re ready for a delicious treat.
- My banana bread is raw in the middle! What happened? Oh no! This usually means it didn’t bake long enough, or your oven temperature is off. Next time, try baking for an extra 10-15 minutes or checking your oven’s calibration.
Final Thoughts
And there you have it, folks! You just transformed some humble, forgotten bananas into a moist, fragrant, utterly irresistible loaf of pure joy. How does it feel to be a kitchen legend? Pretty awesome, right? Now go impress someone – or yourself – with your new culinary skills. You’ve earned it! Slice yourself a generous piece, maybe add a pat of butter (because why not?), and enjoy the fruits of your very minimal labor. Happy baking!

