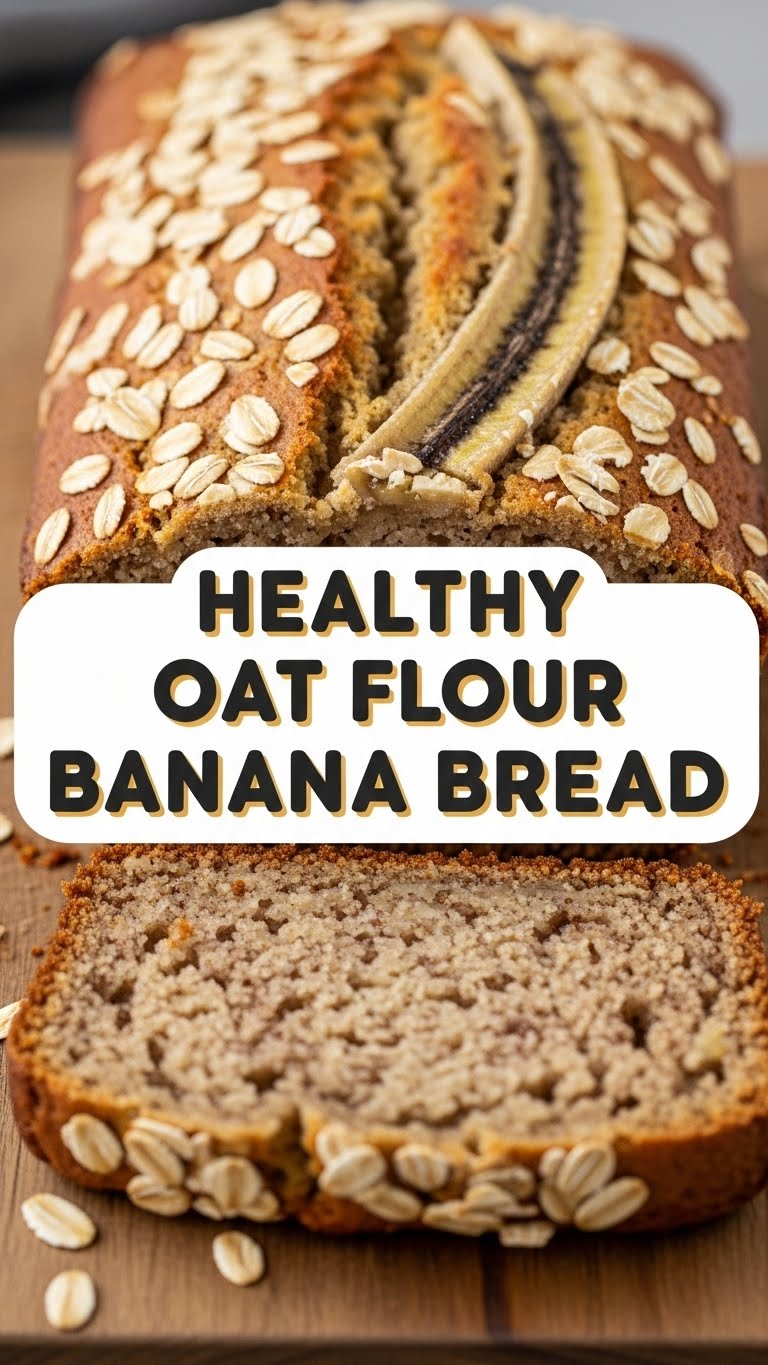
So, you’ve got those suspiciously brown bananas sitting on your counter, silently judging your life choices, huh? And you’re craving something warm, comforting, and secretly healthy, but the thought of spending hours in the kitchen makes you want to crawl back into bed? Been there, bought the t-shirt. Well, friend, dust off your mixing bowl because we’re about to whip up some **Healthy Oat Flour Banana Bread** that’s so good, you might just marry it. And bonus: it’s easy enough for a Tuesday evening panic bake!
Why This Recipe is Awesome
Let’s be real, most “healthy” recipes taste like cardboard that’s been politely asked to participate in a kale-eating contest. Not this one! This banana bread is a game-changer. It’s got that cozy, nostalgic vibe without the sugar crash and the heavy belly feeling. Plus, it’s pretty much **idiot-proof** – even I, a notorious kitchen disaster artist, didn’t mess it up. Seriously, it’s a one-bowl wonder, naturally sweetened, and uses oat flour, which means it’s packed with fiber and good stuff. Your gut will thank you, and your taste buds will send you a thank-you note.
Ingredients You’ll Need
Get ready to gather your culinary squad. No fancy stuff, just wholesome goodness.
- **3 very ripe bananas**: The browner, the better! We’re talking almost-liquid levels of brown. These are your natural sweetener superheroes.
- **1 large egg**: The binder, the glue, the reason it doesn’t fall apart.
- **1/4 cup maple syrup or honey**: Just a touch, because those bananas are doing most of the heavy lifting.
- **1/4 cup melted coconut oil (or unsalted butter)**: For that lovely moist crumb. Don’t skimp here!
- **1 teaspoon vanilla extract**: Because vanilla makes everything better, IMO.
- **1 cup oat flour**: The star! You can buy it, or make it yourself by blending rolled oats. Easy peasy.
- **1 teaspoon baking soda**: The magic fairy dust that makes it rise and get all fluffy.
- **1/2 teaspoon ground cinnamon**: A warm hug in spice form. Optional, but highly recommended.
- **Pinch of salt**: Balances all the flavors and makes everything pop.
- **Optional add-ins**: 1/2 cup chocolate chips (dark chocolate, obviously, because healthy-ish), chopped walnuts, pecans, or whatever your heart desires. Go wild!
Step-by-Step Instructions
You’re just minutes away from smelling pure bliss. Preheat your oven to **350°F (175°C)** and grease a loaf pan. Don’t forget that step; nobody wants their beautiful bread to stick!
- **Mash those Bananas:** In a large mixing bowl, get to work on those super ripe bananas. Mash them really well with a fork until they’re mostly smooth with just a few small lumps. We want a creamy consistency here.
- **Mix in the Wet Stuff:** Add the egg, maple syrup (or honey), melted coconut oil (or butter), and vanilla extract to the mashed bananas. Whisk it all together until it’s nicely combined and looks like a glorious, golden-brown river.
- **Add the Dry Bits:** Sprinkle in the oat flour, baking soda, cinnamon (if using), and salt directly into the wet mixture. This is a one-bowl wonder, remember?
- **Gently Combine:** Stir everything together until just combined. **Don’t overmix!** Overmixing develops gluten (even in oat flour to some extent) and can lead to a tough loaf. A few streaks of flour are totally fine.
- **Fold in the Fun:** If you’re adding chocolate chips or nuts, now’s the time! Gently fold them into the batter. This step is where dreams come true.
- **Into the Pan it Goes:** Pour your beautiful batter into your greased loaf pan. You can sprinkle a few extra chocolate chips or nuts on top for that bakery-worthy look.
- **Bake it Baby!** Pop it into your preheated oven and bake for **45-55 minutes**. The exact time will depend on your oven. You’ll know it’s ready when a toothpick inserted into the center comes out clean or with just a few moist crumbs.
- **Cool Down:** Let it cool in the pan for about 10 minutes before transferring it to a wire rack to cool completely. Resist the urge to slice into it immediately – it needs to set up! Trust me, the wait is worth it.
Common Mistakes to Avoid
Let’s prevent some culinary catastrophes, shall we? Learn from my past blunders, so you don’t have to!
- **Using yellow bananas:** Rookie mistake! If your bananas aren’t practically black, they won’t be sweet enough, and your bread will be sad. Seriously, **brown bananas are key** here.
- **Overmixing the batter:** It’s not a competition! Stir just until combined. Aggressive mixing leads to tough, chewy bread instead of light and fluffy.
- **Not preheating the oven:** Patience, young padawan. A cold oven means uneven baking and a weird texture. Give it time to heat up properly.
- **Forgetting to grease the pan:** Unless you enjoy chiseling your bread out of the pan in sad, broken pieces, always grease your pan. Always.
- **Cutting into it too soon:** I know, I know, the smell is intoxicating. But let it cool! Warm banana bread often crumbles. Give it a solid 10-15 minutes in the pan, then move it to a rack to finish cooling. Your patience will be rewarded with perfect slices.
Alternatives & Substitutions
Feeling adventurous or just out of an ingredient? No stress, we can totally tweak this bad boy.
- **No oat flour?** If you have rolled oats, you can **make your own oat flour**! Just blend them in a food processor or blender until it’s a fine powder. Easy peasy! If you want to use regular all-purpose flour, you can, but then it won’t be “oat flour” banana bread, and the texture might be slightly different.
- **Sweetener swap:** Not a fan of maple syrup? Honey works just as well. You could even try a sugar-free alternative, but adjust to taste.
- **Oil vs. Butter:** Coconut oil gives a lovely subtle flavor, but melted unsalted butter is a fantastic substitute if that’s what you have on hand. Vegetable oil or avocado oil also work for a more neutral flavor.
- **Make it vegan:** Swap the egg for a “flax egg” (1 tbsp ground flaxseed + 3 tbsp water, let sit for 5 mins). Make sure your maple syrup is pure (some honeys aren’t vegan).
- **Add-in bonanza:** Go nuts (literally!) with walnuts, pecans, or almonds. Dried cranberries or blueberries are also delish. Or, you know, extra chocolate chips. No one’s judging.
FAQ (Frequently Asked Questions)
Got questions? I’ve got (casual and humorous) answers!
- **”Can I use regular flour instead of oat flour?”** Well, technically yes, but then it won’t be *this* oat flour banana bread, will it? The texture will be different, likely a bit less dense and maybe not quite as moist. But hey, it’ll still be banana bread!
- **”My bananas aren’t super ripe. Can I still make this?”** You *can*, but it won’t be as naturally sweet, and the banana flavor won’t be as intense. Pro tip: you can speed up ripening by baking them in their peels at 300°F (150°C) for 15-20 minutes until they’re black. Mind blown, right?
- **”How long does this banana bread last?”** LOL. Assuming you have any left, it’ll keep for about 3-4 days at room temperature in an airtight container, or a week in the fridge. But let’s be honest, it rarely makes it past day two.
- **”Can I freeze it?”** Absolutely! Wrap individual slices or the whole loaf tightly in plastic wrap, then foil. It’ll last for up to 3 months in the freezer. Perfect for when you need a quick banana bread fix.
- **”Is it *really* healthy?”** Compared to a store-bought version loaded with refined sugar and white flour? Yes, absolutely! Compared to a salad? Probably not. It’s a healthier treat, a balanced indulgence. Everything in moderation, right?
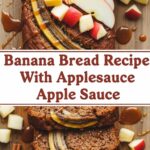
- **”What if I don’t have coconut oil?”** No worries! Melted butter, vegetable oil, or even apple sauce (for an even healthier, lower-fat version, though the texture might be slightly different) work just fine.
- **”Can I add more sugar if I like it sweeter?”** Of course, you’re the chef! Add a tablespoon or two more of maple syrup. Just remember, the riper the bananas, the sweeter your bread will naturally be.
Final Thoughts
So there you have it, my friend! You’re now equipped with the knowledge (and hopefully the motivation) to bake a ridiculously delicious and surprisingly healthy oat flour banana bread. It’s perfect for breakfast, an afternoon snack, or a midnight treat because, let’s be real, rules are meant to be broken. Now go forth and impress someone – or yourself – with your new culinary skills. You’ve earned it!
