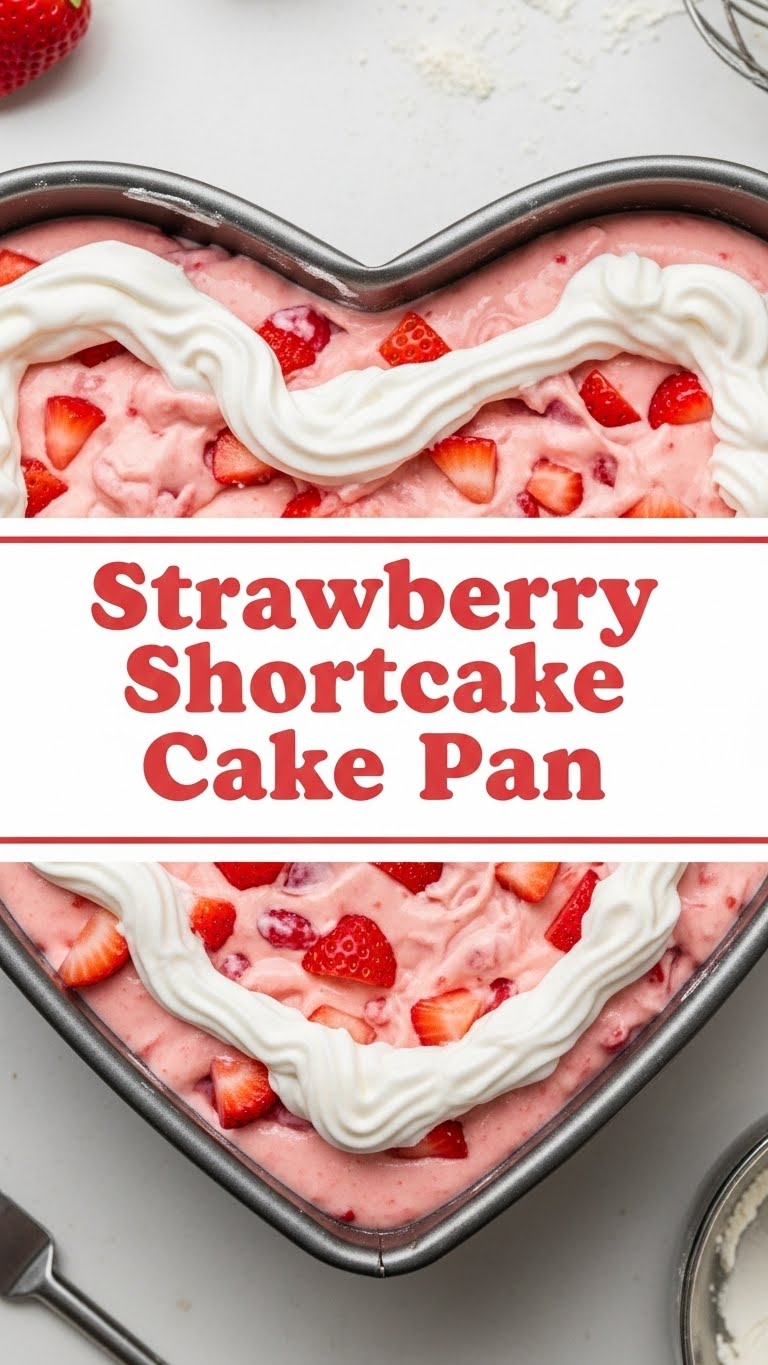
So you’re craving something ridiculously tasty but too lazy to spend forever in the kitchen, huh? Same, my friend, *same*. Good news: I’ve got your back. Forget those fussy, multi-layer cakes that look like they belong in a museum. We’re making a Strawberry Shortcake that’s so easy, it practically bakes itself. Well, almost. It’s a one-pan wonder, perfect for satisfying that sweet tooth without sacrificing your precious couch time.
Why This Recipe is Awesome
Listen, life’s too short for complicated desserts. This Strawberry Shortcake isn’t just a dessert; it’s a lifestyle choice. Why is it awesome? Let me count the ways:
- It’s a **one-pan miracle**. Fewer dishes mean more time for… well, whatever you want. Netflix? Napping? Staring blankly at the wall? Your call!
- **Idiot-proof.** Seriously, even I didn’t mess it up, and I once set off a smoke detector making toast. So, you got this.
- **Minimal fuss, maximum flavor.** You get all those classic strawberry shortcake vibes without the stress of individual biscuits or delicate layering. We’re talking fluffy cake, fresh berries, and luscious whipped cream, all in one glorious scoop.
- It’s the perfect “I just threw this together” dish that will still impress anyone who sees it. You can totally pretend you slaved over it for hours. Your secret’s safe with me.
Ingredients You’ll Need
Gather ’round, fellow culinary adventurer! Here’s what you’ll need to make this magic happen. Don’t worry, it’s mostly stuff you probably already have lurking in your pantry.
For the Shortcake Base:
- 2 cups all-purpose flour: The basic building block of deliciousness.
- 1/2 cup granulated sugar: Just enough sweetness to make you smile.
- 1 tablespoon baking powder: Our leavening MVP. Don’t skimp!
- 1/2 teaspoon salt: Balances everything out. Trust the salt.
- 1/2 cup (1 stick) unsalted butter, COLD and cubed: This is key for that flaky texture. Don’t even *think* about using soft butter. You’ll regret it.
- 3/4 cup milk (whole milk preferred): Gives our cake that lovely tender crumb.
- 1 teaspoon vanilla extract: A hug for your taste buds.
For the Topping & Filling:
- 1 lb fresh strawberries, hulled and sliced: The star of the show! Ripeness is happiness.
- 1-2 tablespoons granulated sugar: To coax out those sweet strawberry juices.
- 1 1/2 cups heavy cream, COLD: Because whipped cream from a can is a betrayal to this cake.
- 1/4 cup powdered sugar: For that perfect, cloud-like sweetness.
- 1/2 teaspoon vanilla extract: More vanilla, because why not?
Step-by-Step Instructions
Alright, apron on, good tunes playing, maybe a little dance break between steps. Let’s do this!
- Get Your Oven Ready: Preheat your oven to 375°F (190°C). Lightly grease a 9×13 inch baking pan. A little non-stick spray goes a long way here.
- Mix the Dry Stuff: In a large bowl, whisk together the flour, 1/2 cup granulated sugar, baking powder, and salt. Make sure it’s all nicely combined, no lumps allowed!
- Butter Up (Literally): Add your cold, cubed butter to the dry ingredients. Using a pastry blender, two knives, or even your fingertips (quickly, so the butter stays cold!), cut the butter into the flour mixture until it resembles coarse crumbs with some pea-sized pieces remaining. This is where the magic flakiness comes from!
- Wet Meets Dry: In a separate small bowl, whisk together the milk and 1 teaspoon vanilla extract. Pour this into your dry ingredients and mix with a spoon or spatula until *just* combined. **Do not overmix!** A few streaks of flour are totally fine; overmixing leads to tough shortcake, and nobody wants that.
- Pan it Out: Press the dough evenly into your prepared 9×13 inch baking pan. It might feel a little thick, but just do your best to spread it out.
- Bake It Baby: Pop the pan into your preheated oven and bake for 20-25 minutes, or until the top is golden brown and a toothpick inserted into the center comes out clean.
- Cool Down: Once baked, remove the shortcake from the oven and let it cool completely on a wire rack. **Patience is a virtue here!** You don’t want melty whipped cream.
- Strawberry Prep: While the shortcake cools, gently toss your sliced strawberries with 1-2 tablespoons of granulated sugar in a medium bowl. Let them sit for at least 15-20 minutes to macerate (aka get juicy and extra delicious).
- Whip It Good: In a very cold bowl (metal is great, or chill a regular bowl in the fridge), combine the cold heavy cream, powdered sugar, and 1/2 teaspoon vanilla extract. Using an electric mixer, beat on medium-high speed until you have stiff peaks. Don’t walk away during this step; it can go from perfect to overwhipped (aka butter) in seconds!
- Assemble Your Masterpiece: Once the shortcake is completely cool, spread the whipped cream generously over the top. Then, spoon those beautiful, juicy strawberries over the whipped cream.
- Serve and Devour: Cut into squares and serve immediately. Prepare for oohs and aahs!
Common Mistakes to Avoid
Look, we all make mistakes. It’s part of the fun! But let’s try to avoid these common pitfalls to ensure your shortcake is a smashing success.
- Warm Butter Woes: Using soft or room-temperature butter. This is a cardinal sin in shortcake making! **Cold butter = flaky layers.** Warm butter = dense, sad cake.
- The Overmix Monster: Mixing the dough too much after adding the wet ingredients. This develops the gluten, making your shortcake tough instead of tender. Mix until *just* combined, then back away from the bowl!
- Premature Whipped Cream Syndrome: Spreading whipped cream on a warm shortcake. Guess what? It’s going to melt into a puddle. Seriously, let that shortcake cool completely. I’m talking “cold to the touch” cold.
- Under-Whisked Cream: Not beating your heavy cream enough. You want stiff peaks, not runny soup. If it’s not stiff, it’ll just collapse.
- Ignoring the Maceration: Skipping the step where you sugar the strawberries. This isn’t just for sweetness; it pulls out their natural juices, creating a delicious syrupy coating that elevates the whole dessert. Don’t skip it!
Alternatives & Substitutions
Feeling adventurous? Or just working with what you’ve got? No judgment here! Here are some simple swaps:
- Fruit Fiesta: Not a strawberry fan (gasp!) or just want to mix it up? Try raspberries, blueberries, sliced peaches, or a mix of berries! Just treat them the same way – toss with a little sugar and let them hang out.
- Dairy-Free Dream: You can absolutely make this dairy-free! Use a good quality plant-based milk (like almond or oat) and a vegan butter substitute (one that bakes well, please!). For the whipped cream, well-chilled full-fat canned coconut cream can work wonders, just scoop out the thick cream from the top of the can.
- Gluten-Free Goodness: Swap out the all-purpose flour for a 1:1 gluten-free baking blend. **Pro tip:** Make sure your GF blend contains xanthan gum, or add 1/2 teaspoon yourself.
- Flavor Boosters: A tiny pinch of lemon zest in the shortcake dough or a splash of almond extract in the whipped cream can add an extra layer of yum!
FAQ (Frequently Asked Questions)
Got questions? I’ve got (hopefully) humorous answers!
- Can I use frozen strawberries? Well, technically yes, but fresh is KING. If you must, thaw them completely and drain all that extra liquid. Otherwise, your shortcake will be a soggy mess.
- How long does this masterpiece last? Ha! In my house? About 30 minutes. Realistically, stored in an airtight container in the fridge, it’s best enjoyed within 2-3 days. The shortcake might get a *little* softer, but still delicious.
- Do I *really* have to chill the butter? **Yes, dear god, YES.** It’s not a suggestion, it’s a command! The cold butter creates steam pockets when baking, leading to that incredible flaky texture we all crave.
- What if my whipped cream won’t stiffen? Is your cream cold? Is your bowl and whisk super clean and cold? If not, that’s usually the culprit. Try popping your bowl, whisk, and cream into the freezer for 10 minutes, then try again. A little cream of tartar (1/4 tsp) can also help stabilize it.
- Can I make the shortcake ahead of time? You can bake the shortcake base a day in advance and store it covered at room temperature. Just don’t add the cream and berries until right before serving, or you’ll have a very sad, watery situation.
- Can I use a different size pan? Sure, but you might need to adjust baking time. A smaller, thicker cake will take longer; a larger, thinner cake will bake faster. Keep an eye on it!
Final Thoughts
See? I told you it was easy peasy lemon squeezy… or rather, strawberry shortcake-y! You’ve just whipped up a dessert that tastes like sunshine and happiness, and you barely broke a sweat. Now go forth and impress someone—or yourself—with your new culinary skills. You’ve earned it! Maybe make an extra batch and share it, or keep it all for yourself. I won’t tell. Enjoy!

