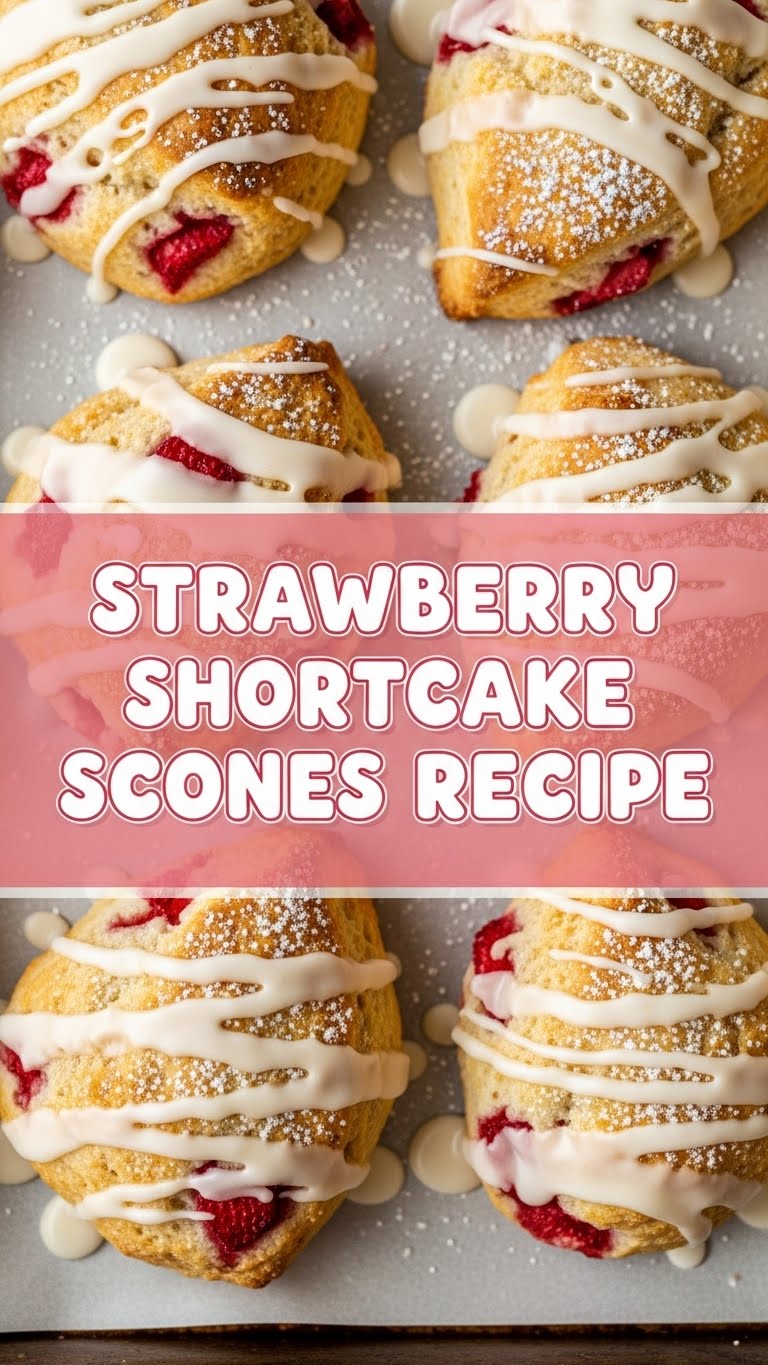
So, you’ve got that craving for something that screams ‘fancy bakery’ but your brain is screaming ‘don’t make me do dishes for hours,’ right? Totally get it. Today, we’re making magic happen with Strawberry Shortcake Scones – basically, all the deliciousness of shortcake but in scone form, meaning way less fuss. Your inner pastry chef (who maybe only wakes up for easy stuff) is gonna love this.
Why This Recipe is Awesome
Okay, first off, it’s ridiculously easy. Seriously, if I can make these without setting off the smoke alarm, you’re golden. This recipe is your fast-track to looking like a baking genius without actually having to be a baking genius. It’s got that perfect balance of crumbly, tender scone with juicy strawberries and a hint of sweetness. Plus, no weird ingredients you have to trek to a specialty store for. Win-win-win. It’s basically a hug in scone form.
Ingredients You’ll Need
- All-purpose flour: The backbone of your scone dreams. Don’t substitute with almond flour unless you want a science experiment.
- Granulated sugar: Just enough to make it sweet, but not so much it’s a dessert overload. Balance, people!
- Baking powder: Our secret weapon for that beautiful rise. Make sure it’s not expired, or your scones will be flat sad disks.
- Salt: Just a pinch, to make everything else taste better. Science!
- Unsalted butter (COLD and cubed): This is non-negotiable, my friend. Cold butter is the key to flaky scones. Don’t even think about using melted.
- Heavy cream (COLD): Helps bring everything together and adds richness. Again, keep it cold!
- Fresh strawberries: Diced up and ready to burst with flavor. Frozen works too, just don’t thaw completely.
- Egg wash (1 egg + splash of cream/milk): For that glorious golden-brown top.
- Optional: Demerara sugar: For sprinkling on top, because fancy.
Step-by-Step Instructions
- Preheat & Prep: Get that oven cranked up to 400°F (200°C). Line a baking sheet with parchment paper. Trust me, it makes clean-up a breeze.
- Dry Mix Fun: In a large bowl, whisk together your flour, sugar, baking powder, and salt. Make sure it’s all nicely combined.
- Butter Up (Literally): Add your cold, cubed butter to the dry ingredients. Now, either use a pastry blender or your fingertips to cut the butter into the flour until it resembles coarse crumbs with some pea-sized pieces remaining. Don’t overmix!
- Berry Goodness: Gently fold in your diced strawberries. Be tender; we don’t want strawberry mush.
- Liquid Gold: Pour in the cold heavy cream. Mix with a spatula just until the dough *barely* comes together. It’s okay if it’s a little shaggy. Overmixing here leads to tough scones, and nobody wants that.
- Shape It Up: Turn the dough out onto a lightly floured surface. Gently pat it into a disc about 1-inch thick. Use a round cutter (or a knife to make wedges) to cut out your scones.
- Egg Wash & Sparkle: Place the scones on your prepared baking sheet. Brush the tops with the egg wash and sprinkle with demerara sugar, if you’re feeling fancy.
- Bake ‘Em: Pop them into the hot oven for 15-20 minutes, or until they’re beautifully golden brown on top and cooked through.
- Cool Down: Let them cool on a wire rack for a bit. They’re amazing warm, but give them a minute to set.
Common Mistakes to Avoid
- Warm butter/cream: This isn’t a suggestion, it’s a rule. Warm fats = flat, sad scones. Don’t do it.
- Overmixing the dough: The number one killer of tender scones. Mix until *just* combined. Seriously, fight the urge to knead it like bread.
- Not preheating the oven: Rookie mistake. A hot oven helps the scones rise quickly and evenly.
- Rolling the dough too thin: You want that nice, plump scone. Aim for about an inch thickness when patting out the dough.
- Cutting scones too small/large: Consistency is key for even baking.
Alternatives & Substitutions
- Berries: Not feeling strawberries? Blueberries, raspberries, or even chopped peaches would be fantastic. Use about the same amount.
- Cream: If heavy cream isn’t available, full-fat buttermilk can work, but you might need slightly less as it’s thinner. The tang will also add a nice flavor!
- Flour: All-purpose is best, but a 1:1 gluten-free baking flour *might* work, though I haven’t personally tested it. Results may vary, so proceed with caution.
- Sugar: Don’t have granulated? Powdered sugar works in a pinch for the dough, but use a *little* less. Brown sugar will change the texture and flavor, so stick to granulated for this one, IMO.
FAQ (Frequently Asked Questions)
- “Can I use frozen strawberries?” Absolutely! Just don’t thaw them completely. Give them a quick rinse if they’re icy, then dice and toss them in. They might make the dough a *tiny* bit wetter, but it’ll be fine.
- “My scones didn’t rise, what gives?” Uh oh! Did you use old baking powder? Was your butter warm? Did you overmix the dough? These are the usual suspects. Fresh ingredients and gentle handling are your friends.
- “How do I store leftover scones?” Pop them in an airtight container at room temp for up to 2-3 days. Reheat briefly in the microwave or oven for that “fresh out of the oven” feel.
- “Can I make these ahead of time?” You bet! You can cut out the scones and freeze them unbaked. When you’re ready to bake, place them on a baking sheet (no need to thaw) and add a few extra minutes to the baking time. Pro tip: brush with egg wash *before* freezing.
- “What if I don’t have a round cutter?” No problem! Pat your dough into a round disc, then use a sharp knife to cut it into 8 wedges, just like a pizza. Easy peasy!
- “Can I add other flavors?” Totally! A teaspoon of vanilla extract in the cream would be lovely. Lemon zest with the strawberries? Oh la la!
Final Thoughts
See? That wasn’t so scary, was it? You just whipped up some seriously delicious Strawberry Shortcake Scones! Now go impress someone – or yourself, which is arguably more important – with your new culinary skills. You’ve earned that treat (and maybe a pat on the back). Enjoy your scone-y victory!


