Ever found yourself staring into the fridge, dreaming of something sweet, but the thought of a complex bake makes you want to just order takeout? Yeah, me too. But what if I told you we could whip up a show-stopping, double-layer strawberry shortcake that’s shockingly easy? Prepare yourself, because your taste buds are about to get a serious upgrade without the kitchen meltdown.
Why This Recipe is Awesome
Okay, let’s be real. This isn’t just a recipe; it’s a magic trick. You’ll look like a culinary genius, but the actual effort involved is minimal. It’s the perfect balance of “I made this from scratch!” and “I still had time to binge-watch my favorite show.” Plus, it’s got fresh strawberries, which, let’s be honest, make everything better. The shortcake itself is perfectly tender and buttery, not dry and sad like some of its relatives. And the whipped cream? Oh, the whipped cream. It’s practically foolproof, even I didn’t mess it up! Consider this your new go-to for impressing without the stress.
Ingredients You’ll Need
Gather your troops, folks! Here’s what you’ll need to make this dreamy dessert a reality:
- For the Shortcake:
- 2 cups (240g) All-purpose flour (the usual suspects)
- ¼ cup (50g) Granulated sugar (just enough sweetness, obvi)
- 1 tablespoon Baking powder (our little lift-off secret)
- ½ teaspoon Salt (don’t skip it, it brings out all the flavors!)
- ½ cup (113g) Cold unsalted butter, cut into small cubes (KEY! Seriously, cold as your ex’s heart)
- ¾ cup (180ml) Cold heavy cream (for tender shortcakes, not for whipping yet)
- For the Strawberry Filling & Topping:
- 2 lbs (about 900g) Fresh strawberries, hulled and sliced (the undisputed stars of the show)
- 2-3 tablespoons Granulated sugar (for macerating, adjust to your berry sweetness)
- For the Whipped Cream:
- 1½ cups (360ml) Very cold heavy cream (this time for whipping!)
- ¼ cup (30g) Powdered sugar (or more, if you like it extra sweet)
- 1 teaspoon Vanilla extract (because vanilla makes everything sing)
Step-by-Step Instructions
- Preheat & Prep the Berries: First things first, crank your oven to 400°F (200°C). Then, in a medium bowl, gently toss your sliced strawberries with 2-3 tablespoons of granulated sugar. Set them aside to hang out and get juicy; this is called macerating, fancy, right?
- Mix the Dry Shortcake Squad: In a large bowl, whisk together the flour, ¼ cup granulated sugar, baking powder, and salt. Make sure it’s all nicely combined, no lumpy surprises here.
- Cut in the Butter (The Fun Part!): Add your ridiculously cold butter cubes to the dry ingredients. Use a pastry blender, two knives, or even your fingertips (quickly, to keep it cold!) to cut the butter into the flour until it resembles coarse crumbs with some pea-sized pieces remaining. Don’t overwork it! Lumps are good for flakiness.
- Bring it All Together: Pour in the ¾ cup of cold heavy cream. Stir gently with a fork or rubber spatula until just combined. The dough will be shaggy, and that’s exactly what you want. Resist the urge to knead it like bread; we’re going for tender, not tough.
- Shape & Bake the Cakes: Lightly flour a surface and turn out your dough. Gently pat it into two equal rounds, about 6-7 inches in diameter and roughly ¾ inch thick. Transfer them to a parchment-lined baking sheet. Bake for 15-18 minutes, or until the tops are golden brown and a toothpick inserted into the center comes out clean. Let them cool completely on a wire rack.
- Whip Up Some Cloud-Like Cream: While your shortcakes are chilling, grab your very cold heavy cream, powdered sugar, and vanilla extract. In a large, chilled bowl (a cold bowl helps!), whip them together with an electric mixer on medium-high speed until soft peaks form. Stop as soon as it’s fluffy; over-whipping gives you butter, not dreams.
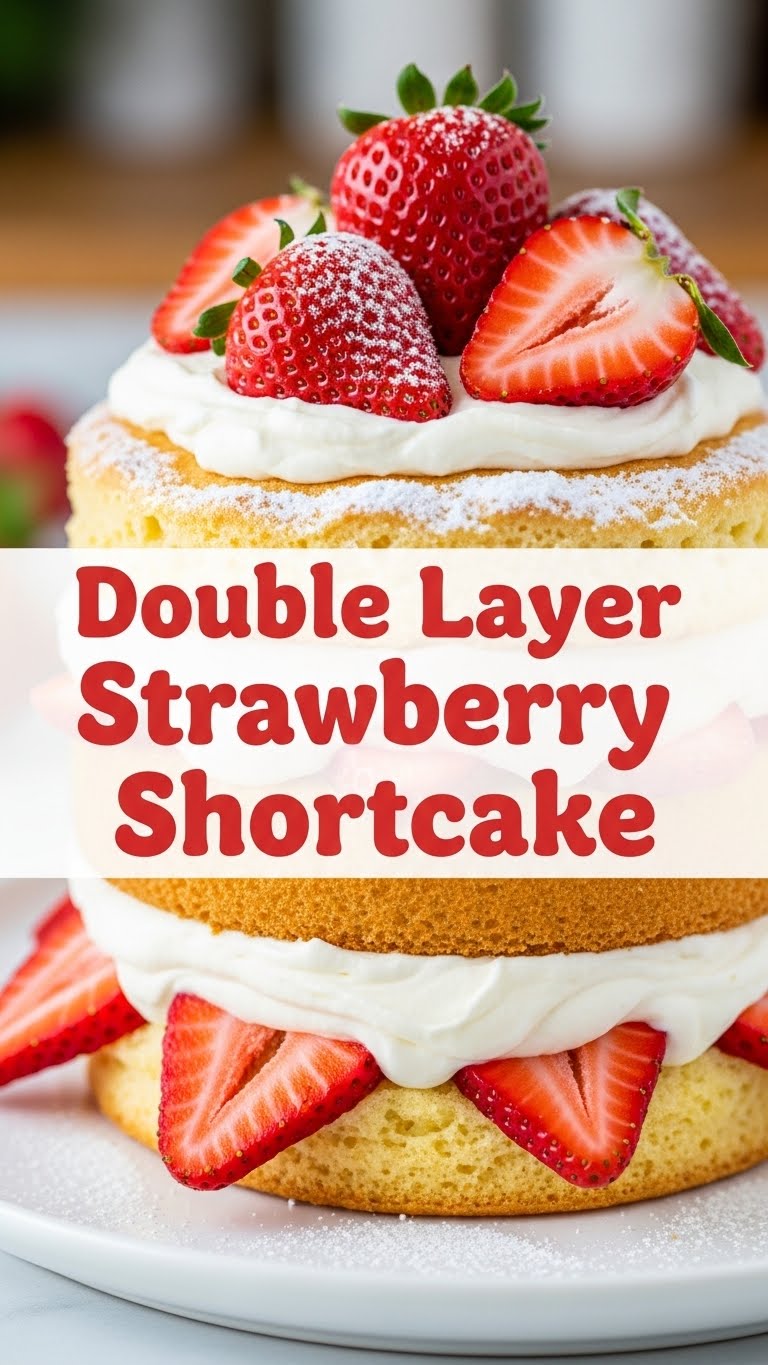
- Assemble Your Masterpiece: Once the shortcakes are cool, place one round on your serving plate. Spoon about a third of the whipped cream over it, spreading it almost to the edges. Top with half of your juicy macerated strawberries. Carefully place the second shortcake round on top. Finish with another third of the whipped cream and the remaining strawberries. Dust with a little extra powdered sugar, because sparkle is always a good idea.
Common Mistakes to Avoid
Nobody’s perfect, but we can avoid these rookie errors, okay?
- Warm Butter Disaster: Using butter that isn’t super cold. This is perhaps the biggest sin in shortcake making. Warm butter melts too quickly and won’t create those lovely flaky layers. Consider yourself warned!
- Overmixing the Dough: You’re making shortcake, not a brick. Overmixing develops too much gluten, resulting in a tough, chewy shortcake instead of a tender, crumbly one. Mix until *just* combined.
- Not Chilling Your Whipping Cream: Trying to whip warm cream is like trying to teach a cat to fetch—it just won’t work. Cold cream, cold bowl, cold beaters (if you’re feeling extra) are your best friends.
- Cutting Berries Too Early: While we macerate them, don’t slice them hours before assembly unless you want strawberry mush. They release too much liquid and can make your shortcake soggy.
- Forgetting to Preheat the Oven: Yeah, I know, it’s boring, but a properly preheated oven ensures even baking. Don’t be that person.
Alternatives & Substitutions
Feeling adventurous or missing an ingredient? No stress, we can totally adapt!
- Berry Swap: Not a strawberry fanatic (gasp!)? Or just have other fruits on hand? Raspberries, blueberries, or even a mixed berry medley would be divine. Just macerate them the same way.
- Gluten-Free Fun: You can absolutely use a 1:1 gluten-free baking flour blend for the shortcakes. Just be aware the texture might be slightly different, but still delicious!
- Dairy-Free Dream: For a dairy-free version, use plant-based butter (like Miyoko’s Kitchen) and a full-fat canned coconut cream (chilled overnight!) instead of heavy cream. For the whipped cream, the coconut cream needs to be super cold, and only use the thick cream from the top of the can. IMO, it’s pretty good!
- Citrus Zest Kick: Want a little zing? Add a teaspoon of lemon or orange zest to your shortcake dough. It brightens everything up beautifully. **I do this almost every time!**
FAQ (Frequently Asked Questions)
Got questions? I’ve got (casual) answers!
Can I make this ahead of time? You can bake the shortcakes a day ahead and store them in an airtight container at room temperature. The berries can be macerated a few hours ahead. Whip the cream and assemble right before serving for the freshest taste and best texture. Don’t assemble too early, or it’ll get soggy!
My shortcake dough is super sticky, what gives? It probably just needs a tiny bit more flour. Add a tablespoon at a time until it’s manageable. Remember, don’t overmix!
Can I use frozen strawberries? Technically, yes, but fresh is always, always best for shortcake. Frozen berries tend to release a lot more water when they thaw, making things a bit messier and potentially diluting the flavor. If you must use them, thaw them completely, drain well, and pat dry before macerating.
How long does this shortcake last? It’s truly best eaten fresh, ideally within a few hours of assembly. Leftovers are okay for a day in the fridge, but the shortcake will soften and the whipped cream might lose some of its fluff.
Do I really need to use cold butter and cream for the shortcake? Yes, you absolutely do! This isn’t a suggestion, it’s a command! Cold fats create steam in the oven, which gives you those tender, flaky layers. Don’t skip this. Trust me.
Can I make individual shortcakes instead of a double-layer cake? You bet! Divide the dough into 6-8 smaller rounds (about 3 inches each) and bake for 12-15 minutes. Just as delicious, and cute for portion control (if that’s your thing).
What if my whipped cream won’t stiffen? Is your cream cold? Is your bowl cold? Are you using heavy cream (not whipping cream, it has less fat)? If all answers are yes, keep whipping! Sometimes it just takes a minute longer. FYI, a pinch of cream of tartar can also help stabilize it.
Final Thoughts
So there you have it, champ! A double-layer strawberry shortcake that screams ‘I tried hard!’ but secretly whispers ‘it was actually super easy.’ Now go forth and conquer your kitchen, impress your friends, or just devour it all yourself. No judgment here. You’ve earned this deliciousness. Happy baking (and eating)!


