So you’re craving something ridiculously delicious, beautiful, and kinda fancy-looking but also, like, can’t be bothered with individual tiny cakes? Girl, I feel you. That’s why we’re making **Strawberry Shortcake on a Baking Tray** today. It’s the lazy person’s way to culinary genius, and trust me, your taste buds (and your Instagram feed) will thank you.
Why This Recipe is Awesome
Okay, let’s be real. Traditional strawberry shortcake is a masterpiece, but assembling those little individual cakes can feel like a high-stakes Jenga game when all you want is sugar. This tray bake version? It’s basically the superhero of desserts for the low-effort high-reward crowd. **It’s genuinely idiot-proof.** Even I, a person who once set off the smoke detector making toast, didn’t mess this up. Seriously, it’s one big, glorious slab of shortcake that you just cut and pile high with berries and cream. No fuss, maximum deliciousness. Plus, it looks super impressive without actually being difficult. Magic, right?
Ingredients You’ll Need
Gather ’round, my sweet-toothed friends. Here’s your shopping list. Nothing too wild, I promise!
- **For the Shortcake Base:**
- **2 ½ cups All-Purpose Flour:** The foundation of our deliciousness. Don’t swap for oat flour unless you’re feeling *really* adventurous.
- **½ cup Granulated Sugar:** Just enough sweetness to make it happy.
- **1 tbsp Baking Powder:** Our little lift-off agent. Makes it fluffy!
- **½ tsp Salt:** Balances everything out. Crucial, don’t skip it.
- **½ cup (1 stick) Unsalted Butter, COLD and cubed:** This is KEY for flaky goodness. Seriously, don’t even *think* about room temp butter.
- **1 cup Heavy Cream (or whole milk):** Brings it all together. Cream makes it richer, milk makes it lighter. Your call!
- **1 tsp Vanilla Extract:** A little hug for your taste buds.
- **For the Strawberry Topping:**
- **1 lb Fresh Strawberries:** Ripe, juicy, red beauties. The star of the show!
- **¼ cup Granulated Sugar:** To sweeten and draw out those gorgeous juices.
- **For the Whipped Cream:**
- **1 ½ cups Heavy Cream:** More creamy goodness.
- **2-3 tbsp Powdered Sugar (or to taste):** For a whisper of sweetness.
- **½ tsp Vanilla Extract:** Because vanilla is life.
Step-by-Step Instructions
Alright, apron on, let’s get baking! These steps are so easy, you could probably do them blindfolded (but please don’t).
- **Preheat & Prep:** Fire up your oven to **375°F (190°C)**. Line a 9×13 inch baking tray with parchment paper. This makes cleanup a breeze and prevents sticking. **Don’t skip the parchment!**
- **Mix Dry Ingredients:** In a large bowl, whisk together the flour, ½ cup sugar, baking powder, and salt. Give it a good whisk to combine everything evenly.
- **Cut in the Butter:** Add your **COLD, cubed butter** to the dry ingredients. Use a pastry blender, two knives, or even your clean fingertips to cut the butter into the flour until it resembles coarse crumbs, with some pea-sized pieces remaining. This creates pockets of delicious flakiness.
- **Add Wet Ingredients:** Pour in the heavy cream (or milk) and vanilla extract. Mix gently with a fork or spatula until just combined. **Do not overmix!** A few dry spots are totally fine. Overmixing leads to tough shortcake, and nobody wants that.
- **Press into Tray:** Dump the dough onto your prepared baking tray. Press it evenly into the pan. You can use your hands or the back of a spatula. It doesn’t need to be perfectly smooth, rustic is charming!
- **Bake It Up:** Pop it into your preheated oven and bake for **18-22 minutes**, or until the top is golden brown and a wooden skewer inserted into the center comes out clean.
- **Cool Down:** Once baked, let the shortcake cool completely on a wire rack in the pan. Patience, young grasshopper.
- **Macerate Strawberries:** While the shortcake cools, wash and hull your strawberries. Slice or dice them (your preference!) and toss them in a bowl with ¼ cup sugar. Let them sit for at least 15-20 minutes. This draws out their juices and makes them extra flavorful. Yum!
- **Whip the Cream:** In a chilled bowl with chilled beaters (this helps!), beat 1 ½ cups heavy cream with powdered sugar and vanilla extract until stiff peaks form. **Don’t overbeat, or you’ll have butter!**
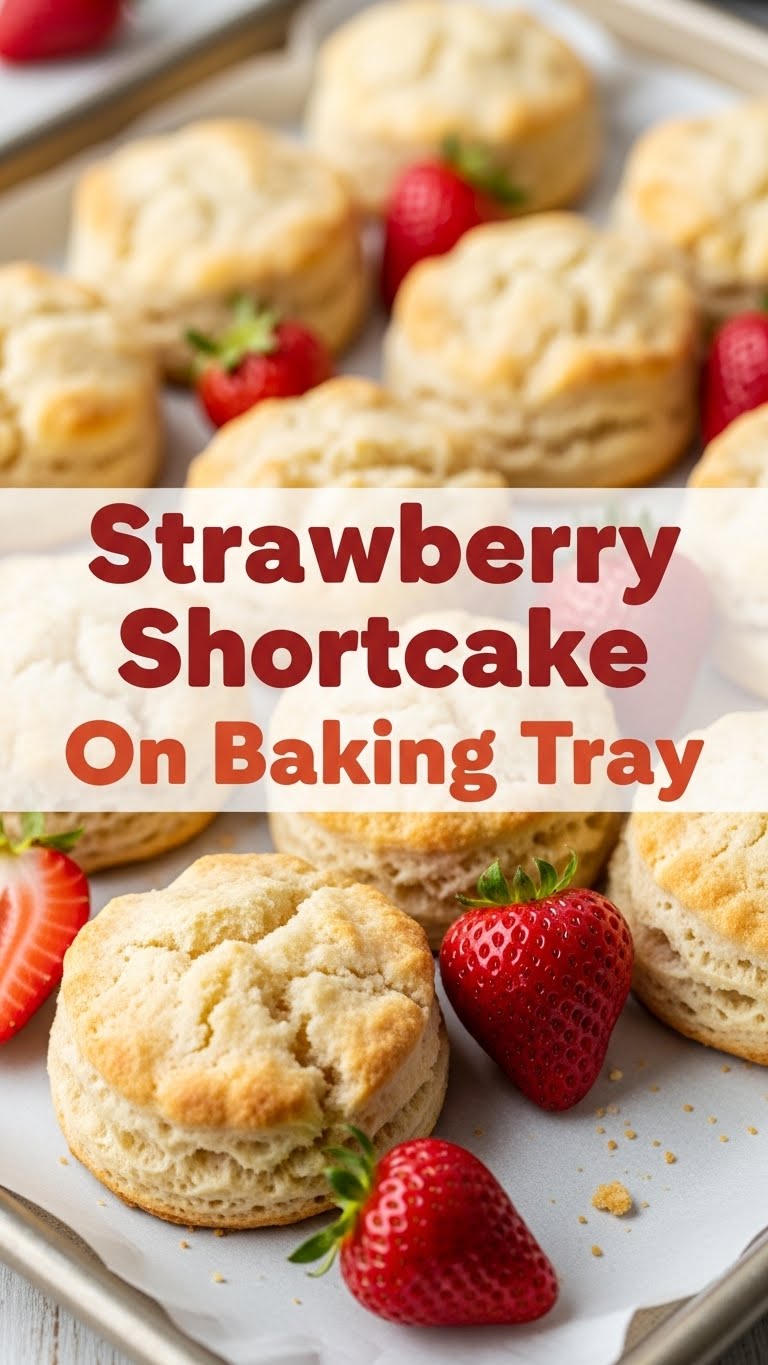
- **Assemble & Serve:** Once the shortcake is cool, gently lift it out of the pan using the parchment paper. Cut it into squares or rectangles. Place a piece on a plate, spoon a generous amount of strawberries and their lovely juices over it, and top with a big dollop of fresh whipped cream. Dive in!
Common Mistakes to Avoid
Listen up, buttercup! Avoid these pitfalls for shortcake success:
- **Warm Butter Syndrome:** Thinking you can use room temperature butter. **NO!** Cold butter is essential for that flaky, tender texture. It melts slowly in the oven, creating steam that puffs up the layers. Warm butter just mixes in and makes it dense. Rookie mistake, learn from me!
- **Overmixing the Dough:** Once you add the liquid, mix *just* until combined. A few lumps are your friend here. Overmixing develops gluten, which makes the shortcake tough and chewy. We want tender, not tire-like.
- **Not Preheating the Oven:** Your oven needs to be at the correct temperature *before* the shortcake goes in. Otherwise, it won’t rise properly and will bake unevenly. Planning ahead, people!
- **Cutting Strawberries Too Early:** If you cut and sugar the strawberries too far in advance, they can get mushy. Do it while the shortcake cools, or at most, an hour before serving.
Alternatives & Substitutions
Feeling creative? Here are some ways to shake things up:
- **Different Fruits:** Not a strawberry fan? Or just want variety? This recipe works beautifully with other berries (raspberries, blueberries), sliced peaches, or even a mix of summer fruits. Just toss them with a little sugar like the strawberries. IMO, fresh is always best!
- **Dairy-Free:** You can swap the heavy cream for a full-fat coconut cream (the thick part from a can of chilled coconut milk) in both the shortcake and the whipped topping. Just make sure your coconut cream is *very* cold for whipping! For the shortcake, a plant-based milk and vegan butter will work.
- **Whole Wheat Flour:** You can substitute up to half of the all-purpose flour with whole wheat flour for a slightly nuttier flavor and more rustic texture. Just be aware it might be a bit denser.
- **Citrus Zest:** Add a teaspoon of lemon or orange zest to the dry ingredients for a brighter, more aromatic shortcake. Such a simple trick but makes a huge difference!
FAQ (Frequently Asked Questions)
- **Can I use margarine instead of butter?** Well, technically yes, but why hurt your soul like that? Butter provides superior flavor and texture. Margarine just won’t give you that same rich, flaky goodness. Stick to butter, you deserve it.
- **How long does the shortcake last?** The baked shortcake (un-assembled) can be stored in an airtight container at room temperature for up to 2 days. Once assembled, it’s best eaten within a few hours, as the shortcake will start to get soggy from the fruit juices and cream.
- **Can I make this ahead of time?** Absolutely! You can bake the shortcake base a day in advance. Prepare the strawberries and whip the cream just before serving for the best results. This is a great party hack!
- **My shortcake isn’t rising much, what happened?** A few culprits: old baking powder (check the expiry!), overmixing the dough, or an oven that wasn’t fully preheated. Make sure your ingredients are fresh and your technique is gentle!
- **Can I use frozen strawberries?** You can, but they tend to be much softer and release more water. Thaw them, drain any excess liquid, and then proceed with sugaring. The texture won’t be quite the same as fresh, but it’ll still taste good!
- **What if I don’t have a 9×13 inch tray?** A slightly smaller or larger rectangular pan will work, but baking times might vary. Keep an eye on it – you want golden brown and cooked through.
Final Thoughts
See? I told you it was easy! Now you’ve got a killer, crowd-pleasing dessert that didn’t require an advanced degree in pastry arts. Whether you’re whipping this up for a spontaneous get-together or just to treat yourself (because, why not?), you’re going to love it. So go impress someone—or yourself—with your new culinary skills. You’ve earned it!


