So, you’ve got that craving for something sweet, a little fruity, and seriously, effortlessly impressive, but also want to keep your kitchen from looking like a crime scene? You and me both, friend. Good news: I’ve got your back with the fluffiest, dreamiest strawberry shortcake recipe that basically makes *you* look like a baking genius without all the fuss. Let’s get this party started!
Why This Recipe is Awesome
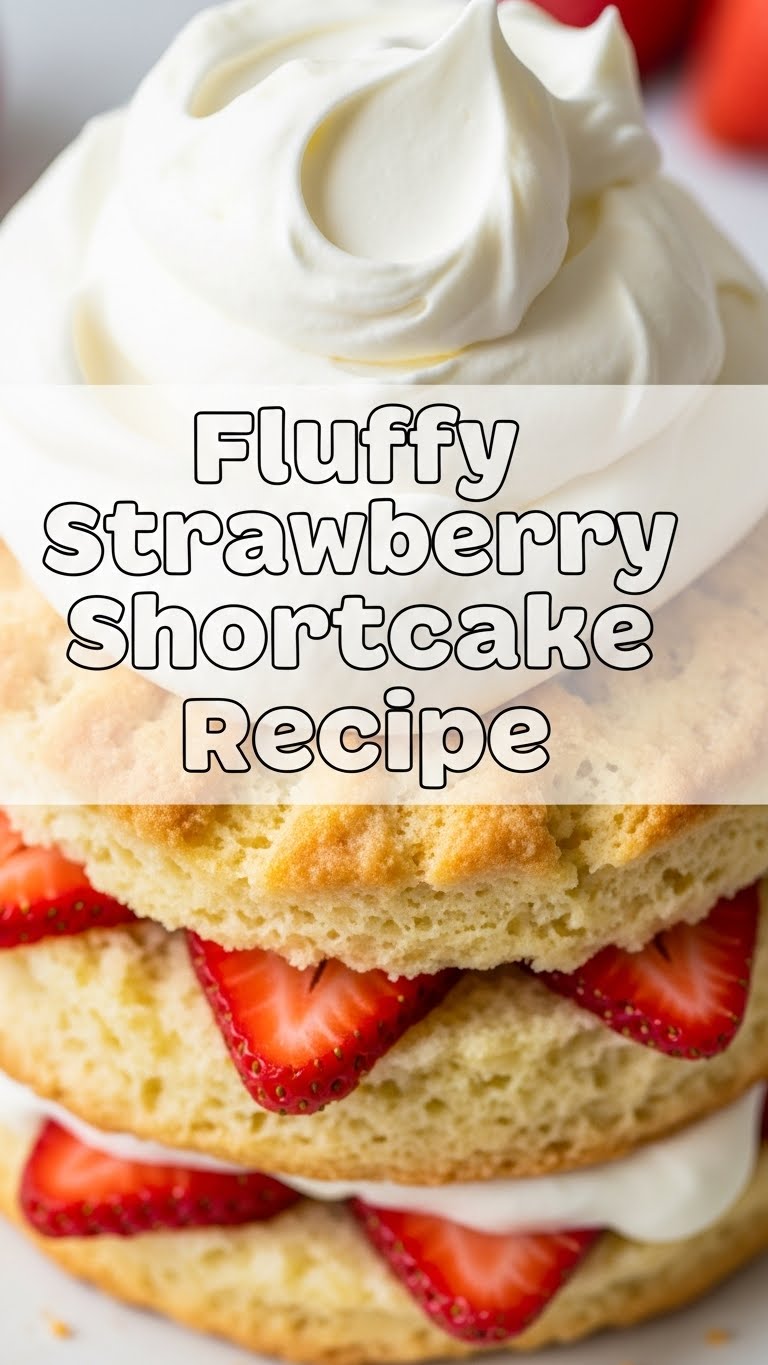
Honestly, this isn’t just a recipe; it’s a superpower. Why? Because it delivers maximum deliciousness with minimum effort. We’re talking flaky, tender biscuits, sweet macerated strawberries, and clouds of homemade whipped cream. It’s so easy, **you don’t need a culinary degree or even a steady hand.** Seriously, even I didn’t mess it up, and my track record with anything more complex than toast is… spotty. Plus, it looks fancy enough to fool guests into thinking you spent hours slaving away. Score!
Ingredients You’ll Need
Gather ’round, my fellow kitchen adventurers! Here’s your treasure map to deliciousness. No exotic spices or ancient artifacts needed, just good old pantry staples.
- 2 cups self-rising flour: Or, if you’re feeling fancy (or just don’t have self-rising), whisk together 2 cups all-purpose flour, 1 tablespoon baking powder, and ½ teaspoon salt. Ta-da! Instant self-rising.
- 2 tablespoons granulated sugar: Just enough to sweeten the biscuits without being cloyingly sweet.
- ½ cup (1 stick) unsalted butter, COLD and cubed: This is non-negotiable, folks! **Cold butter is the secret to flaky biscuits.** Don’t even *think* about room temperature butter, unless you want brick-like shortcakes.
- ¾ cup heavy cream (plus a little extra for brushing): This is for the biscuits. We’re making a rich dough here!
- 1 lb fresh strawberries: Hull ’em, slice ’em, admire their summery glory.
- ¼ cup granulated sugar (for strawberries): More or less, depending on how sweet your berries are and how much of a sweet tooth you have.
- 1 ½ cups cold heavy cream (for whipping): Keep it chilly!
- ¼ cup powdered sugar: For the whipped cream. Feel free to adjust to your desired sweetness.
- 1 teaspoon vanilla extract (optional, but highly recommended): Elevates the whipped cream to celestial levels.
Step-by-Step Instructions
Alright, aprons on, metaphorical chef hats donned! Let’s bake some magic.
- Prep Your Berries: First things first, get those strawberries ready. Hull and slice them into bite-sized pieces. Toss them gently with the ¼ cup granulated sugar in a medium bowl. Let them hang out and macerate (that’s fancy talk for “get juicy”) while you make the biscuits.
- Get Biscuit-Ready: Preheat your oven to 400°F (200°C). Line a baking sheet with parchment paper. Trust me, it makes cleanup a breeze.
- Mix Dry Ingredients: In a large bowl, whisk together the self-rising flour (or your DIY mix) and the 2 tablespoons of sugar.
- Cut in the Butter: Add your cold, cubed butter to the flour mixture. Now, with a pastry blender, two knives, or your fingertips, cut the butter into the flour until it resembles coarse crumbs with some pea-sized pieces remaining. **Don’t overmix!** Lumps are your friend here.
- Add the Cream: Pour in the ¾ cup heavy cream. Stir gently with a fork until just combined and a shaggy dough forms. Again, resist the urge to overmix. A little crumbly is good.
- Shape and Cut: Turn the dough out onto a lightly floured surface. Gently pat it into a disc about ¾ to 1 inch thick. Use a 2.5-inch biscuit cutter (or a glass rim if you’re old school like me) to cut out biscuits. You should get about 6-8. Reroll scraps gently if needed.
- Bake ‘Em Up: Place the biscuits on your prepared baking sheet. Brush the tops with a little extra heavy cream for a golden finish. Bake for 12-15 minutes, or until they’re beautifully golden brown and risen. Let them cool slightly on a wire rack.
- Whip the Cream: While the biscuits are cooling, grab your super-cold heavy cream, powdered sugar, and vanilla extract. In a chilled bowl with chilled beaters (pro tip!), whip everything together on high speed until soft peaks form. Don’t go crazy and make butter, unless you’re into that.
- Assemble Your Masterpiece: Once the biscuits are cool enough to handle, split each one in half horizontally. Spoon a generous amount of those juicy strawberries onto the bottom half. Top with a dollop (or three!) of your glorious whipped cream, then pop the biscuit top back on. Repeat until all your shortcakes are built.
Common Mistakes to Avoid
Nobody’s perfect, but we can at least avoid the most common shortcake blunders. Consider these friendly warnings from someone who’s made them all.
- Using Warm Butter: Rookie mistake! **Warm butter melts too quickly, leading to flat, tough biscuits.** Keep it cold, my friend, like your ex’s heart.
- Overmixing the Dough: This is a cardinal sin. Overworking develops the gluten too much, resulting in dry, dense, and sad biscuits. We want fluffy! **Mix until just combined.**
- Not Preheating the Oven: Impatience will cost you. A hot oven is crucial for that initial lift, giving you those tall, proud shortcakes.
- Forgetting to Chill Whipping Cream/Bowl: Warm cream just won’t whip properly. It’ll stay liquid and mock you. **Pop your bowl and beaters in the freezer for 10-15 minutes before whipping.**
- Cutting Biscuits with a Twisting Motion: When you cut the biscuits, press straight down and pull straight up. Twisting seals the edges, preventing them from rising as high.
Alternatives & Substitutions
Feeling rebellious? Or maybe you just ran out of something. No worries, we can totally pivot!
- Other Berries: Strawberries are classic, but blueberries, raspberries, or a mixed berry medley are equally fantastic. Peaches or even grilled pineapple would be an interesting twist!
- Store-Bought Shortcake: Look, I won’t judge. If you’re really pressed for time (or just feeling extra lazy), grab some pre-made shortcake cups or even plain pound cake. It won’t be quite the same fluffy experience, but it’ll still be delicious.
- Non-Dairy Cream: For those avoiding dairy, full-fat coconut cream (chilled, scoop out the thick part) can make a decent whipped cream substitute. Just know it’ll have a slight coconut flavor.
- Spices: A pinch of cinnamon or nutmeg in the biscuit dough can add a lovely warmth.
FAQ (Frequently Asked Questions)
Got questions? I’ve got (mostly) sarcastic answers!
Can I use margarine instead of butter? Well, technically yes, but why hurt your soul like that? Butter provides superior flavor and flakiness. If you *must*, use a high-quality stick margarine, but don’t say I didn’t warn you.
My biscuits didn’t rise, what gives? Did you use cold butter? Did you overmix? Was your baking powder (if using regular flour) still active? These are usually the culprits. **Fresh ingredients and a light touch are key!**
How far in advance can I make this? The biscuits are best fresh, but you can bake them a few hours ahead. The strawberries can macerate for a couple of hours in the fridge. The whipped cream can be made an hour or two ahead, but give it a quick re-whip before serving. **Assemble right before eating for the best texture!**
I don’t have a biscuit cutter, what else can I use? A drinking glass with a thin rim works perfectly. Just dip the rim in flour between cuts to prevent sticking.
Can I add zest to the biscuits? Oh, absolutely! Lemon or orange zest would be a lovely addition to the biscuit dough for an extra layer of flavor. You do you!
How do I store leftovers? If by some miracle you have leftovers (what even is that?), store the components separately in the fridge. Assembled shortcakes will get soggy pretty quickly.
Final Thoughts
So there you have it, folks! Your new favorite, super-easy, ridiculously fluffy strawberry shortcake recipe. You’ve navigated the flour, conquered the butter, and whipped cream like a pro. Now go impress someone—or yourself, because let’s be real, you deserve it—with your new culinary skills. You’ve earned it!


