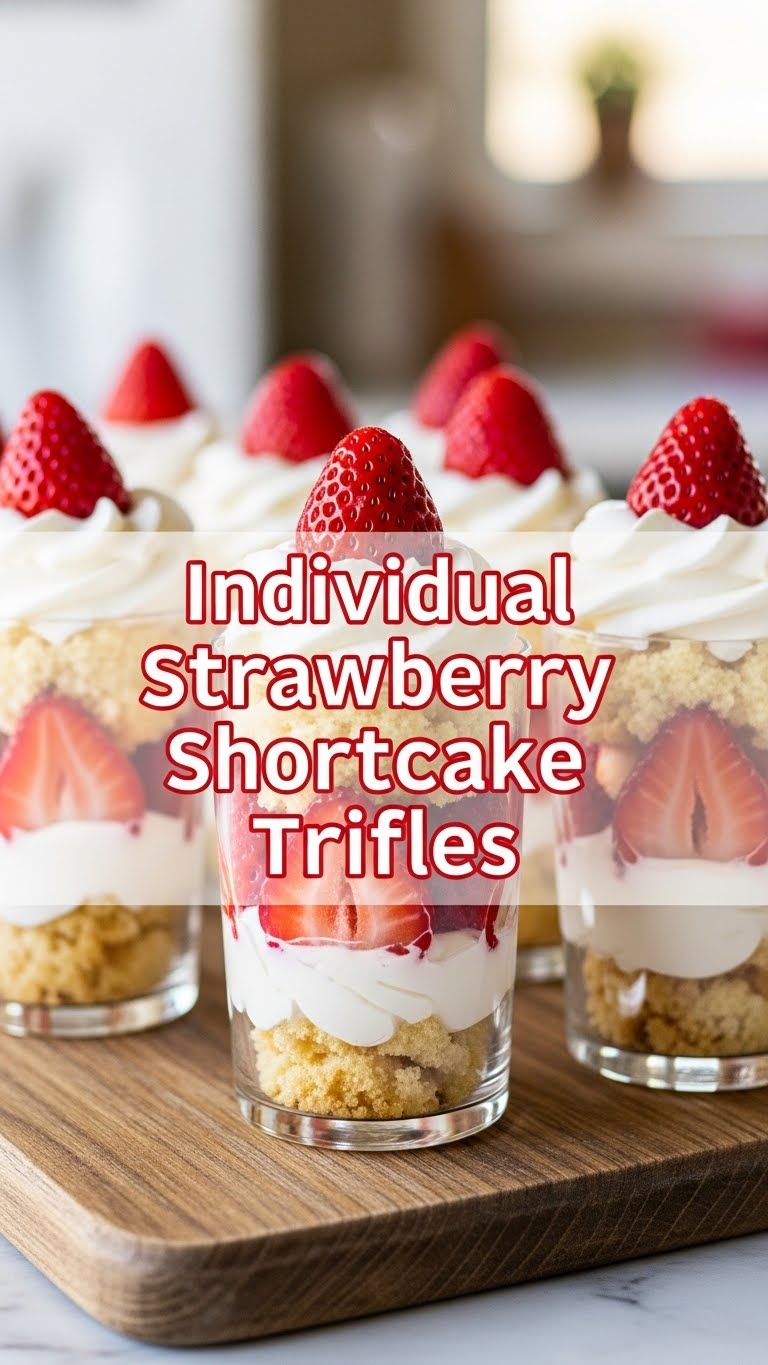
So, you’re craving something ridiculously tasty but your energy levels are hovering somewhere around “send help and snacks,” huh? Same, friend, *same*. We’re not about to spend hours baking a fancy cake when there are important things to do, like rewatching that comfort show for the fifth time. Enter the superstar of easy-peasy desserts: **Individual Strawberry Shortcake Trifles!**
Why This Recipe is Awesome
Seriously, this recipe is a godsend. It’s the culinary equivalent of “Netflix and chill”—super low effort, incredibly high reward. We’re talking layers of creamy, fruity, cakey goodness without breaking a sweat. It looks incredibly impressive, like you *actually* tried, but shhh… that’s our little secret. It’s practically idiot-proof, even for those of us who once nearly made savory cookies (long story, don’t ask). **No baking an entire cake, no complicated decorating, just pure, unadulterated joy in a glass.**
Ingredients You’ll Need
Get ready to grab some goodies. We’re going for quality, but also maximum convenience. No judgment here!
- Fresh Strawberries: The absolute stars of the show! Look for bright red, plump ones. Don’t even *think* about frozen ones here, unless you’re a fan of sad, watery berries.
- Granulated Sugar: Just a tiny bit for the strawberries to get them extra juicy and fabulous.
- Heavy Cream (aka Whipping Cream): Go full-fat or go home, my friend. This is where the magic happens for that cloud-like whipped cream.
- Powdered Sugar (aka Confectioners’ Sugar): For the whipped cream. Nobody wants gritty whipped cream, right? This dissolves like a dream.
- Vanilla Extract: A little hug for your whipped cream. Pure vanilla, please!
- Store-Bought Pound Cake or Angel Food Cake: This is your ultimate cheat code. Seriously, unless you *enjoy* extra dishes and stress, buy it. You’re welcome.
- Lemon Zest (Optional but Recommended): A little zing that just elevates everything. If you’re feeling fancy, this is your moment.
Step-by-Step Instructions
Alright, let’s get layering! This is so simple, you’ll wonder why you ever bought a dessert.
- First things first: the strawberries! Hull and slice them up. Toss the slices gently with 1-2 tablespoons of granulated sugar in a medium bowl. Give them a good stir, then let them sit for about 15-20 minutes. This little “macerating” step helps them release their delicious juices and intensifies their flavor. **Don’t skip it!**
- While the berries are doing their thing, let’s make some glorious whipped cream. In a chilled bowl (a cold bowl really helps!), pour in your heavy cream, powdered sugar (start with about 1/4 cup and adjust to your sweet tooth), and a teaspoon of vanilla extract.
- Using an electric mixer (or a whisk if you’re feeling ambitious), beat on medium-high speed until you have **fluffy, stiff peaks**. This means when you lift the beater, the cream holds its shape. Keep an eye on it – you want clouds, not butter! If you’re adding lemon zest, fold it in gently now.
- Now for the cake! Grab your store-bought pound cake or angel food cake and cut it into bite-sized cubes. Aim for pieces that fit nicely into your serving glasses or jars.
- Time to assemble! Get your favorite clear glasses, mason jars, or even cute teacups. Start with a layer of cake cubes at the bottom.
- Next, spoon a generous layer of those juicy strawberries (and their glorious syrup!) over the cake.
- Follow that with a big dollop of your freshly whipped cream.
- Repeat the layers: more cake, more strawberries, more cream. Finish with a beautiful swirl of whipped cream and a few extra strawberry slices on top for that “chef’s kiss” aesthetic.
- Pop them in the fridge for at least 30 minutes to let the flavors meld and everything chill out. **IMO, they taste even better after an hour or two.**
Common Mistakes to Avoid
Even though this is pretty foolproof, there are a couple of small traps you can easily sidestep. Consider this your friendly warning!
- Over-whipping the Cream: We want light, airy whipped cream, not grainy, separated butter. Keep a close eye on it! As soon as it hits stiff peaks, stop. No need to go full-on Hulk mode with the mixer.
- Skipping the Macerating Step: “But I’m impatient!” you cry. I get it. But those 15 minutes allow the strawberries to release their juices, creating a delicious syrupy layer that makes all the difference. **Patience, young grasshopper.**
- Not Chilling Them Enough: A warm trifle is just… sad. The chilling time allows the cake to soak up some strawberry goodness and the cream to set a bit, making for a much better spoonful.
- Using Too Much Cake or Too Little Cream: It’s all about balance, baby! Aim for roughly equal layers of everything so you get a perfect bite of cake, berry, and cream every single time.
Alternatives & Substitutions
Feeling rebellious? Want to mix it up? I got you! This recipe is super flexible.
- Other Berries: Swap out strawberries for raspberries, blueberries, blackberries, or even a mix of all your faves! Peaches or cherries would also be divine.
- Different Cake Bases: Instead of pound cake, try crumbled shortbread cookies, ladyfingers, or even small pieces of a baked scone for a more traditional shortcake vibe. Leftover brownies? Oh, that would be a chocolate-strawberry dream!
- Creamy Layers: If you want to get fancy, fold some mascarpone cheese into your whipped cream for a richer texture. Or for a tangy twist, a very lightly sweetened cream cheese frosting would also work.
- Flavor Boosters: A splash of Grand Marnier or Cointreau in the strawberries (if you’re into that sort of thing) or a different extract like almond extract in the whipped cream can be fun!
FAQ (Frequently Asked Questions)
Got questions? I’ve got answers. (Mostly.)
- Can I make these ahead of time? Oh, absolutely! They’re actually *better* after chilling for a few hours. I wouldn’t go more than 24 hours, though, as the cake can get a bit soggy.
- What if I don’t have individual serving glasses? No problem! Use a small bowl, a mason jar, or heck, even a fancy teacup. Get creative!
- My whipped cream isn’t getting stiff. Help! Make sure your heavy cream is **very cold**. Also, ensure your mixing bowl and whisk are super clean and grease-free. Sometimes it just needs a little more time, so keep beating!
- Can I use frozen strawberries? Well, technically yes, but why hurt your soul like that? They tend to be watery and lack the fresh, vibrant flavor. If you *must*, thaw them completely and drain thoroughly, but fresh is definitely best, **FYI**.
- How long do they last in the fridge? Best eaten within 1-2 days. After that, the strawberries can get a bit too mushy, and the cake can get overly soft.
Final Thoughts
See? Told you it was easy! Now you’ve got these adorable, delicious individual strawberry shortcake trifles ready to impress whoever is lucky enough to get one (or just yourself, no judgment here!). Go ahead, pat yourself on the back. You deserve it! You just whipped up something amazing with minimal effort, and that’s a win in my book. Now go enjoy your sweet victory!


