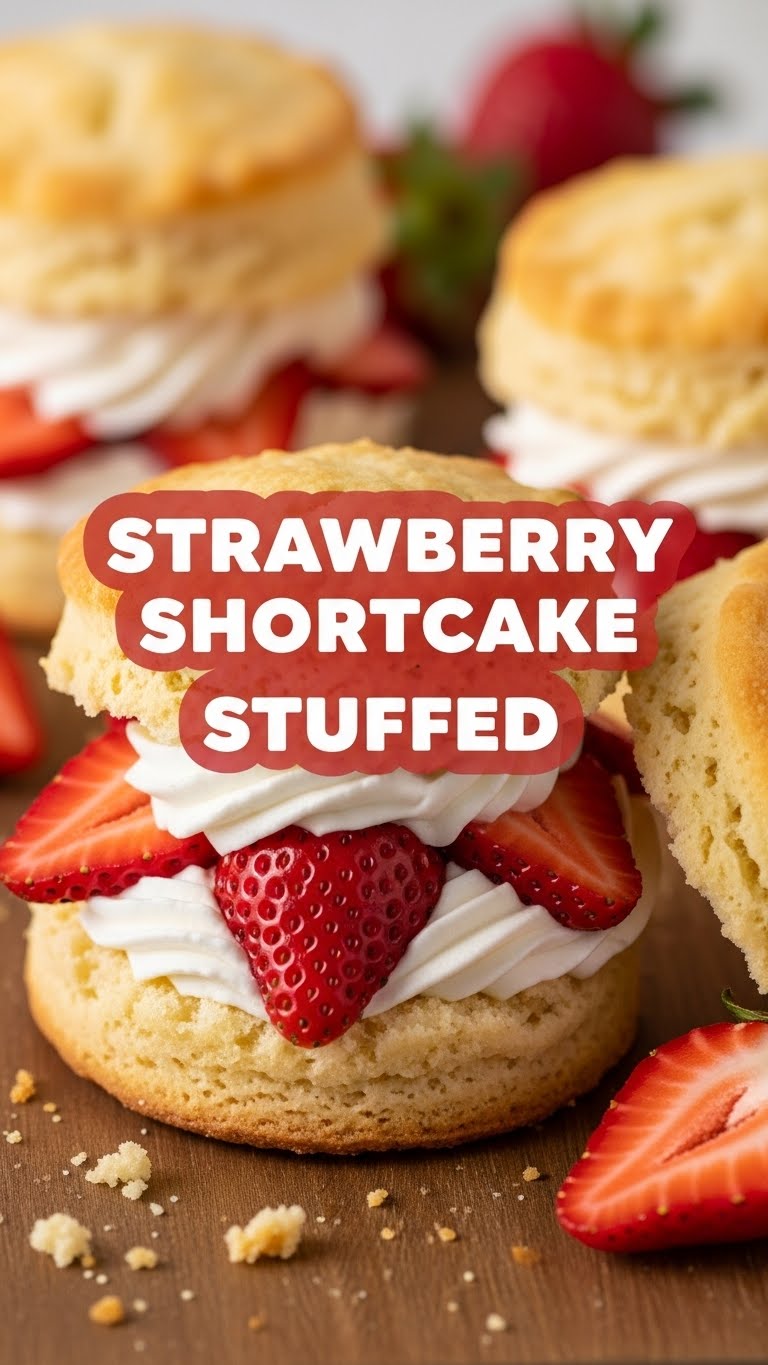
Alright, friend, let’s be real for a sec. Sometimes you want a dessert that screams “I tried really hard!” but secretly whispers “I barely lifted a finger.” And you want strawberries. And shortcake. And… wait, why not both, *together*? Like, properly *stuffed* together. Yeah, you heard me. Prepare your tastebuds, because we’re diving into the glorious world of Strawberry Shortcake Stuffed!
Why This Recipe is Awesome
Because it’s basically a magic trick for your mouth, that’s why! This isn’t your grandma’s dry, crumbly shortcake (no offense, Nana, yours was fine). This is moist, fluffy, bursting-with-berry goodness that’s so good, you’ll wonder why you ever settled for anything less. Plus, it’s pretty much **idiot-proof**. Even I, the queen of kitchen catastrophes, manage to pull this off without a single tear (unless they’re tears of joy, of course).
It looks impressive enough to wow guests, but the effort level is so low, you’ll have plenty of time for, well, anything else. Like perfecting your couch-potato skills. Or, you know, doing dishes. (Kidding! Sort of.)
Ingredients You’ll Need
Get ready for a grocery list that won’t require a second mortgage. Simple, fresh, and ready to get delicious:
- **All-Purpose Flour:** The foundation of your shortcake dreams. Don’t worry, it’s not judging your baking skills.
- **Granulated Sugar:** Sweetness! A little for the shortcake, a little for the berries. Because life’s short, eat dessert.
- **Baking Powder:** Our lift-off agent! This is what makes your shortcake fluffy, not flat. Don’t skip it unless you *like* dense bricks.
- **Salt:** Just a pinch to make everything else pop. Trust me, it makes a difference.
- **Cold Butter:** Key word: **cold**! Cubed, please. This is crucial for flaky deliciousness. Think of it as tiny, buttery pockets of joy.
- **Heavy Cream:** For the shortcake dough and for whipping into glorious, cloud-like peaks. Because what’s shortcake without whipped cream, right?
- **Fresh Strawberries:** The stars of our show! Washed, hulled, and sliced. The redder, the better!
- **Vanilla Extract:** Just a splash to make everything smell and taste amazing.
Step-by-Step Instructions
- **Prep the Berries (First Things First!):** Grab those lovely sliced strawberries and toss them gently with about 1-2 tablespoons of sugar (adjust to your sweetness preference, you rebel!). Let them hang out on the counter while you do everything else. They’ll get all juicy and delicious, FYI.
- **Mix the Dry Stuff:** In a big bowl, whisk together your flour, the rest of your sugar, baking powder, and salt. Make sure it’s all combined evenly. No one likes a lumpy shortcake.
- **Cut in the Butter:** Now for the fun part! Add your cold, cubed butter to the dry ingredients. Use a pastry blender, two knives, or even your clean fingertips to cut the butter into the flour until it resembles coarse crumbs, like little peas. **Don’t overmix!**
- **Add the Wet Stuff:** Pour in your cold heavy cream and vanilla extract. Stir it with a fork just until the dough *barely* comes together. It should still look a little shaggy. Resist the urge to knead it like bread – we’re going for tender, not tough.
- **Form and Cut:** Turn the dough out onto a lightly floured surface. Gently pat it into a round disc, about ¾ to 1 inch thick. Now, using a biscuit cutter or even a glass, cut out your shortcakes. You should get about 6-8.
- **Bake ‘Em Up!** Place your shortcakes on a baking sheet lined with parchment paper. Pop ’em into a preheated oven (check the recipe card for temperature, but usually around 400°F/200°C) for about 12-15 minutes, or until they’re golden brown and smell absolutely divine.
- **Whip the Cream:** While your shortcakes are baking, whip up some fresh cream! In a cold bowl with cold beaters, whip heavy cream with a tablespoon or two of sugar and a dash of vanilla until you have beautiful, fluffy peaks.
- **Assemble and Stuff:** Once the shortcakes are out and have cooled slightly (just enough so they don’t melt the cream instantly), carefully slice each one horizontally. Spoon a generous dollop of whipped cream onto the bottom half, then pile on those juicy, sugared strawberries. Top with the other half of the shortcake and add another little dollop of cream and a few more berries if you’re feeling fancy.
- **Devour!** Seriously, don’t wait. Dig in and enjoy your masterpiece!
Common Mistakes to Avoid
Listen, we all make mistakes. But let’s try to avoid these rookie blunders, shall we?
- **Warm Butter:** Seriously, this is the biggest no-no. **Warm butter equals sad, flat shortcakes.** Keep it cold, people!
- **Overmixing the Dough:** You’re making a tender shortcake, not a gluten-packed pizza crust. Mix just until combined. A little shaggy is good!
- **Not Preheating the Oven:** Thinking you don’t need to preheat? Rookie mistake! A cold oven will mess with the rise and texture. Give it time to get hot.
- **Skimping on the Strawberries/Cream:** This is a *stuffed* shortcake, after all! Don’t be shy with the good stuff. More is more, IMO.
- **Using Old Baking Powder:** If your baking powder has been sitting in the back of your pantry since the dinosaurs roamed, it might not be potent enough. Test it in a little hot water; if it fizzes, you’re good. If not, get fresh!
Alternatives & Substitutions
Feeling a little rebellious? Here are some ways to shake things up!
- **Berry Swaps:** Not feeling strawberries? **Raspberries, blueberries, or mixed berries** would be fantastic! Just follow the same sugaring process.
- **Citrus Zest:** Add a teaspoon of **lemon or orange zest** to the dry ingredients for a brighter, more aromatic shortcake. Game changer!
- **Vegan/Dairy-Free:** You can definitely find dairy-free butter alternatives and coconut cream (chilled, for whipping) to make this plant-based. Results might vary slightly, but it’ll still be delish!
- **Gluten-Free Flour:** Use a good quality 1:1 gluten-free baking flour blend. Make sure it contains xanthan gum for the best texture.
- **Sweetener Alternatives:** You can use a sugar substitute in the berries and cream if you’re watching your sugar intake.
FAQ (Frequently Asked Questions)
Got questions? I’ve got (casual) answers!
**Q: Can I make the shortcakes ahead of time?**
A: You sure can! Bake them, let them cool completely, and store them in an airtight container at room temp for a day or two. Reheat gently if you like, but really, they’re best assembled fresh. Nobody likes a soggy shortcake!
**Q: Can I use frozen strawberries?**
A: Technically yes, but I wouldn’t recommend it for the best flavor and texture. If you absolutely must, make sure to thaw them completely and drain off any excess liquid before sugaring, otherwise, you’ll have a watery mess.
**Q: My shortcakes didn’t rise! What happened?**
A: Did you use cold butter? Did you overmix the dough? Is your baking powder fresh? These are usually the culprits! Also, make sure your oven was preheated properly.
**Q: Is freshly whipped cream *really* necessary? Can’t I just use the stuff in a can?**
A: Well, you *can*, but why hurt your soul like that? Freshly whipped cream takes literally 2 minutes and tastes a million times better. Seriously, it’s worth the extra step.
**Q: How do I store leftovers?**
A: Assembled shortcakes don’t store super well (they get a bit soggy). If you have leftovers, store the components separately – shortcakes in an airtight container, berries in the fridge, and whipped cream in a separate container. Assemble when ready to eat!
**Q: Can I add chocolate chips to the shortcake dough?**
A: Oh, you little rebel! Yes, absolutely. Go wild. You do you.
Final Thoughts
So there you have it! A dessert that’s ridiculously easy, utterly delicious, and bound to make you feel like a culinary superstar. Go forth and impress someone—or just yourself, no judgment here—with your new “Strawberry Shortcake Stuffed” culinary skills. You’ve earned this moment of pure, unadulterated shortcake bliss!


