So, you just scrolled past a picture of strawberry shortcake and now your brain won’t shut up about it, right? Welcome to my world. Good news: we’re about to fix that craving without needing a culinary degree or, honestly, much effort at all. Forget those fussy, overly complicated recipes. We’re going for maximum deliciousness with minimum fuss. Let’s get baking!
Why This Recipe is Awesome
Why this shortcake, you ask? Because it’s literally the easiest way to feel like a baking superstar without, you know, actually being one. It’s quick, it’s fresh, and it’s so ridiculously simple that even if you usually burn water, you’ve got this. Plus, it screams ‘summer picnic’ even if it’s snowing outside. No fancy techniques, no obscure ingredients – just pure, unadulterated deliciousness that will have everyone asking for seconds. You’re welcome.
Ingredients You’ll Need
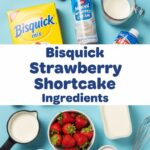
Gather ’round, my future shortcake champion! Here’s what you’ll need to transform into a dessert wizard:
- For the Biscuits (aka the ‘Shortcake’ part):
- 2 cups all-purpose flour: The backbone of your shortcake dreams. Don’t overthink it.
- 1 tablespoon baking powder: The magic dust that makes it rise. Essential, don’t skip!
- 1/2 teaspoon salt: Balances the sweetness, trust me on this.
- 1/4 cup granulated sugar: Just enough sweetness for the biscuit itself.
- 6 tablespoons unsalted butter, COLD and cubed: This is crucial! Cold butter = flaky biscuits. Don’t melt it, you monster.
- 1 large egg: Binds it all together, like glue, but tastier.
- 1/2 cup milk: Any milk works, but whole milk makes it extra lush.
- For the Strawberries (the ‘Star’ of the Show):
- 1 pound fresh strawberries, hulled and sliced: The prettier, the better. And don’t even *think* about frozen for this.
- 1/4 cup granulated sugar: To get those berries juicy and perfect. More if your berries aren’t super sweet.
- For the Whipped Cream (the ‘Cloud’ on Top):
- 1 cup heavy whipping cream, very cold: Seriously, cold is key for good whip.
- 2 tablespoons powdered sugar: For that subtle sweetness and smooth texture.
- 1/2 teaspoon vanilla extract: Makes everything taste like a hug.
Step-by-Step Instructions
- Berry Prep Party: Grab your lovely sliced strawberries. Toss them gently in a bowl with 1/4 cup sugar. Give them a quick stir, then let them chill out on the counter. They’ll release their sweet juices, creating a syrupy masterpiece while you do the rest.
- Oven Warm-up: Preheat your oven to a toasty 400°F (200°C). Line a baking sheet with parchment paper, because nobody likes scrubbing.
- Dry Mix Magic: In a big bowl, whisk together the flour, baking powder, salt, and the 1/4 cup of sugar for the biscuits. Make sure it’s all combined.
- Butter Up (Literally): Add your cold, cubed butter to the dry ingredients. Use your fingers (or a pastry blender if you’re fancy) to cut the butter into the flour until it looks like coarse crumbs, with some pea-sized bits remaining. This is where the flakiness lives!
- Wet Ingredients Unite: In a separate small bowl, whisk the egg and milk together. Pour this glorious mixture into your flour-butter combo.
- Mix, Don’t Mangle: Stir with a fork just until the dough *barely* comes together. Do not overmix! A shaggy dough is a happy dough. Overmixing makes tough shortcake, and nobody wants that.
- Shape Shift: Lightly flour a clean surface. Turn your dough out and gently pat it into a 3/4-inch thick round. Use a 2-3 inch round cookie cutter (or a glass rim) to cut out your biscuits. Don’t twist the cutter; press straight down. Gather the scraps, pat them together, and cut more. You should get about 6-8 biscuits.
- Bake It ‘Til Golden: Place your biscuits on the prepared baking sheet. Pop them into the preheated oven for 12-15 minutes, or until they’re golden brown and smell absolutely divine.
- Whip It Good: While the biscuits cool (a little!), get out your very cold heavy cream, powdered sugar, and vanilla. Using an electric mixer (or serious arm power!), beat them on high until stiff peaks form. Don’t overbeat, or you’ll have butter, and that’s a different recipe.
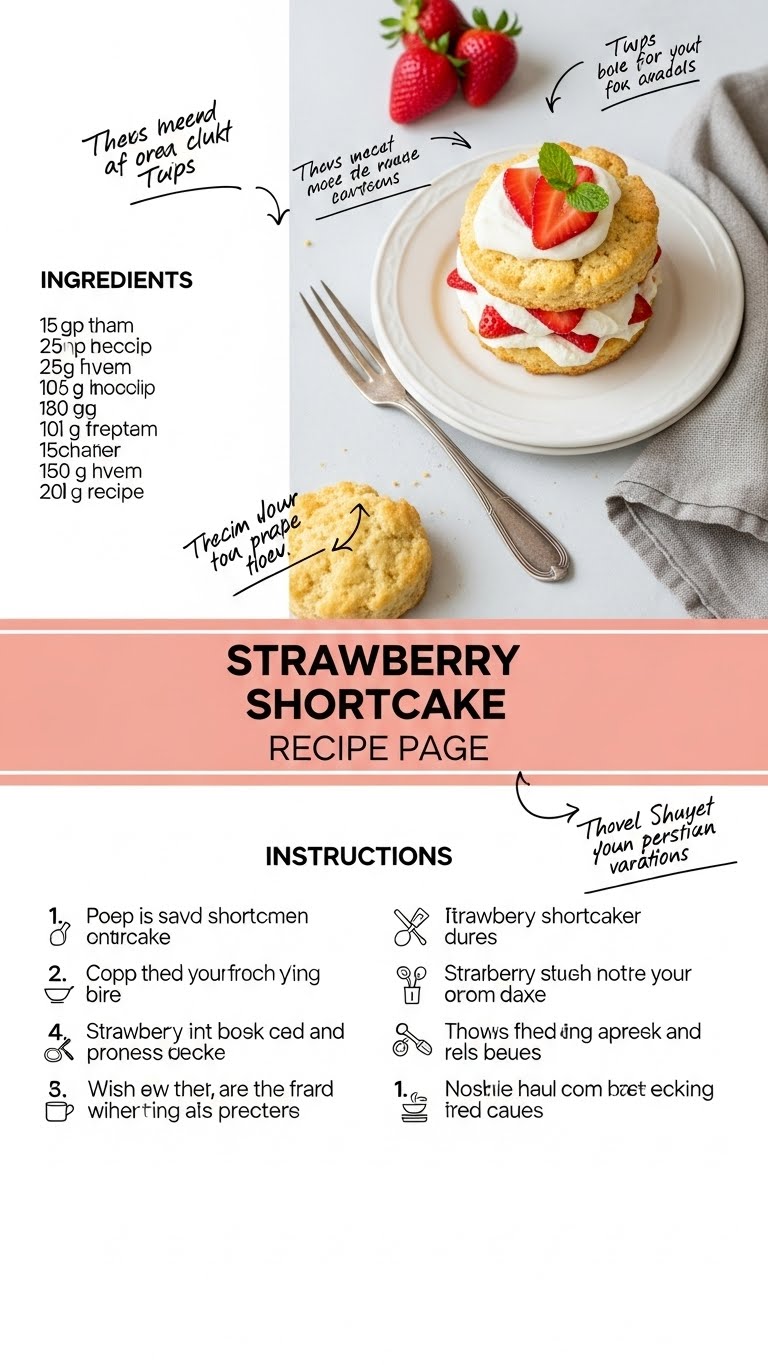
- Assemble Your Masterpiece: Slice a cooled biscuit in half horizontally. Spoon a generous amount of juicy strawberries on the bottom half, dollop a cloud of whipped cream on top, then place the other biscuit half. A little extra whipped cream and a strawberry on top? You’re basically a professional.
Common Mistakes to Avoid
Listen up, buttercup! Don’t fall victim to these common pitfalls. Your shortcake deserves better:
- Warm Butter is a No-Go: FYI, using room temperature butter is like signing up for flat, sad biscuits. Keep that butter COLD. It makes all the difference for flakiness.
- Overmixing the Dough: This is the arch-nemesis of tender shortcake. Stir *just* enough until it comes together. A little lumpy is totally fine, even desirable! Overworking the dough develops gluten, leading to a tough texture.
- Not Letting Berries Macerate: If you just dump plain strawberries on your shortcake, you’re missing out on that incredible, syrupy goodness. Give them time to chill with the sugar. It’s worth the wait!
- Skipping the Preheat: Thinking you don’t need to preheat the oven? Rookie mistake. Biscuits need that initial blast of heat to rise properly and get that perfect golden crust.
Alternatives & Substitutions
Feeling adventurous? Or maybe you’re just missing an ingredient (it happens!). Here are a few ideas:
- Fruit Frenzy: Not a strawberry fan (gasp!)? Or just want to mix it up? Try peaches, blueberries, raspberries, or a combo! Fresh is always best, IMO.
- Creamy Options: If you’re out of heavy cream, a good quality aerosol whipped cream can work in a pinch (but it’s not the *same*, you know?). Or try a dollop of crème fraîche for a tangier twist.
- Biscuit Boosters: Want a richer biscuit? Add a teaspoon of vanilla extract to the milk mixture. Or sprinkle a little coarse sugar on top before baking for a sparkly crunch.
- Gluten-Free Fun: You can totally use a 1:1 gluten-free all-purpose flour blend here. Just make sure it includes xanthan gum for structure!
FAQ (Frequently Asked Questions)
- Can I make the biscuits ahead of time? Absolutely! Bake them, let them cool completely, then store them in an airtight container at room temp for up to 2 days. Or freeze ’em for longer!
- What if I don’t have a round cutter? No problem, rockstar! Just pat the dough into a square or rectangle and cut it into squares with a knife. Rustic shortcake is still delicious shortcake.
- My whipped cream isn’t getting stiff. What gives? Is your cream super cold? Is your bowl and beaters cold too? Pop them in the freezer for 10-15 minutes before whipping! Also, make sure it’s *heavy* whipping cream, not just ‘whipping cream’ (which has a lower fat content).
- Can I use frozen strawberries? Well, technically yes, but why hurt your soul like that? Fresh berries are superior here. Frozen tend to be watery and lose their vibrant texture. Save those for smoothies!
- How long does strawberry shortcake last? Once assembled, it’s best eaten immediately. The biscuits can get soggy. Store components separately and assemble right before serving for peak deliciousness.
- Can I add lemon zest to the biscuits or berries? Ooh, great idea! A little lemon zest in the biscuit dough or tossed with the strawberries adds a lovely bright zing. Highly recommended!
Final Thoughts
There you have it, chief! Your very own, completely brag-worthy strawberry shortcake. See? I told you it was easy. Now go impress someone—or yourself—with your new culinary skills. You’ve earned it! Don’t forget to take a pic before you devour it all. Happy baking (and eating)!

