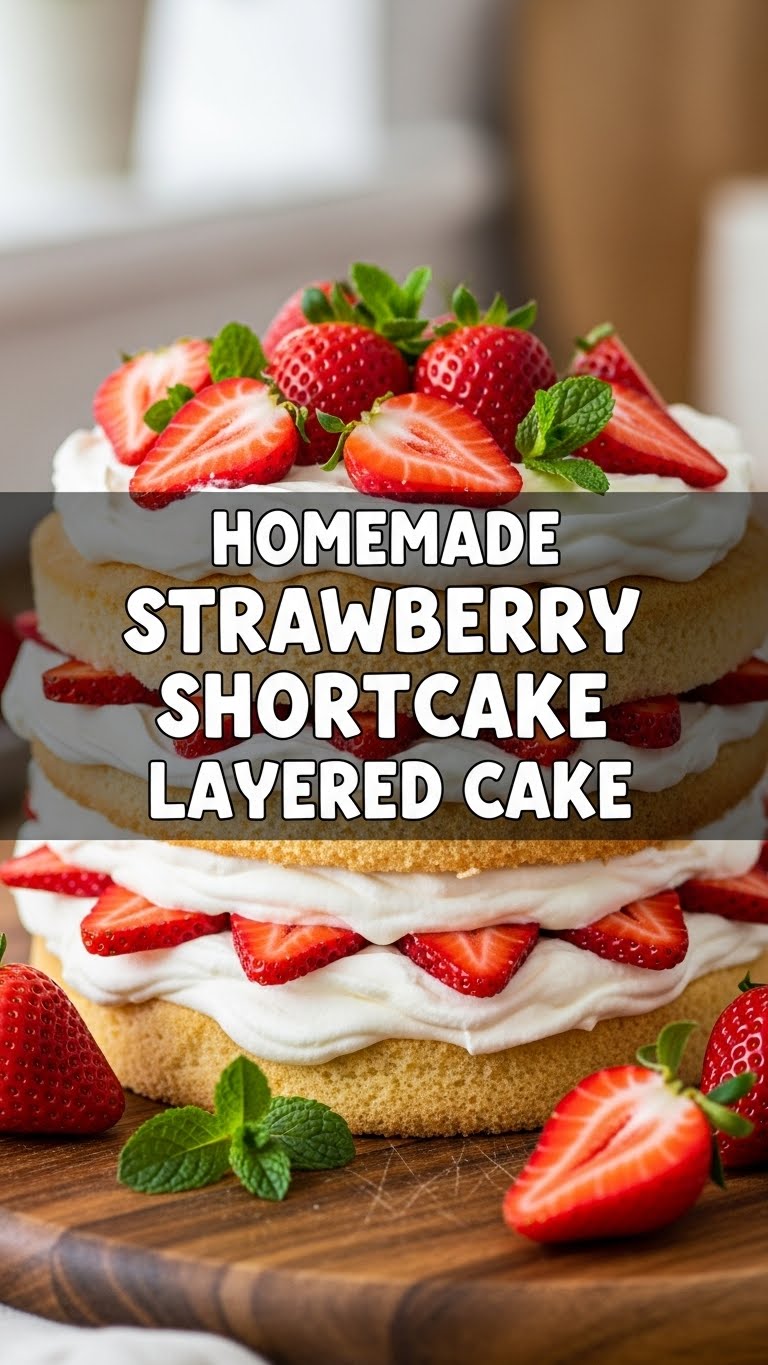
So, you’re looking for a dessert that screams “summer picnic” but doesn’t scream “I spent five hours slaving away in the kitchen,” right? Good. Because honestly, who has that kind of time when there’s Netflix to watch and existential dread to ponder? We’re on the same page, friend. Today, we’re making a Strawberry Shortcake Layered Cake that’s so ridiculously easy and delicious, you might just fool yourself into thinking you’re a professional baker. (Spoiler: you basically are, after this.)
Why This Recipe is Awesome
Let’s be real, life’s too short for complicated recipes that require a culinary degree. This strawberry shortcake cake is **your new best friend** for several reasons: it’s surprisingly simple, ridiculously fresh, and utterly delicious. It’s basically a hug in cake form, packed with sweet strawberries and light-as-air whipped cream. Plus, it looks super impressive, which means maximum bragging rights with minimum effort. It’s so idiot-proof, even I didn’t mess it up on my first go, and I once set off a smoke detector making toast. True story.
Ingredients You’ll Need
Get ready to assemble your dream team of ingredients! Nothing fancy here, just good old-fashioned yumminess.
- For the Cake Layers (aka the Shortcake-y Bits):
- 2 cups all-purpose flour: The backbone of our cake. Don’t even *think* about substituting with almond flour unless you want a crumbly disaster. Just kidding (mostly).
- 2 tbsp granulated sugar (plus more for sprinkling): Sweetness, baby!
- 1 tbsp baking powder: Our lift-off specialist.
- 1/2 tsp salt: Balances everything out like a seasoned diplomat.
- 1/2 cup (1 stick) unsalted butter, cold and cubed: This is where the magic happens for that tender shortcake texture. Cold is key!
- 3/4 cup milk: Any kind works, but whole milk gives it that extra lusciousness.
- 1 large egg: Binder extraordinaire.
- 1 tsp vanilla extract: Because everything’s better with vanilla.
- For the Strawberry Filling:
- 4 cups fresh strawberries, hulled and sliced: The star of the show! Get the juiciest ones you can find.
- 1/4 cup granulated sugar (or to taste): Helps those strawberries get extra juicy and sweet.
- 1 tbsp lemon juice: A little zing to brighten everything up. Optional, but highly recommended.
- For the Whipped Cream:
- 2 cups heavy cream (aka whipping cream): Make sure it’s super cold for best results.
- 1/2 cup powdered sugar (aka confectioners’ sugar): Sweetens without being gritty.
- 1 tsp vanilla extract: Because more vanilla is always a good idea.
Step-by-Step Instructions
Alright, let’s get down to business. Follow these steps, and you’ll be a shortcake hero in no time!
- Prep Your Strawberries: In a medium bowl, gently toss the sliced strawberries with 1/4 cup granulated sugar and lemon juice. Give them a little stir, cover, and let them hang out in the fridge for at least 30 minutes (or up to an hour). This allows them to release their delicious juices and get super sweet.
- Get Ready for Cake Action: Preheat your oven to 400°F (200°C). Grease and flour two 8-inch round cake pans. If you only have one, no biggie—just bake in batches.
- Mix the Dry: In a large bowl, whisk together the flour, 2 tbsp sugar, baking powder, and salt. Easy peasy.
- Cut in the Butter: Add the cold, cubed butter to the dry ingredients. Using a pastry blender or your fingertips, cut the butter into the flour mixture until it resembles coarse crumbs. We’re talking pea-sized bits here. This creates those lovely pockets of tenderness.
- Wet Ingredients Unite: In a separate small bowl, whisk together the milk, egg, and vanilla extract.
- Combine & Divide: Pour the wet ingredients into the dry mixture and stir *just* until combined. **Do not overmix!** Lumps are totally fine, seriously. Divide the batter evenly between your two prepared cake pans. Sprinkle a little extra sugar on top of each for a nice crunchy crust.
- Bake ‘Em Up: Pop those beauties into the preheated oven and bake for 15-20 minutes, or until a wooden skewer inserted into the center comes out clean. They should be golden brown and smell absolutely divine.
- Cool Down: Let the cake layers cool in the pans for about 10 minutes, then carefully invert them onto a wire rack to cool completely. Patience is a virtue, my friend.
- Whip It Good: While the cakes cool, grab a large, chilled bowl and your trusty electric mixer (or a whisk, if you’re feeling buff). Pour in the heavy cream, powdered sugar, and vanilla extract. Beat on high speed until stiff peaks form. **Pro tip:** Chill your bowl and beaters for 15 minutes before whipping for extra fluffy cream!
- Assemble Your Masterpiece: Once the cakes are completely cool, place one layer on your serving plate. Spoon about half of the macerated strawberries (and their juices!) over the top. Generously spread about half of the whipped cream over the strawberries. Gently place the second cake layer on top, then repeat with the remaining strawberries and whipped cream.
- Serve & Enjoy: Slice it up and bask in the glory of your homemade deliciousness. This cake is best served fresh!
Common Mistakes to Avoid
Don’t be that person. Seriously. Here are a few pitfalls to steer clear of:
- Thinking you don’t need to preheat the oven: Rookie mistake! A cold oven means uneven baking and sad, dense cakes. Always preheat, folks.
- Overmixing the batter: Unless you’re aiming for a brick, stop stirring once the ingredients are just combined. Lumps are okay; tough cake is not.
- Using warm butter for the shortcake: No, no, no! **Cold butter** is crucial for that flaky, tender texture. Trust the process.
- Not cooling the cake layers completely: If you try to assemble with warm cakes, your whipped cream will melt into a sad, soupy mess. And no one wants that.
- Forgetting to chill the strawberries: Letting them macerate not only makes them sweeter but also creates those amazing juices that soak into the shortcake. Don’t skip it!
Alternatives & Substitutions
Life’s about options, right? Here are a few ways to mix things up:
- No fresh strawberries? Frozen works in a pinch, but make sure to thaw them completely and drain any excess liquid before macerating, or you’ll have a soggy situation. IMO, fresh is always superior here.
- Other berries? Absolutely! Raspberries, blueberries, or a mixed berry medley would be divine. Adjust sugar to taste depending on the sweetness of your chosen fruit.
- Dairy-free? You can definitely find plant-based milks and heavy whipping creams (coconut cream works well, just make sure it’s the full-fat canned kind and chilled). The butter can be swapped for a good quality dairy-free butter stick.
- Want less sugar? Feel free to adjust the sugar content in both the strawberries and whipped cream. Taste as you go!
- Spice it up: Add a pinch of cinnamon or cardamom to the dry ingredients for a subtle warmth.
FAQ (Frequently Asked Questions)
- Can I use margarine instead of butter? Well, technically yes, but why hurt your soul like that? Butter truly makes a difference in flavor and texture for shortcake. Just sayin’.
- How long does this cake last? It’s best eaten on the day it’s made because whipped cream can deflate and shortcake can get a bit soft. If you *must* store it, cover loosely and keep in the fridge for up to 2 days.
- Can I make the cake layers ahead of time? You sure can! Bake the shortcake layers, let them cool completely, then wrap them tightly in plastic wrap and store at room temperature for up to a day, or freeze for up to a month. Thaw before assembling.
- My whipped cream isn’t getting stiff! Help! Is your cream super cold? Is your bowl and beaters chilled? Are you using heavy cream (not half-and-half)? These are usually the culprits. Keep beating, it’ll get there!
- What if I don’t have two cake pans? No stress! Bake one layer at a time. Just make sure to re-grease and flour the pan for the second batch.
- Can I make this a sheet cake instead of a layered cake? You totally could! Just use a 9×13 inch pan, adjust baking time (likely shorter), and then spread the strawberries and whipped cream over the top. It won’t be “layered” but still delicious!
Final Thoughts
There you have it, folks! A simple, scrumptious, and totally brag-worthy Strawberry Shortcake Layered Cake. You’ve navigated the tricky waters of baking and emerged victorious, probably without even breaking a sweat. Now go impress someone—or yourself—with your new culinary skills. You’ve earned it! Grab a slice (or two, no judgment here), kick back, and enjoy the sweet taste of success. Happy baking, my friend!


