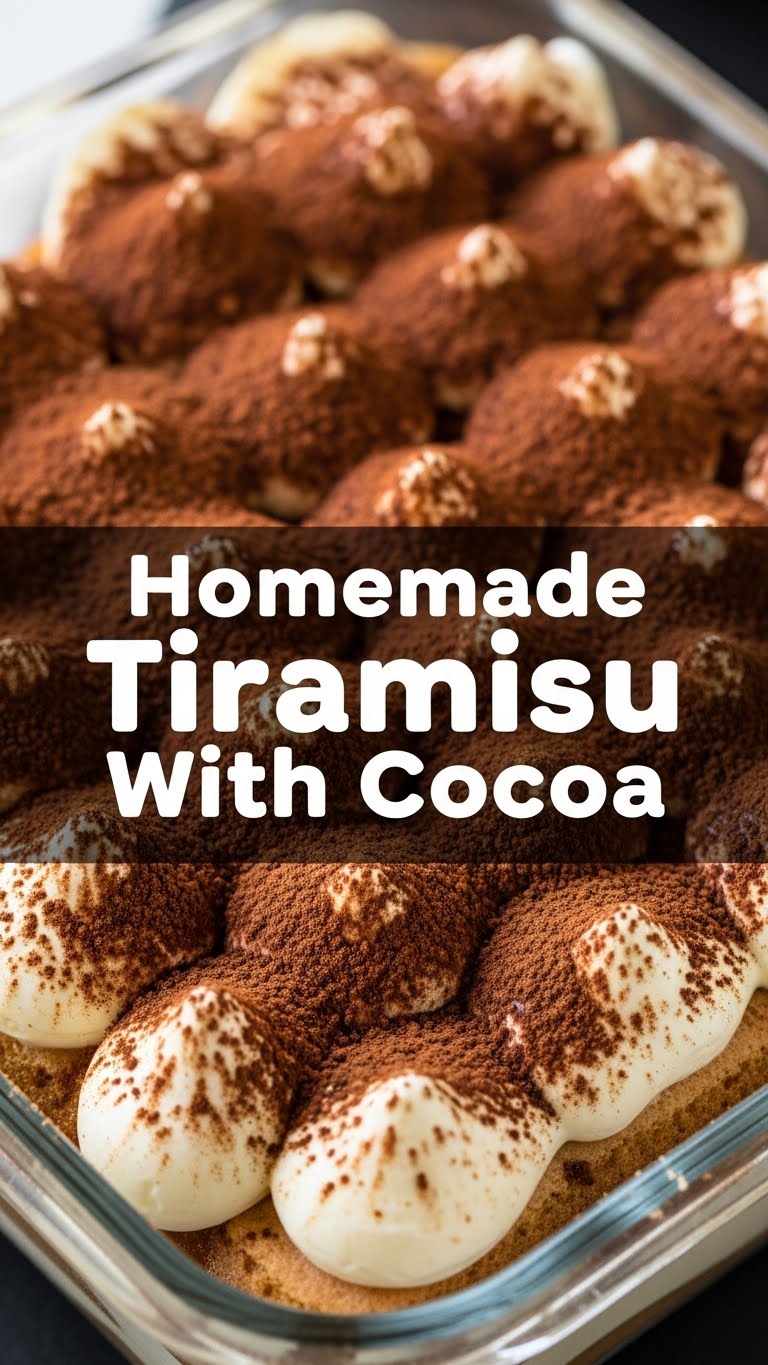
So you’re craving something ridiculously delicious, something that whispers “I’m fancy” but secretly screams “I was super easy to make!”? And maybe, just maybe, you’re not in the mood to spend an entire afternoon in a hot kitchen? My friend, you and I are on the same wavelength. Today, we’re diving headfirst into the creamy, dreamy, cocoa-dusted world of **Homemade Tiramisu**. Get ready to impress everyone (including yourself) with minimal effort and maximum deliciousness.
Why This Recipe is Awesome
Let’s be real, some recipes are just *too much*. This isn’t one of them. This tiramisu recipe is like that super chill friend who’s always down for anything and somehow makes you look good just by being around them. Here’s the lowdown:
- **No Oven Required!** That’s right, folks. You heard me. No sweating over a hot stove, no preheating nightmares. It’s a miracle for summer days or just, you know, Mondays.
- **It’s Idiot-Proof.** Seriously. Even I, a self-proclaimed culinary chaos agent, have pulled this off without setting anything on fire. If I can do it, you can do it blindfolded (though I recommend against that for safety reasons).
- **Tastes Like a Million Bucks, Costs Like Ten.** You’ll get all those fancy Italian restaurant vibes without the fancy Italian restaurant bill. Your wallet and your tastebuds will thank you.
- **The Cocoa Factor.** We’re not just dusting this bad boy with cocoa; we’re embracing it! It adds a beautiful bitterness that cuts through the sweetness perfectly. **Pro tip: Use good quality cocoa, it makes a difference!**
- **It Actually Gets Better Overnight.** Yes, really! Make it the day before, let those flavors mingle and marry, and wake up to pure dessert bliss. Talk about meal prep goals!
Ingredients You’ll Need
Gather ’round, my fellow food adventurers! Here’s your treasure map to the good stuff. Keep it simple, keep it fresh, and maybe whisper sweet nothings to your mascarpone.
- **6 large Egg Yolks:** Fresh ones, please! We’re doing a little magic with these.
- **3/4 cup Granulated Sugar:** Just enough sweetness to make everything right in the world.
- **16 oz (2 tubs) Mascarpone Cheese:** This is the creamy dream machine. Don’t skimp, don’t substitute with cream cheese unless you want a sad, confused tiramisu.
- **1 teaspoon Vanilla Extract:** A little hug for your tastebuds. Real vanilla, if you’re feeling fancy.
- **2 cups Strong Brewed Coffee or Espresso:** Chilled! Your morning pick-me-up, now for dessert. Decaf works if you’re a night owl.
- **1/4 cup Coffee Liqueur or Dark Rum (optional):** For those who like a little “oomph” in their oomph. Kahlúa, Marsala wine, or even Amaretto work wonderfully.
- **2 (3.5 oz) packages Ladyfingers (Savoiardi biscuits):** The unsung heroes of no-bake desserts. Grab the firm, crunchy ones, not the soft cakey kind.
- **Unsweetened Cocoa Powder:** For dusting! And maybe a little extra for snacking. 😉
Step-by-Step Instructions
Alright, apron on, game face ready! Let’s get this deliciousness started. Remember, short and sweet steps, just like this dessert.
- **Prep Your Coffee Station:** First things first, brew your strong coffee or espresso. Once brewed, let it chill out completely. You can stick it in the fridge or freezer for a quick cool down. If you’re using alcohol, now’s the time to stir it into your cold coffee.
- **Whisk Those Yolks & Sugar:** In a heatproof bowl set over a pot of simmering water (make sure the bowl doesn’t touch the water!), whisk your egg yolks and sugar continuously. You’re aiming for a pale yellow, thickened mixture that can coat the back of a spoon. This usually takes about 5-7 minutes. This gentle cooking process makes the eggs safe to eat and creates a stable base for our cream. **Don’t stop whisking, or you’ll have scrambled eggs!**
- **Cool it Down:** Remove the bowl from the heat and continue whisking for another minute or two, allowing the mixture to cool slightly. Let it sit for a few minutes until it’s barely warm or room temp.
- **Creamy Dream Time:** Once your egg yolk mixture is cool, add the mascarpone cheese to the bowl. Gently fold it in with a spatula until just combined and smooth. Be careful not to overmix, or it can become runny. Stir in your vanilla extract.
- **Ladyfinger Dip & Layer One:** Grab your serving dish (a 9×13 inch pan works great, or a fancy trifle dish!). Quickly dip a ladyfinger into your coffee mixture – we’re talking a **quick dip, maybe 1-2 seconds per side**. Don’t let it get soggy! Arrange a single layer of these coffee-kissed ladyfingers at the bottom of your dish.
- **Cream, Cocoa, Repeat:** Spread half of your creamy mascarpone mixture evenly over the ladyfingers. Then, take a sifter or a fine-mesh sieve and dust a generous layer of unsweetened cocoa powder over the cream.
- **Second Layer Magic:** Repeat step 5, adding another layer of dipped ladyfingers on top of the cocoa. Then, dollop the remaining mascarpone cream over the ladyfingers and smooth it out.
- **The Grand Finale (Before Chilling):** Give your tiramisu one last generous dusting of cocoa powder. This is where it starts looking like the masterpiece it is.
- **Chill Out, Tiramisu:** Cover your dish with plastic wrap and pop it into the fridge for at least 4-6 hours. Honestly, **overnight is best for maximum flavor melding and firmness!**
Common Mistakes to Avoid
We’ve all been there, staring at a culinary disaster wondering where it all went wrong. Learn from my oopsies, so you don’t have to!
- **The Soggy Ladyfinger Syndrome:** This is probably the number one offender. Dipping those ladyfingers for too long is a one-way ticket to a soupy tiramisu. Remember: **quick dip, in and out!**
- **Skipping the Chill Time:** Impatience is a virtue, but not here. If you cut the chilling short, you’ll end up with a delicious but messy, runny dessert. Let it set!
- **Overmixing Mascarpone:** Mascarpone is delicate. If you whip it too hard or too long, it can split and become watery. Fold it gently until just combined.
- **Using Hot Coffee:** I know, you just brewed it, it smells amazing! But using hot coffee will instantly turn your ladyfingers into mush and can affect the cream. **Always use chilled coffee.**
- **Substituting Mascarpone:** Look, I get it, mascarpone can be pricey. But it’s crucial for that signature creamy texture and subtle sweetness. Cream cheese is *not* the same; it’s tangier and denser. Just don’t.
Alternatives & Substitutions
Life’s about options, right? Here are a few tweaks you can make without totally messing up the vibe of your tiramisu:
- **Coffee Alternatives:** If you’re caffeine-sensitive, use decaf espresso or strong decaf coffee. For a less coffee-forward flavor, you could even try a chai tea infusion, though it won’t be traditional tiramisu!
- **Alcohol Swaps:** No Kahlúa? No problem! Dark rum, brandy, Amaretto, or even Marsala wine are fantastic choices. If you’re going completely alcohol-free, a splash of vanilla extract or even a tiny bit of almond extract in your coffee can add an extra layer of flavor.
- **Ladyfinger Replacements:** While ladyfingers are king, if you’re in a pinch, you could try thinly sliced sponge cake or even stale pound cake, cut into strips. Just be mindful of how much liquid they absorb – they might need less dipping time.
- **Cocoa Flair:** Instead of just cocoa powder, try dusting with grated dark chocolate for a more intense chocolate hit and a slightly different texture.
FAQ (Frequently Asked Questions)
Got questions? I’ve got (hopefully) humorous answers!
- **Can I make tiramisu ahead of time?** Absolutely! **IMO, it’s actually better made a day or two in advance.** The flavors have more time to mingle and get all cozy.
- **How long does homemade tiramisu last?** Covered tightly in the fridge, it’ll happily last for about 3-4 days. But let’s be real, it probably won’t make it that long.
- **My tiramisu is runny, help! What went wrong?** Ah, a classic! Most likely culprits: over-soaked ladyfingers, overmixed mascarpone, or not enough chill time. Or all three, you rebel.
- **Can I freeze tiramisu?** You can, yes! Wrap it well and it’ll last up to a month. Thaw it in the fridge for several hours before serving. The texture might be slightly softer, but it’ll still be delicious.
- **What if I don’t like coffee?** Gasp! Just kidding (mostly). You can make a non-coffee version by dipping ladyfingers in chocolate milk or even a vanilla-flavored syrup mixed with water. It won’t be tiramisu in the traditional sense, but hey, you do you!
- **Can I use light mascarpone cheese?** Technically you *can*, but why hurt your soul like that? The full-fat stuff is where the magic happens and gives you that rich, luxurious texture. Don’t compromise on deliciousness!
- **Is it safe to use raw eggs?** Good question! While the traditional method uses raw yolks, our recipe gently cooks them over a double boiler, making them safe. If you’re still concerned or have a compromised immune system, you can buy pasteurized eggs or use a recipe that incorporates whipped cream or egg whites instead.
Final Thoughts
So there you have it, my friend! Your very own, totally doable, incredibly delicious homemade tiramisu with a cocoa kick. This isn’t just a dessert; it’s a statement. A statement that says, “Yes, I can make gourmet-level treats, and yes, I still have time to binge-watch that new show.” Go forth, conquer that kitchen (without breaking a sweat!), and impress someone—or just yourself—with your new culinary skills. You’ve earned it!


