So, you’ve just binged three seasons of your favorite show, and now your sweet tooth is screaming for something decadent, but your energy levels are whispering ‘nah’? My friend, you’ve come to the right place. We’re about to whip up some seriously dreamy chocolate truffles that are so easy, they practically make themselves. No chef hat required, just a craving and maybe a Spotify playlist.
Why This Recipe is Awesome
Okay, let’s be real. Life’s too short for complicated recipes that require a culinary degree and obscure ingredients you can only find in a dimly lit, artisanal gnome market. This truffle recipe? It’s the culinary equivalent of slipping into your favorite sweatpants after a long day. **It’s practically foolproof**, even if your usual kitchen adventures involve setting off the smoke alarm. You get fancy-pants dessert vibes with minimal effort, and let’s face it, who doesn’t love looking like a kitchen wizard without actually being one? Plus, the sheer joy of rolling these little beauties in toppings? Pure, unadulterated fun.
Ingredients You’ll Need
Alright, gather ’round, ingredient hunters! Here’s your hit list. Don’t worry, nothing too wild here.
- 2 cups (about 12 oz or 340g) Good Quality Chocolate Chips or finely chopped chocolate: This is your foundation, people! Don’t skimp here. Dark, semi-sweet, milk – your call, boss. But **go for quality**; your taste buds will thank you.
- 1 cup (240ml) Heavy Cream (or whipping cream): The velvety magic maker. This is what gives your truffles that melt-in-your-mouth texture.
- 2 tablespoons (28g) Unsalted Butter: Adds a little extra richness and helps with that smooth texture. Don’t even think about salted butter unless you want a surprise.
- 1 teaspoon Vanilla Extract (optional but recommended): A tiny splash of pure happiness. Elevates the chocolate flavor. Trust me on this one.
- Pinch of Salt: Yes, even in dessert! It awakens the chocolate flavor. Like a tiny alarm clock for your tongue.
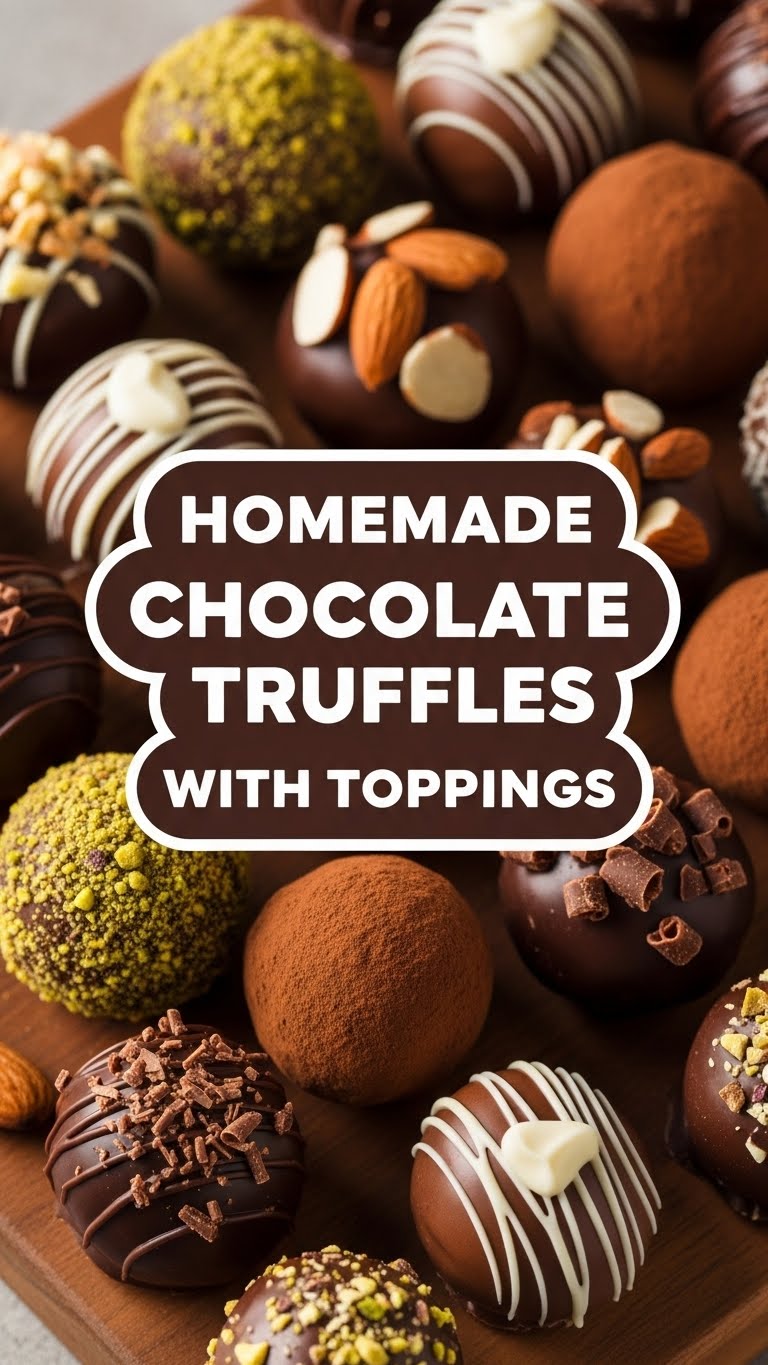
- For Toppings (be creative!):
- Cocoa powder (classic!)
- Finely chopped nuts (pistachios, almonds, hazelnuts)
- Shredded coconut (toasted or not!)
- Sprinkles (because why not?)
- Crushed cookies (Oreos, Biscoff, graham crackers)
- Powdered sugar (for a snowy look)
- Melted white chocolate drizzle (extra fancy, extra delicious!)
Step-by-Step Instructions
Time to get your hands a little dirty (in the best way possible!).
- Prep Your Chocolate: Grab your chocolate chips or finely chop your chocolate bar and place them in a heat-proof bowl. Make sure the bowl is clean and dry!
- Heat the Cream: Pour the heavy cream, butter, and that tiny pinch of salt into a small saucepan. Heat it over medium heat, stirring occasionally, until it just barely starts to simmer around the edges. **Don’t let it boil vigorously**, you’re making ganache, not soup!
- Pour and Wait: Immediately pour the hot cream mixture over your prepared chocolate. Don’t touch it for about 5 minutes. Seriously, step away. Let the hot cream work its magic and melt that chocolate.
- Stir It Up: After 5 minutes, grab a whisk or spatula and gently stir the mixture starting from the center and working your way out. Keep stirring until it’s completely smooth, glossy, and lump-free. Stir in the vanilla extract now, if you’re using it. This beautiful concoction is your ganache!
- Chill Out: Cover the bowl with plastic wrap, pressing it directly onto the surface of the ganache to prevent a skin from forming. Pop it in the fridge for at least 2-3 hours, or until it’s firm enough to scoop. **Overnight is even better** for super easy handling.
- Roll ‘Em Up: Once firm, line a baking sheet with parchment paper. Scoop out small portions of the ganache (a melon baller or small spoon works great) and roll them quickly between your palms into perfect little spheres. **Work fast** to keep them from melting too much.
- Topping Time! Roll your truffles in your chosen toppings. You can set up little bowls of different toppings for a fun assembly line. Get creative!
- Final Chill: Place the finished truffles back on the parchment-lined baking sheet and chill them again for about 30 minutes to firm them up completely.
- Devour: Serve and enjoy your glorious creations!
Common Mistakes to Avoid
We’ve all been there. Learn from my oopsies!
- Using low-quality chocolate: You might save a buck, but your taste buds will report you to the chocolate police. **Good chocolate makes good truffles.** End of story.
- Overheating the cream: If you boil the cream too aggressively, it can scorch or affect the texture of your ganache. Gentle simmer, folks!
- Stirring too soon: Patience is a virtue, especially when melting chocolate. Give that hot cream time to do its job before you start whisking.
- Not chilling enough: Trying to roll soft, melty ganache is like trying to hug a cloud—messy and futile. **Chill it properly!**
- Melted hands syndrome: If your hands are too warm while rolling, your truffles will turn into a sticky mess. If this happens, pop the ganache back in the fridge for a bit or try running your hands under cold water.
Alternatives & Substitutions
Feeling adventurous? Or maybe you just ran out of something vital. No judgment here!
- Chocolate type: Want white chocolate truffles? Go for it! Just be aware white chocolate melts a bit differently, so keep an eye on it. Or mix dark and milk for a custom blend.
- Flavor Boosts: A tiny splash of rum, Kahlua, orange liqueur, or peppermint extract can seriously jazz things up. **Start small**, a little goes a long way with extracts and liqueurs.
- Vegan Version: Swap heavy cream for full-fat coconut cream (the thick part from a can of chilled coconut milk) and butter for a plant-based alternative. Use dairy-free chocolate chips, of course! You’ll still get delicious results.
- Topping Extravaganza: Don’t limit yourself to my suggestions! How about crushed pretzels for a salty-sweet kick? Or freeze-dried fruit powder for a tangy twist? **Your truffle, your rules!**
FAQ (Frequently Asked Questions)
Got questions? I’ve got answers, mostly.
- Q: Can I use skim milk instead of heavy cream? A: Oh honey, no. Skim milk won’t give you that rich, creamy ganache texture. You need the fat content from heavy cream. Don’t try to healthify your truffles, they’re meant to be a luxurious treat!
- Q: My ganache looks oily or separated. What did I do wrong? A: Uh oh! This usually means you either overheated the chocolate/cream or stirred too vigorously. Try adding a tablespoon of *lukewarm* water and stirring gently to bring it back together. If it’s a lost cause, don’t cry, just turn it into chocolate sauce for ice cream!
- Q: How long do these truffles last? A: In your fridge, in an airtight container, they’ll happily hang out for about 1-2 weeks. **If they even make it that long.**
- Q: Can I freeze them? A: Absolutely! Place them in a single layer on a baking sheet to freeze, then transfer them to an airtight container or freezer bag. They’ll be good for a month or two. Thaw in the fridge before devouring.
- Q: Do I *have* to use butter? A: No, but it really adds to the lusciousness and helps keep the truffles smoother. If you skip it, your truffles might be a little firmer, but still totally edible. Just don’t substitute with anything weird, okay?
- Q: What if I don’t have a double boiler for melting chocolate? A: You don’t need one for this recipe! We’re using the “hot cream poured over chocolate” method, which is way easier and less fussy. High five for skipping extra dishes!
Final Thoughts
So there you have it, folks! Your very own guide to crafting ridiculously easy and utterly delicious chocolate truffles. You just transformed a few simple ingredients into something truly special. Go ahead, pat yourself on the back, you culinary genius! Now go impress someone—or yourself—with your new skills. You’ve earned every single bite. And maybe make an extra batch, because trust me, these disappear faster than free samples at Costco. Happy truffle making!


